Studio Group Portraits - Behind the Shot

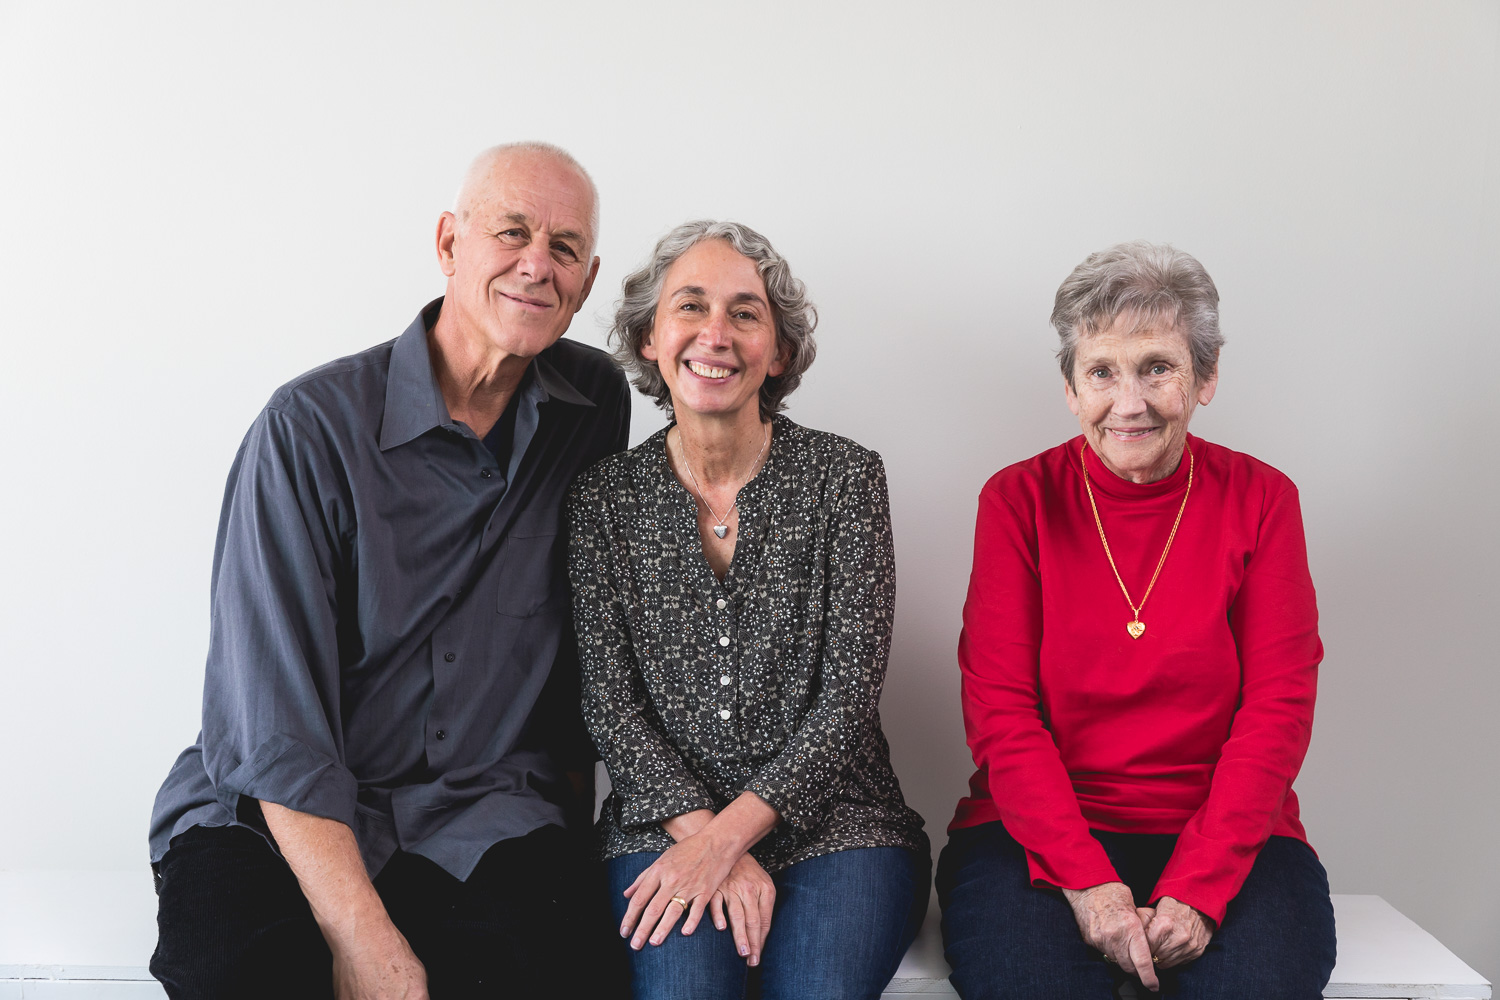
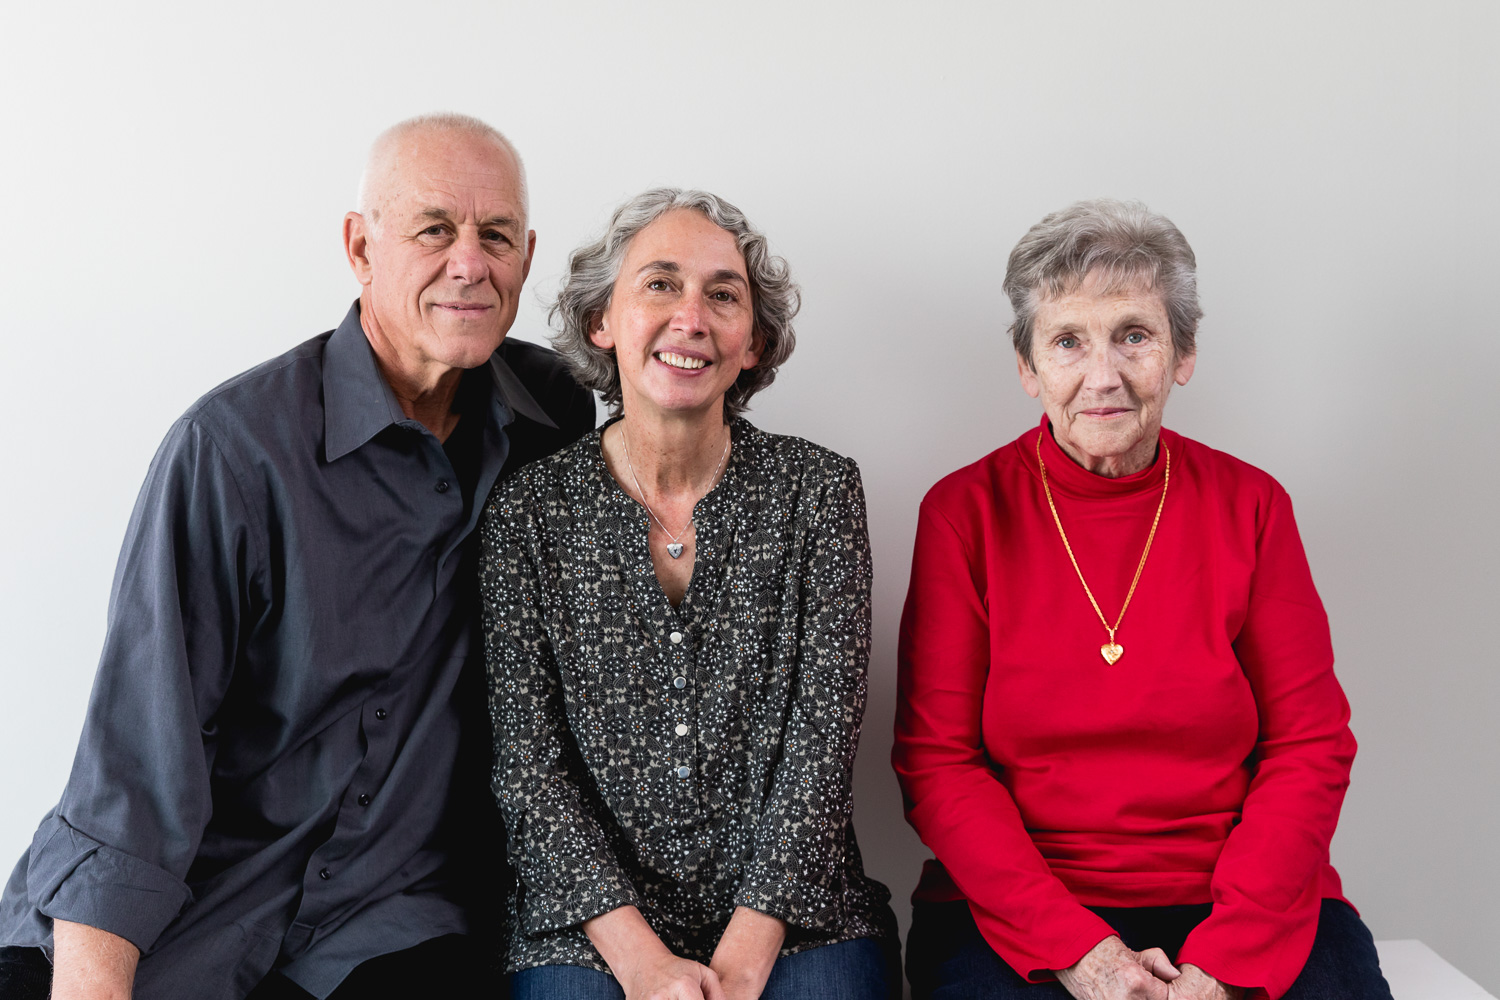
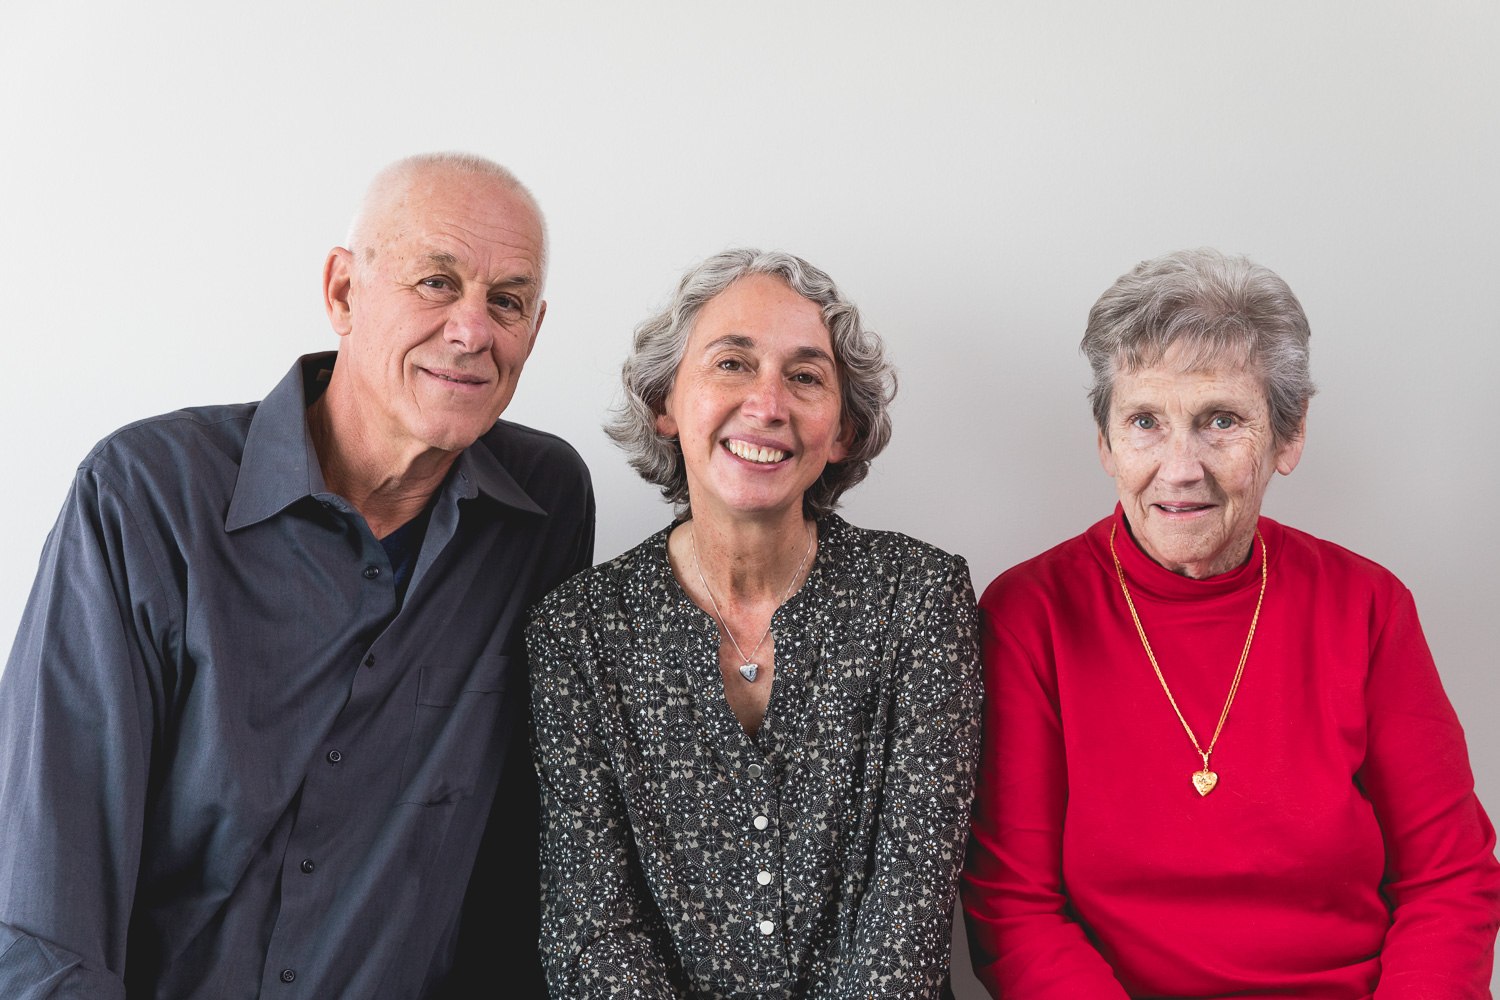
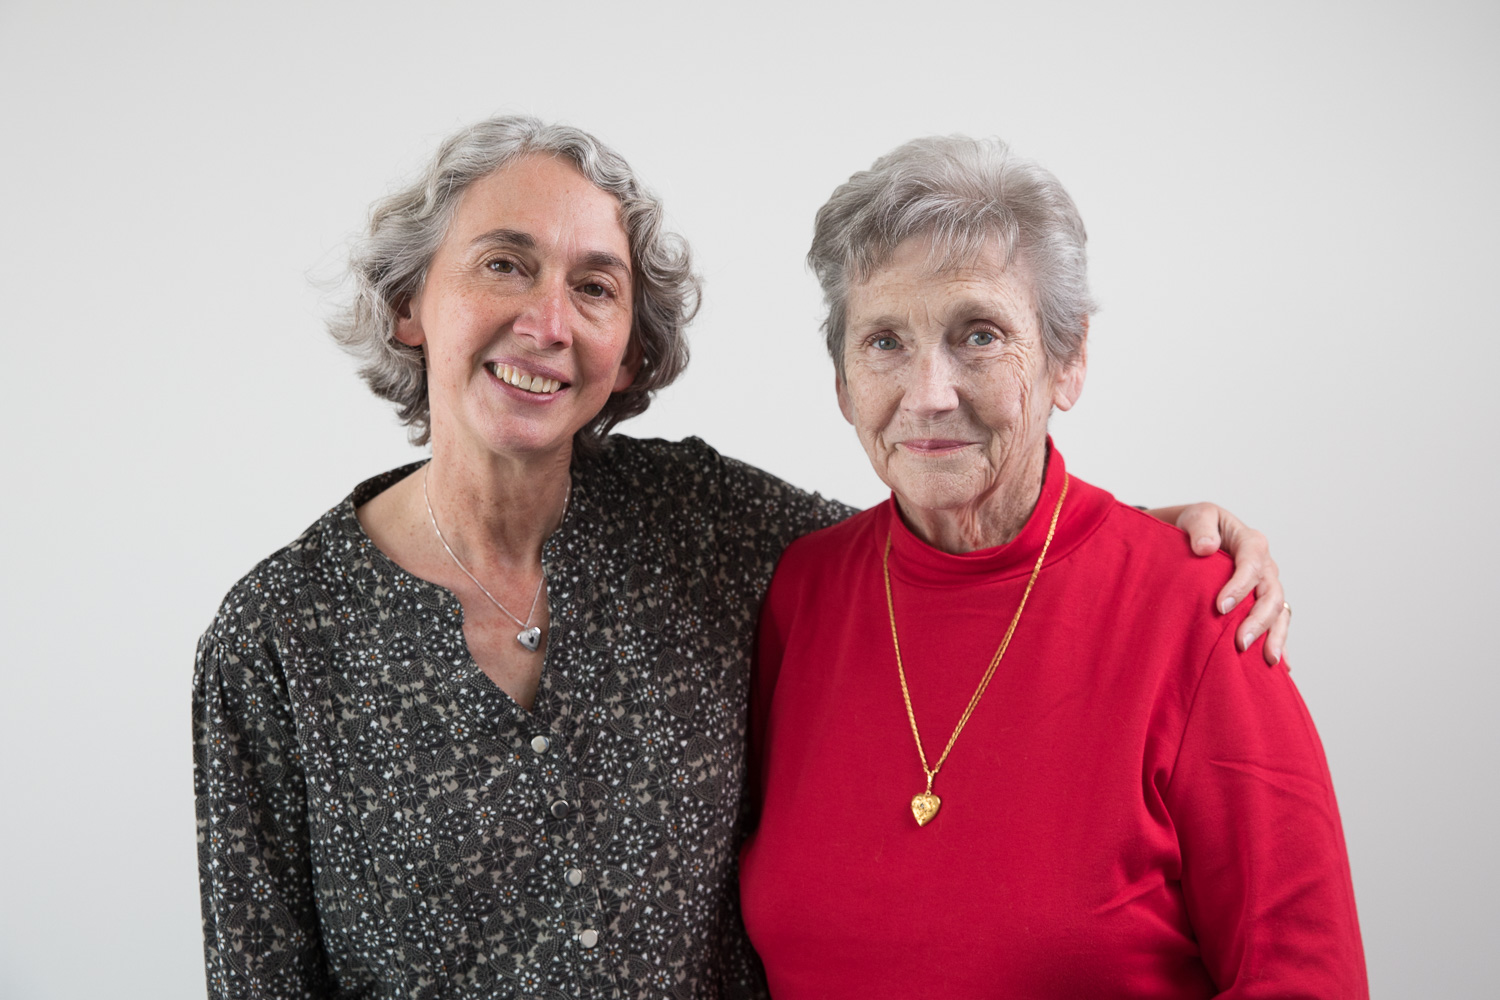
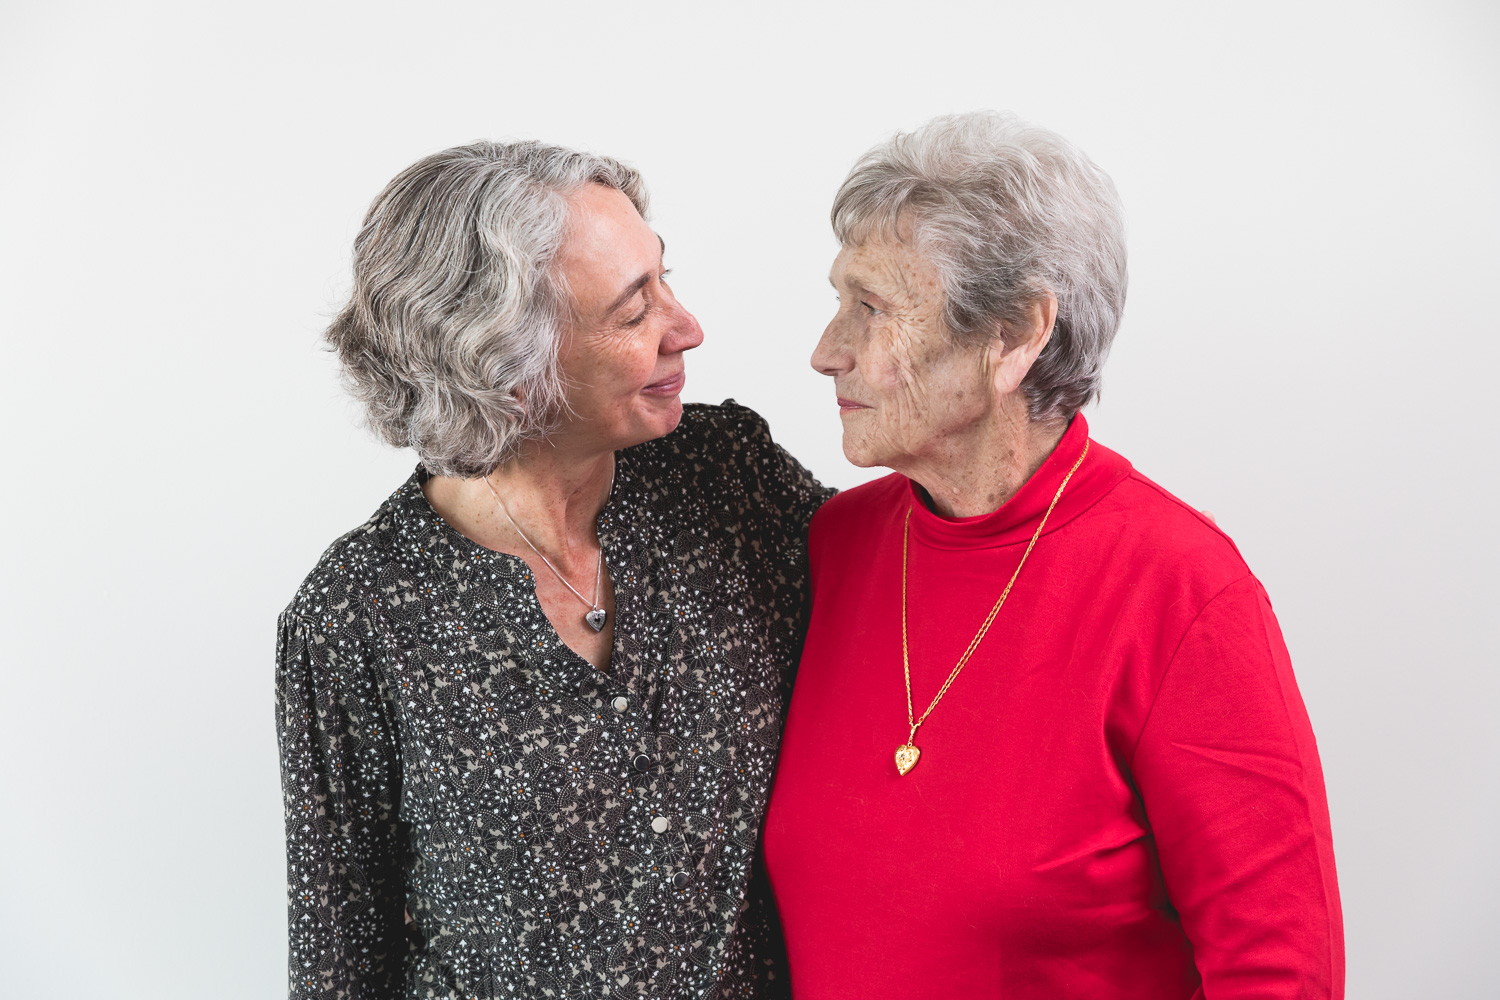
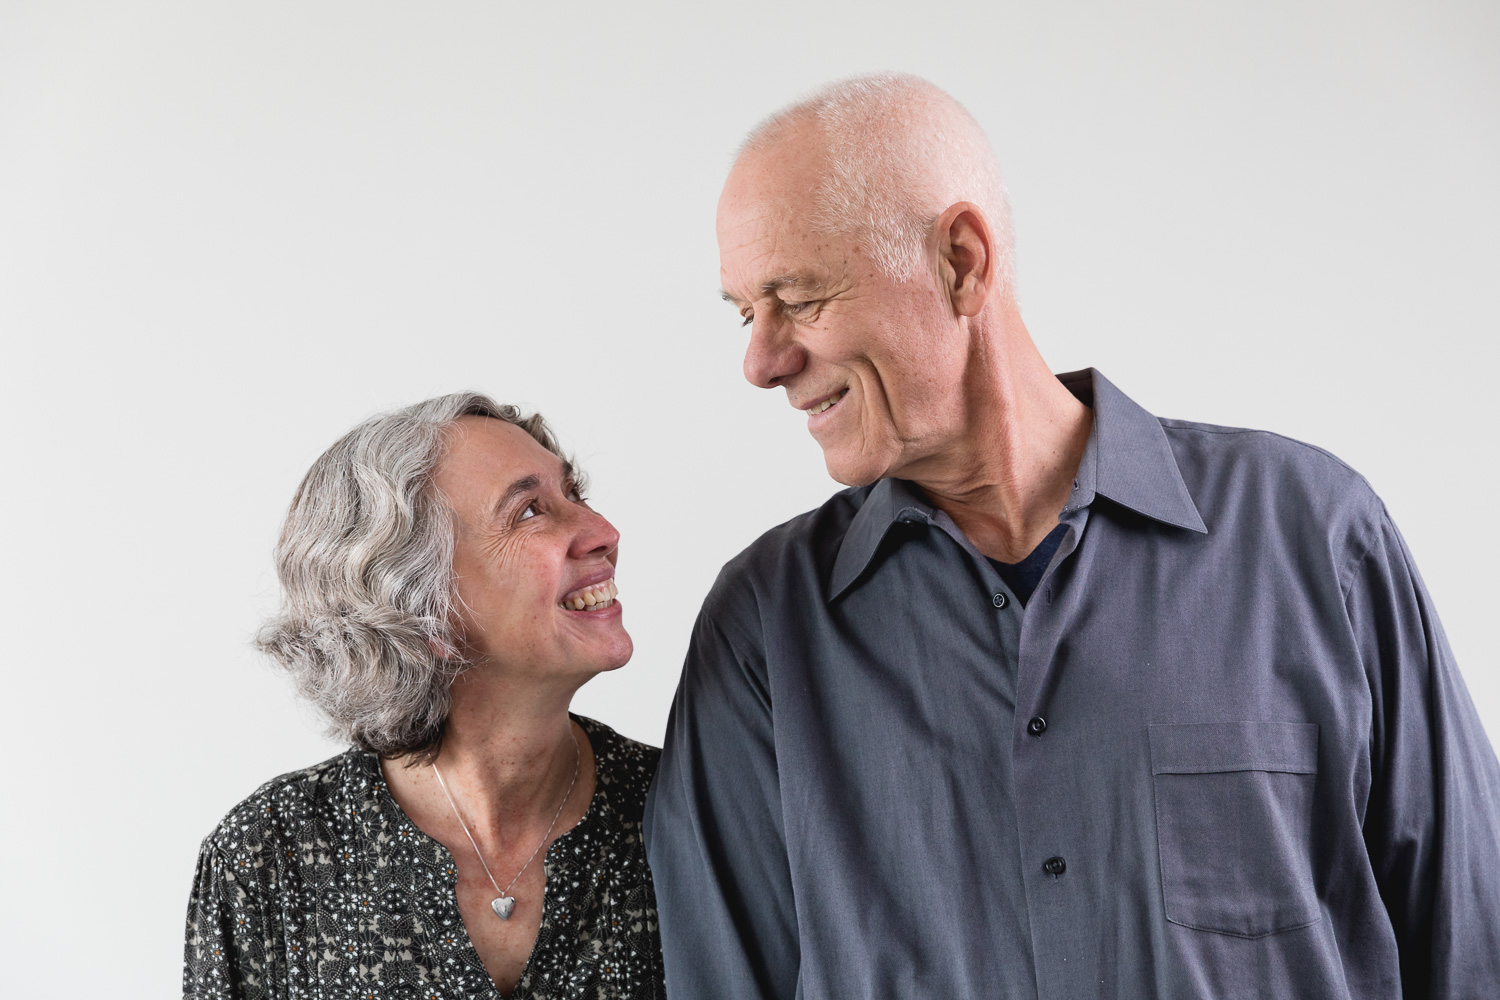
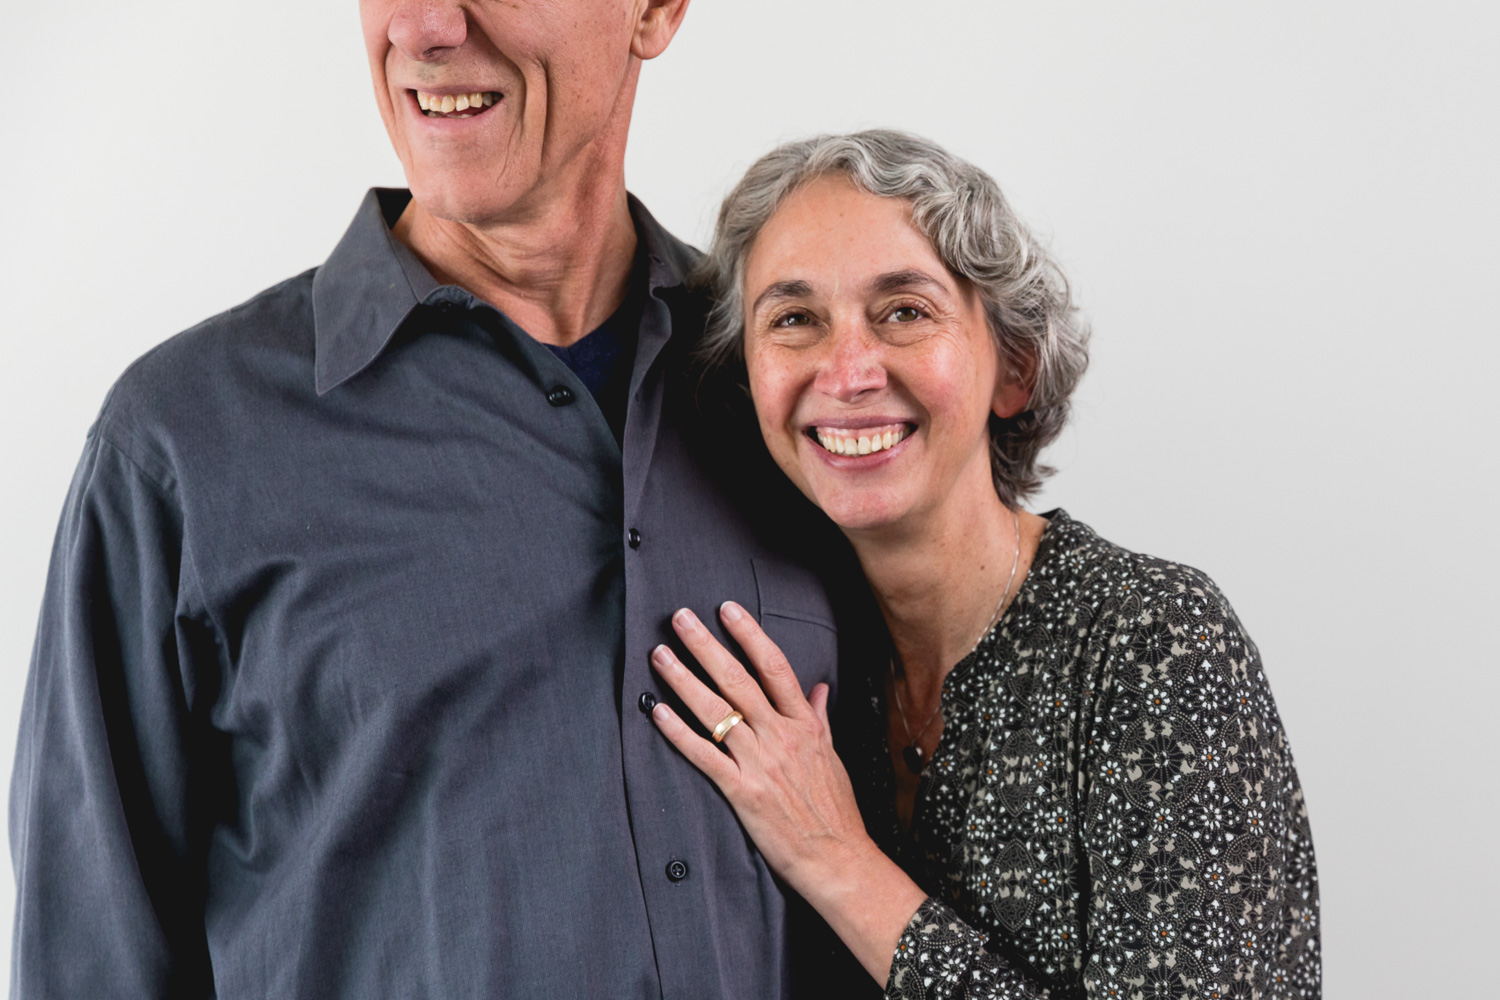
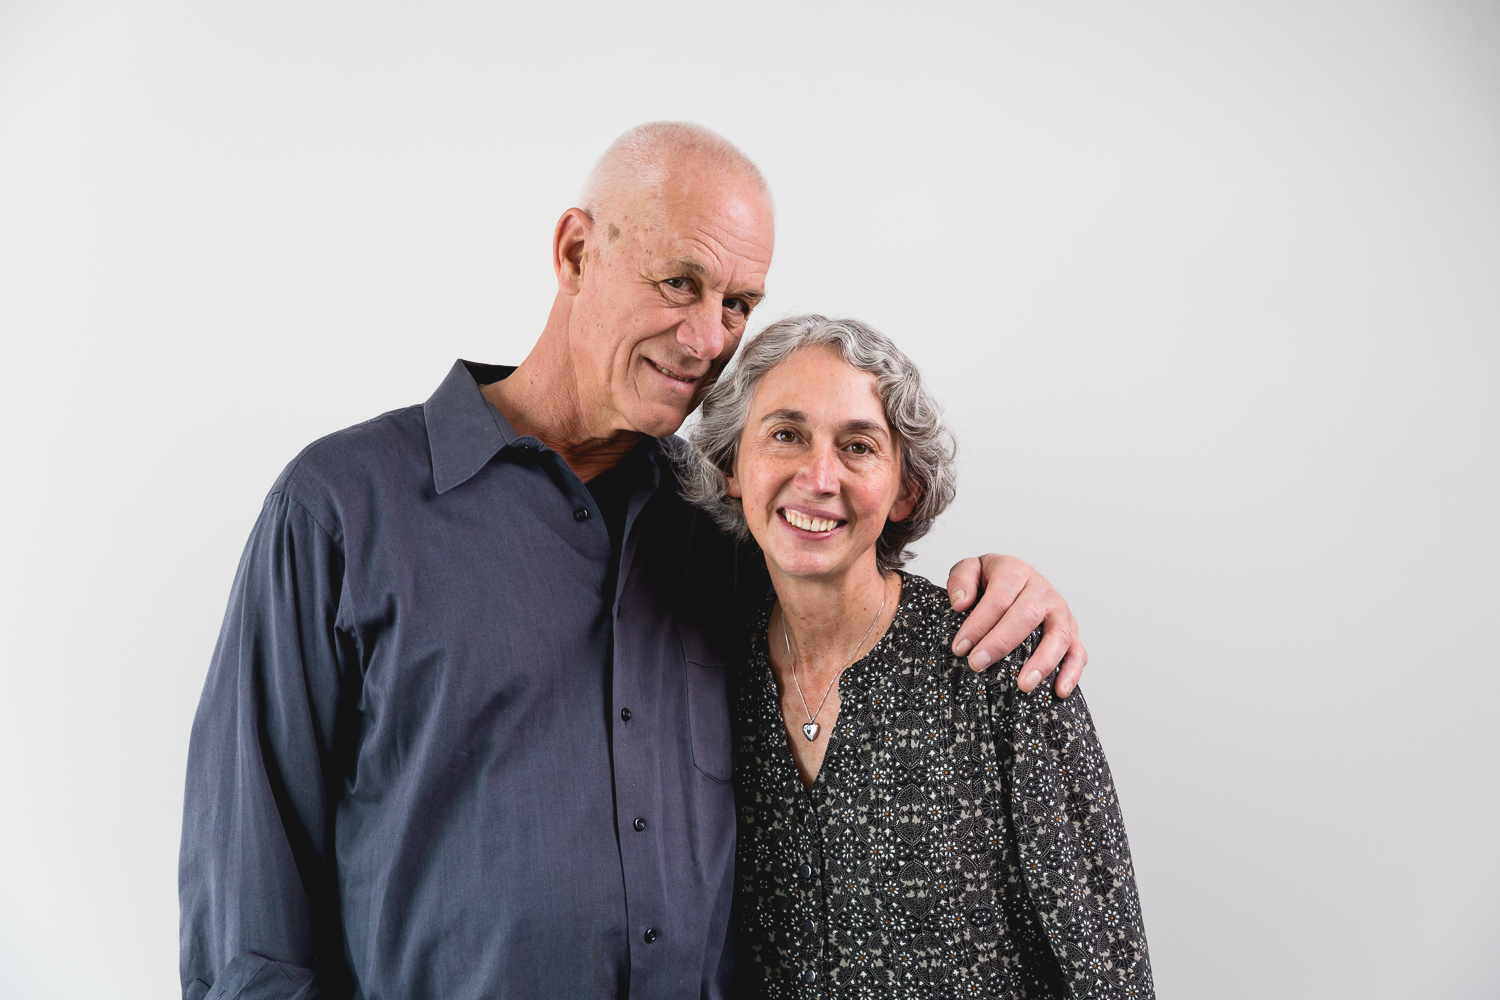
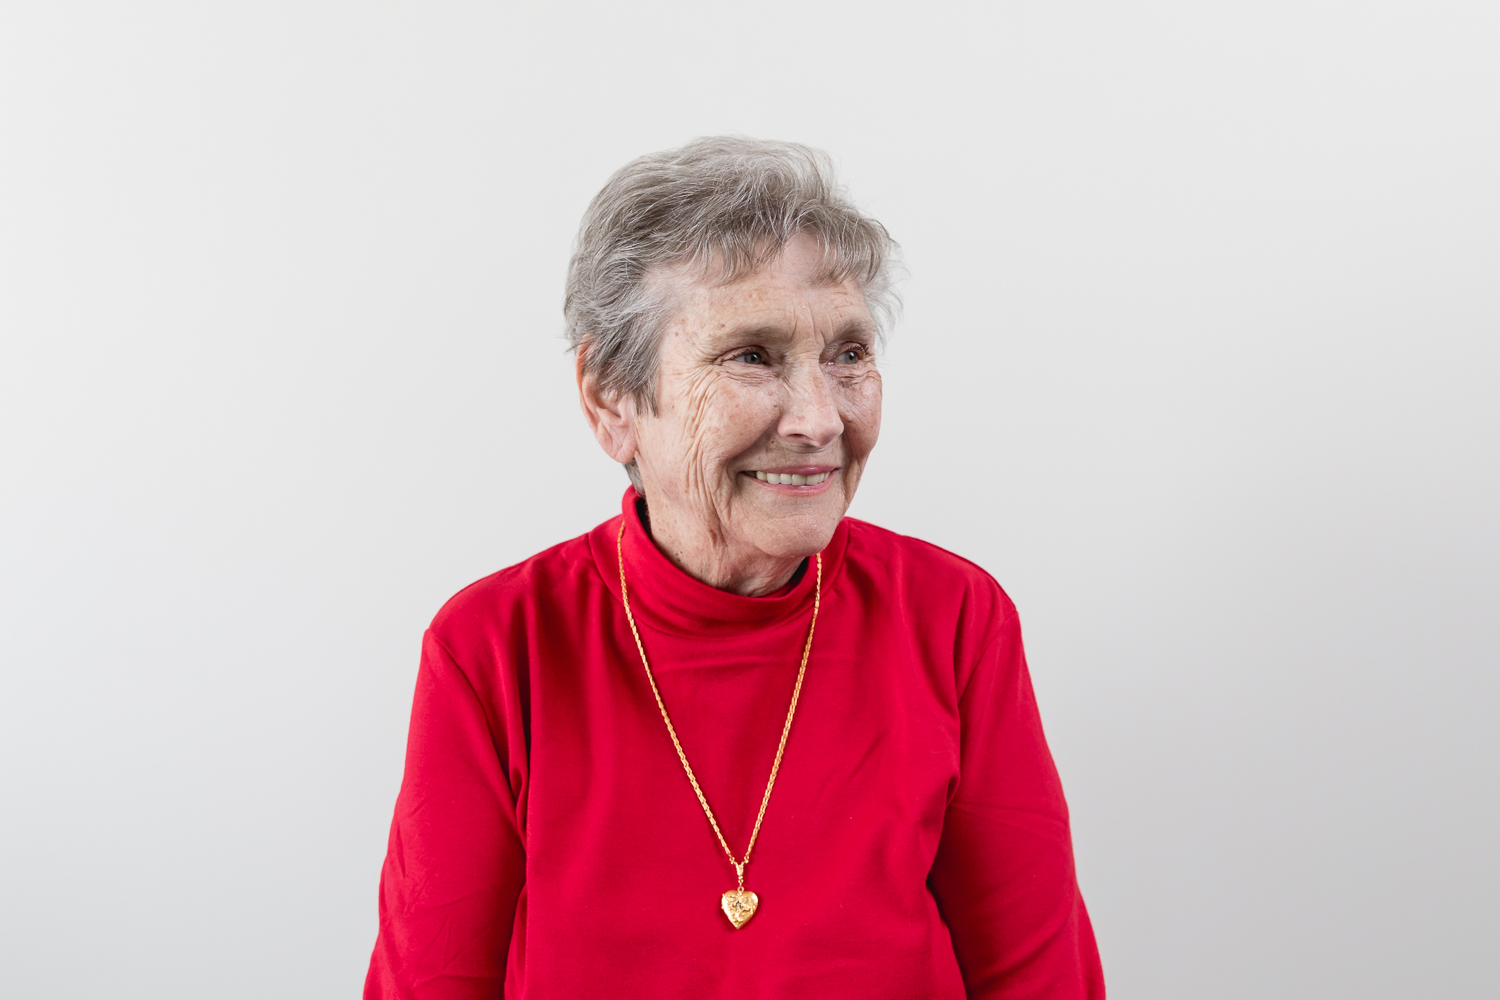
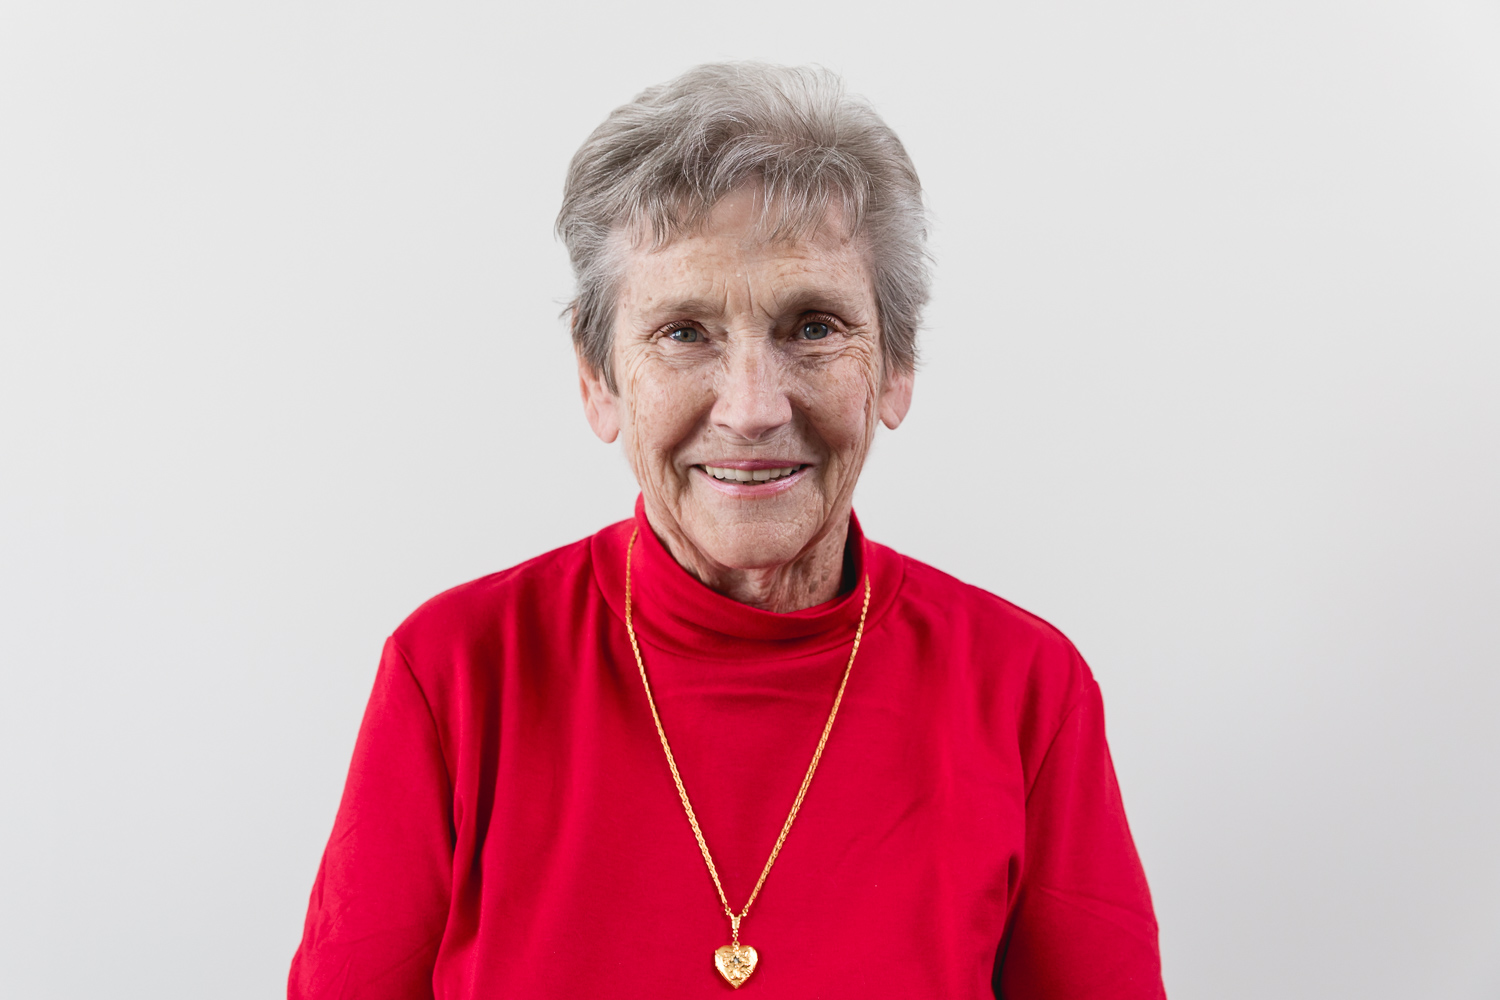
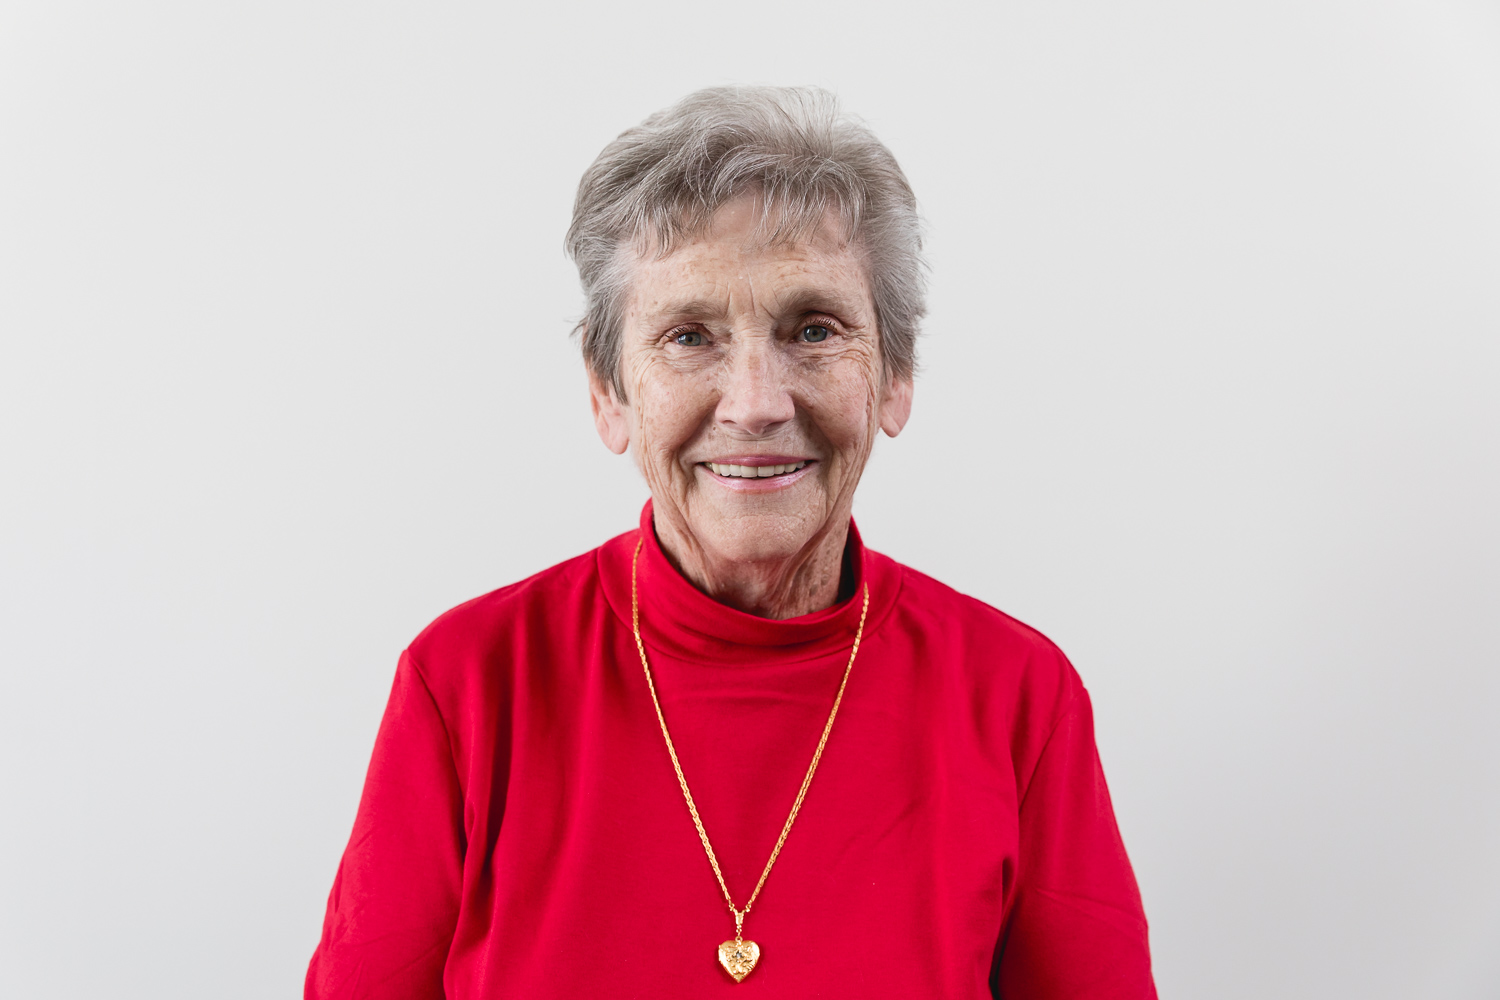
Recent clients including a married couple and a mother-in-law stop into the studio for some portraits... Group, couple and individual shots.

Here's how I went about capturing them.

--------------------------------------

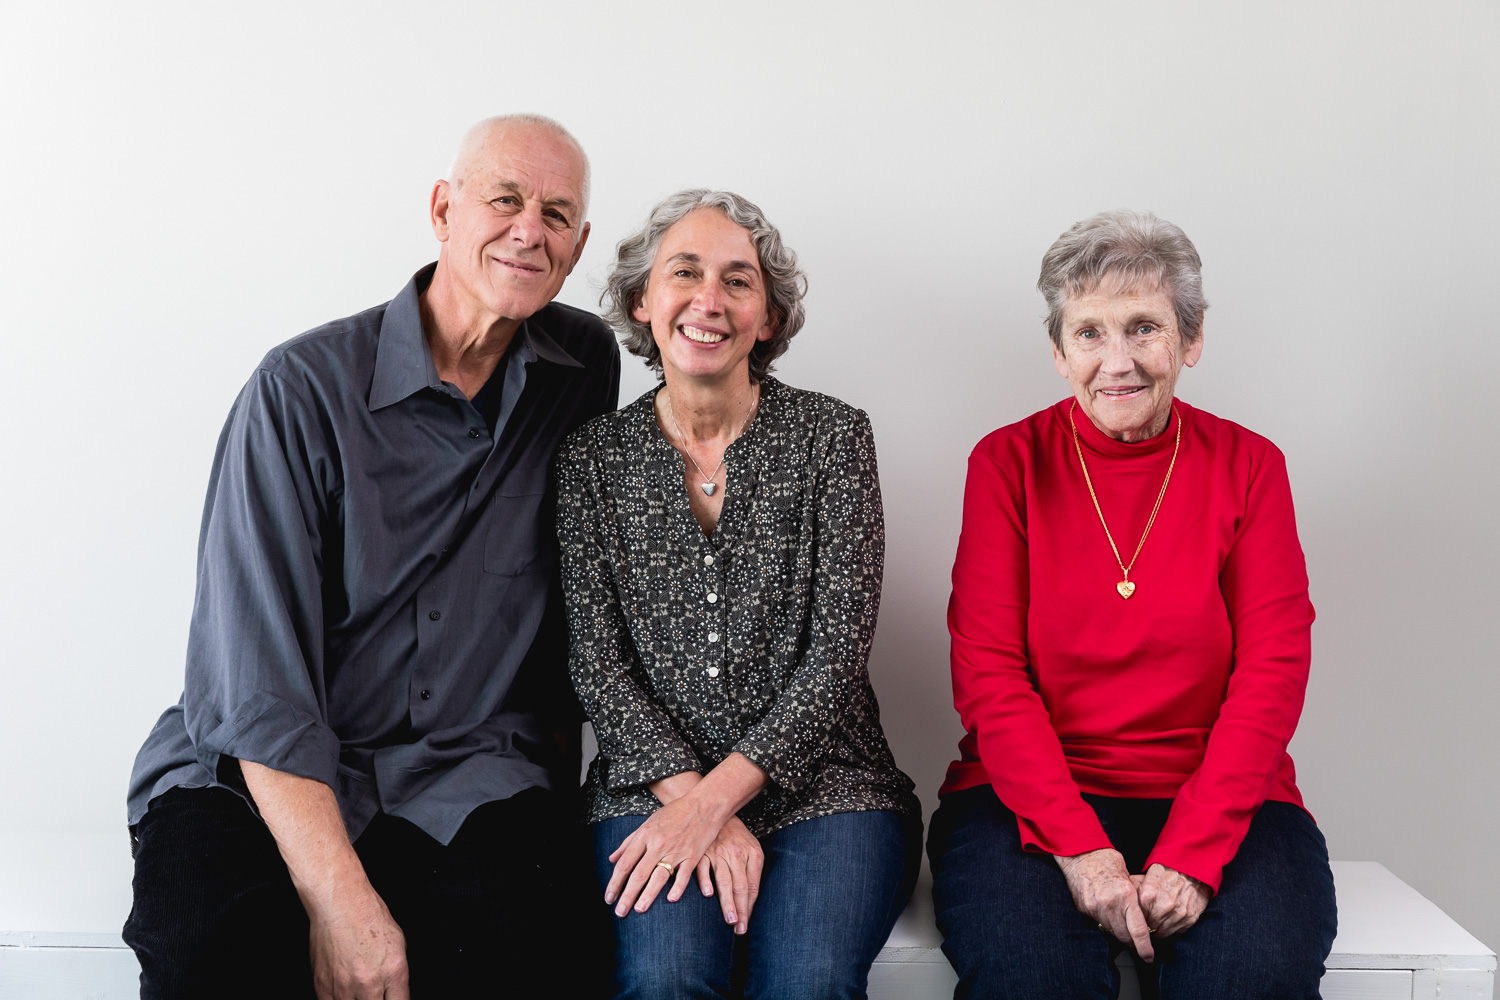
One of the "final" pics.

One of the "final" pics.

1. Before the shoot...

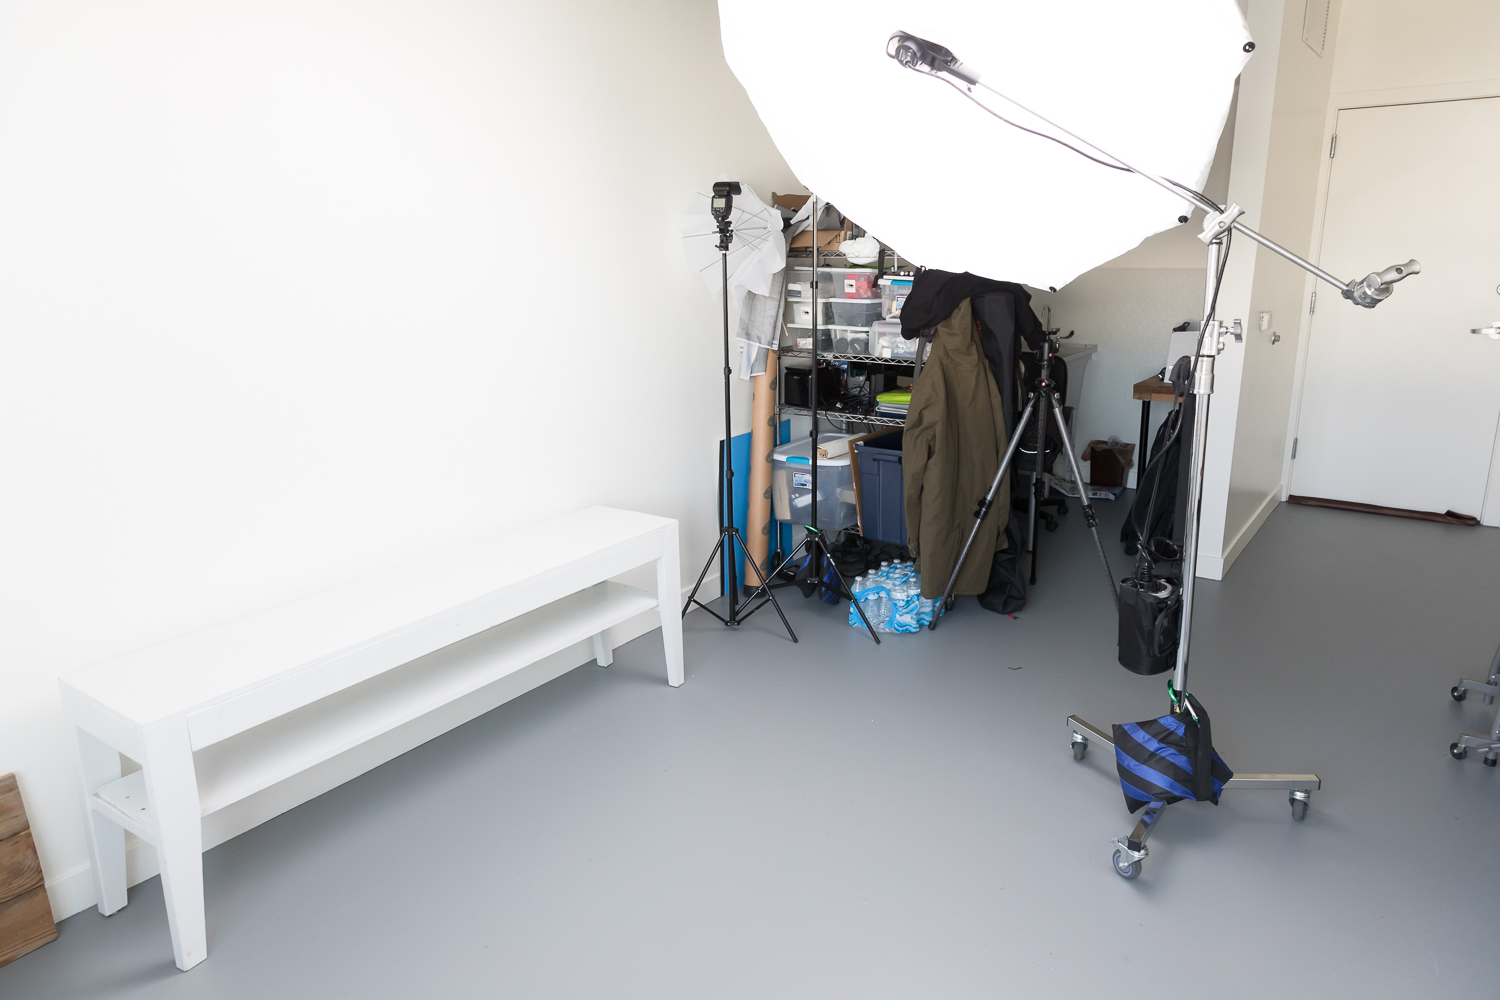
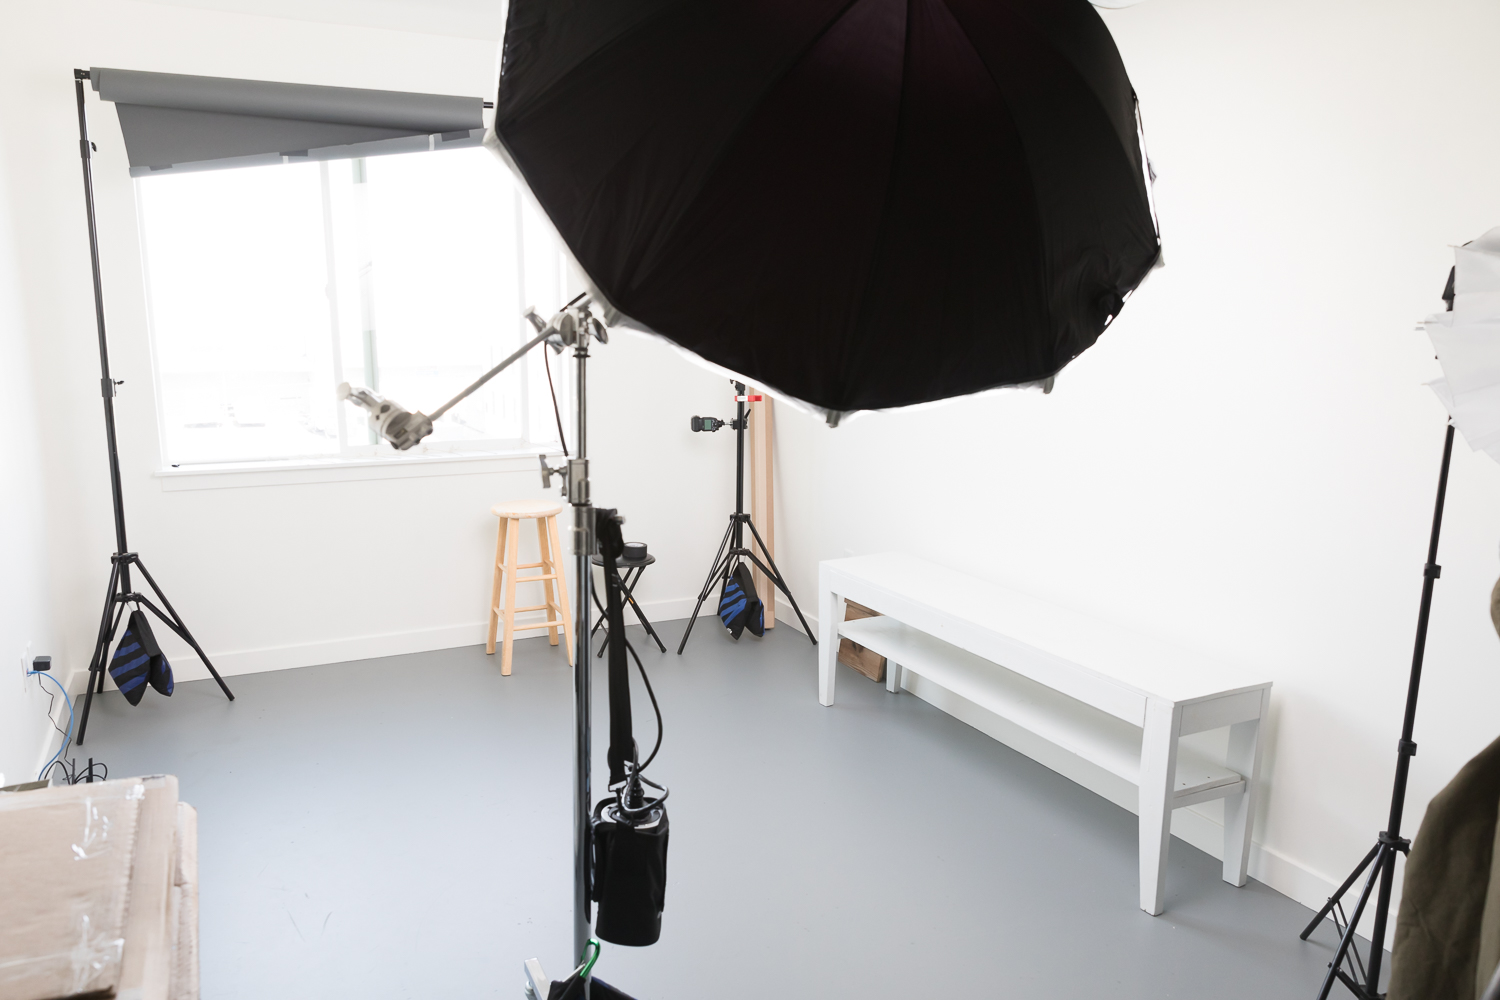
Now my studio space being of a modest size, but surrounded in white walls and a large window I decide to put my subjects on a bench at first for some comfortable sit down portraits. The bench is located about 8-10 inches away from the white wall acting as the background.

3E5A9149.jpg

The next step, position my lighting.

Now, you definitely can do natural lighting (there are some final shots with just that) but I wanted some really nice and evenly lit portraits at least at first. I want them to have that clean white background. I take my large 60" Photek Umbrella with diffusion and place it opposite of the window and facing slightly away from the subjects as to feather the light and allow bounce around the room for that even look.

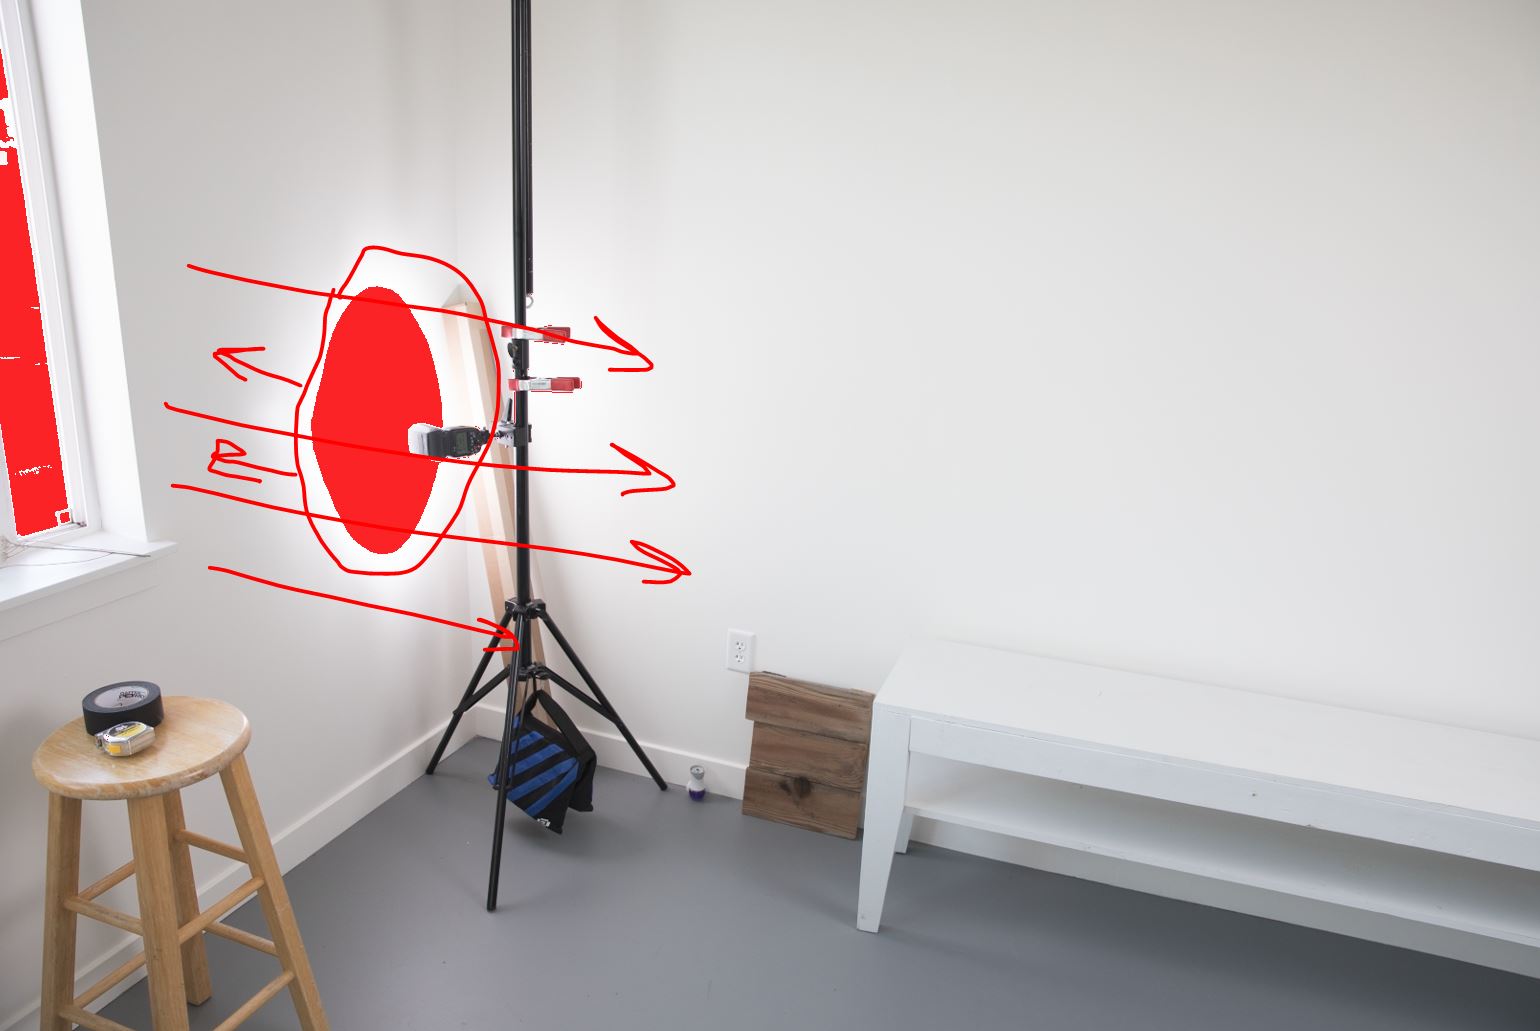
Now with that placed I look to fill in the slight shadows left. I use the small section of wall in between the window and the background wall to bounce a small speedlight source, making it much larger and softer than a plain head on shot from the speedlight. 

In this first shot, I have the speedlight positioned and take a test shot... I notice that the size of the bounce is not as big as it could be, I reposition the head and aim it up slightly for much more coverage.

Screenshot from Adobe Lightroom to help illustrate the spread of light using the highlights alert function. Notice how the red spotlight is much bigger with just a slight aim difference.


The Shoot...

After greeting my subjects, offering them a water, ask if the heat is ok (Shot in December)... I approach this group shot as I would a larger event like a wedding party. Start with everyone, then branch off into groups as no one likes to be the first victim and you can also group people back together after they are more warmed up so to speak.

I have this giant white bench normally used as my waiting, bag, purse holder. I use this as a easy first shot telling them just act like they are on a park bench of sorts, relaxed, no pressure, and I show them the results of the first few shots.

Next up...

I take the husband away and grab some shots of the mother/daughter. (Always be conscientious of your clients comfort level, I had this group next to give the mother a rest as she was elderly.)

Same lighting, I just move slightly closer and zoom in from around 45-50mm to about 60-65mm.

Working with families, non professionals etc etc, you will have things occur like breaking eye contact with the camera, fading attention and people will look at each other. Let em! It's all good and you will get some sweet moments in between. I will say that a quick "ok, eyes on me" will work once or twice but don't badger your subject, and also do not be silent Just let the mood flow, redirect as needed and give feedback. When you see something you like, a pose, a moment, say "oh that", "yes I like that" something small and positive. 

Next Up...

I grab my other model and swap him in. I give my cushion office chair to the mother and have her sit on camera right.

Same settings, same focal lengths basically. Now my subjects have been together for years and they are totally comfortable with each other, I guide them a tad with some standing position choices and let them have at it, only mentioning when to repeat a certain something.

*Note: These images, two of them are "cut off". Absolutely and my fault, i was chimping (not recommended all the time) and looking a images on the screen, then has this cute moment and I raised and shot and just cropped out the full shot. I keep them though because it still works, there is a great mood there. 

Next and last for this post I take some single images. This type of shoot is tricky because I am not a great poser (hehe... Poser)... But I do love it when my subjects are calm and comfortable. I grab some stools then, one tall and one short, I have them pick and position themselves. This serving the purpose of getting them in a position where in their head naturally comes forward giving emphasis on the face and two it gives a natural placement for the hands.

Same Light, same settings, I zoom in and out for the best composition ranging from 40-55mm.

Take Aways...

Editing was very light, only some highlight correction, lens correction, slight cropping and a bit of sharpening.


Gear Used

Canon 5D Mark IV

Canon 24-70 f/2.8 II

Flashpoint R2 Pro Remote Trigger

Xplor 600 Monolight

Photek 60" Umbrella

Yongnuo YN600EX-RT Speedlight

Impact C-Stand with Arm

Sand Bags!

And if you are interested in purchasing any of these, please follow the links here, it will help me out Thanks!

__________________________

Now, have any questions? Feedback? Hit me up! 

Either in the comments,  email me at Logan@.Lmsorenson.net or find me social media! @Lmsorenson

Until then...
Thank You For Looking!

If you are in need of a Photographer

Contact me at LOGAN@LMSORENSON.NET

or (801) 455-9957

QUESTIONS WELCOME!!!

Give a follow on

InstagramTwitterFacebookFlickr, Tumblr

YES You should scout out your next wedding venue - Searching the unknown.

Whenever accepting a new job, you always should ask a few questions.

...

One of the most important questions "Where will ______ be held?"

....
So, recently I met with an amazing couple to grab a coffee and discuss their upcoming wedding. After learning the facts such as how many guests, expectations of the bride, length of the event etc... These bits of info all really effect the other important bit of info on the location/venue.

They said that there was a ceremony at a neighborhood church, and then the reception at the mountain side Marriott Hotel in Salt Lake City. 

Now, having never been to these locations I always think it is a good idea to take 20 minutes and scout out these spaces before I show up and find myself unprepared.

-The Marriott-

(From Parking Lot)

Now, so far there is nothing crazy, you have to get in there, see the available area, but at least I know where to park now.

(Scan of the lobby)

(Opposite view just over the blacony)

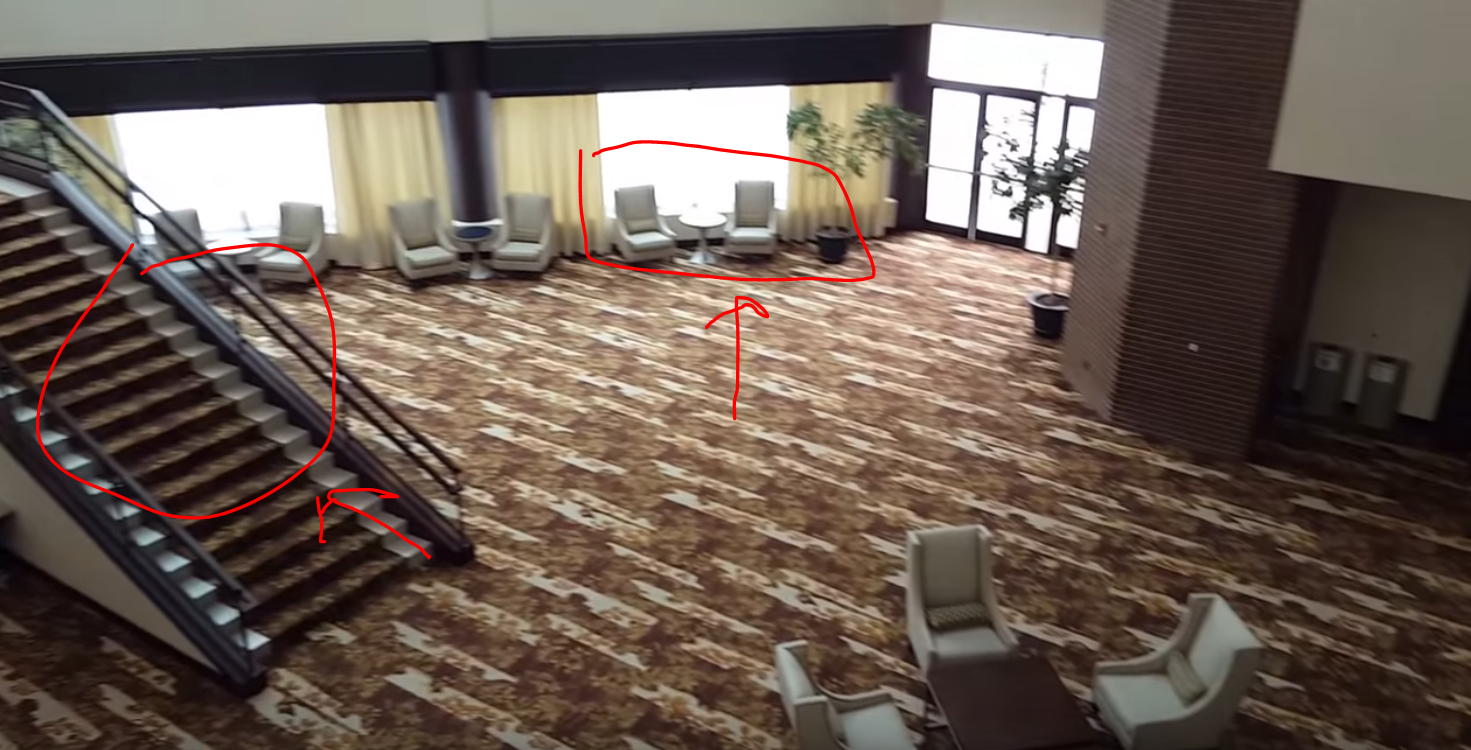
Now, getting the layout of the overall hotel, I can tell there is a lot of window light and spaces that I can sneak the couple out for shots when I can. 

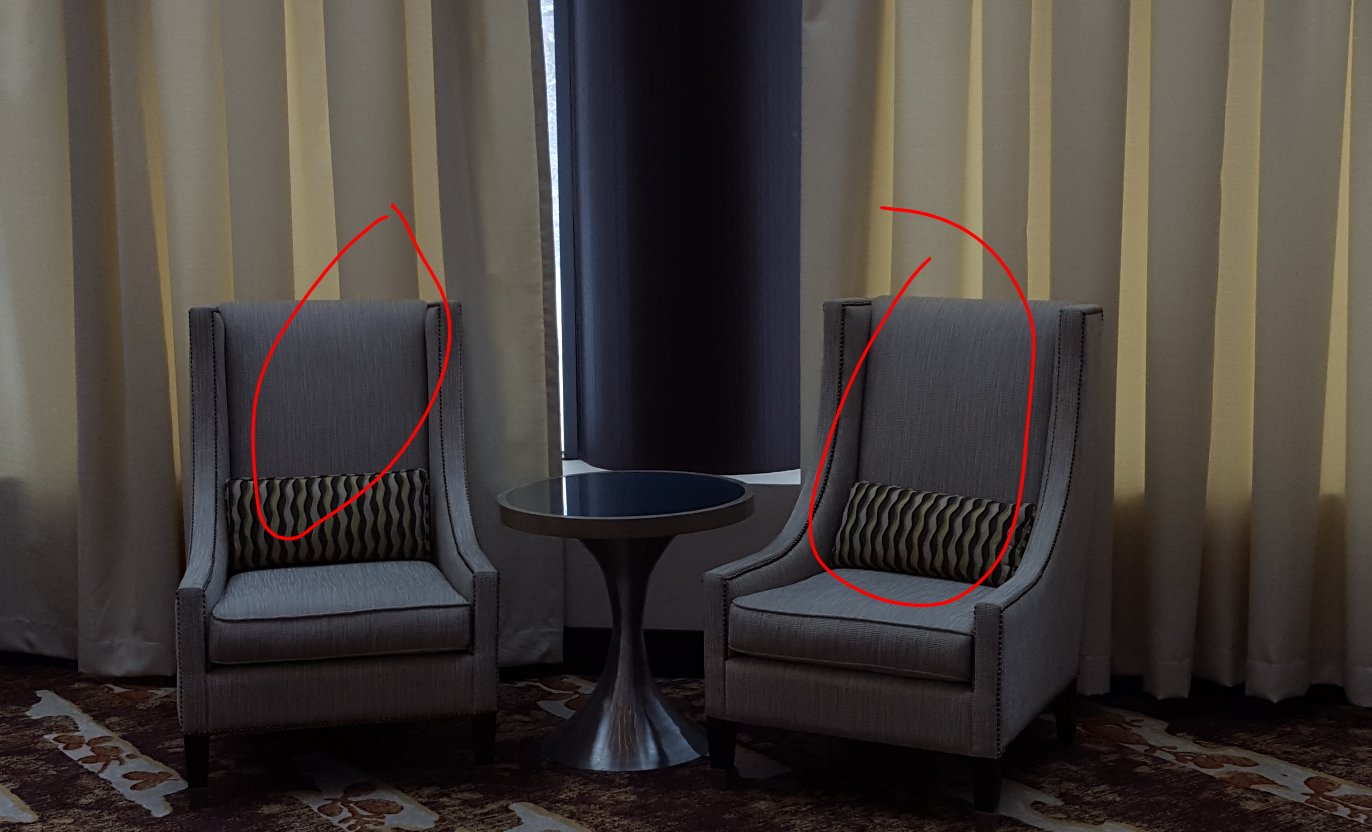
I can place them in chairs, with and without windows open.. etc As seen below. Getting some really nice portrait set ups.

Then, the venue/main area which is on the lower level of the hotel.

The entrance is just near the fore mentioned chairs and at the bottom of this staircase.

Entering the room I was told the dividers would be up, but the room is usually un-sectioned off and ready for large groups. Pictured below, you can see the divider and the general layout of the space (what is viewed here is onnly 1/3 of the overall space.

Now... The last thing to check out is the small patio area that should be available for shooting some portraits.

(*Note these images were taken if Feb. and the event is in April, so the presence of snow is not expected the day of.) 


So what?

What does this even do, scouting a location, finding out what to expect?

Ok, well I will break down what it means to me.

1. I now know where I can park...

2. I know how far I might need to unload lights, carry bags, where I can set and set up these this as well...

3. I need to bring lights! From this mini tour I have seen that while the lobby and open area of the lower floor have a good level of light, lots from windows. Then room itself, assigned for the event has zero windows and only (warm) lighting from the ceiling...

4. There are a bunch of spots to steal the couple away for some quick portraits... 

(I can use chairs, window light, brick wall outside, the tree line outside, the archway outside, the staircase shooting up at the couple... I can put them against a blank wall I can shoot down from the top level getting them and the pattern on the carpet.)

Anyway!

Basically, I now feel more prepped for this event, I feel excited about the opportunities and the shots I can get. I know where my equipment can be set up and have that out of my mind to focus on the tasks at hand. 

Now I can get the couple, my client... The best photos I can.


Thanks for looking!

If you are in need of a Photographer,

Be sure to let me know your thoughts and of course,

Be sure to contact me at LOGAN@LMSORENSON.NET 

or catch me at (801) 455-9957

And definitely, follow on

 InstagramTwitterFacebookFlick500pxTumblr


'How to' - Selling (Photography Gear) Online

I have experienced a fair amount in selling small electronics and photography equipment online and have some tips on making a good sale and avoiding pitfalls...

Recently I sold a camera lens I had grown out of. This item sold within a few hours. Using this recent sale as an example, here are a few suggestions when listing your gear or accessories on sites like Craigslist, classified ad sites or trade based web forums.

1. Always include good photos!

This may seem like common sense but I cannot tell you how often I see an ad where: there are not enough pictures uploaded, the pictures they have uploaded are blurry and/or not exposed well, or worse there are none at all. There is no excuse for skipping this essential step, especially if you are a photographer, you should have equipment around to make good images.  

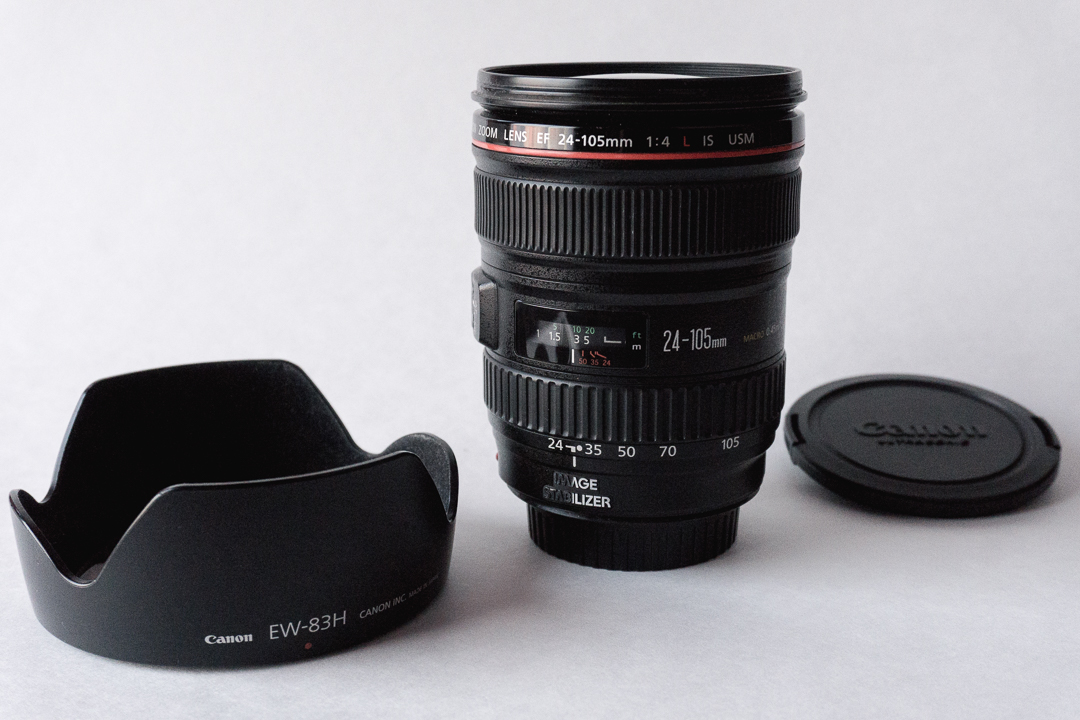
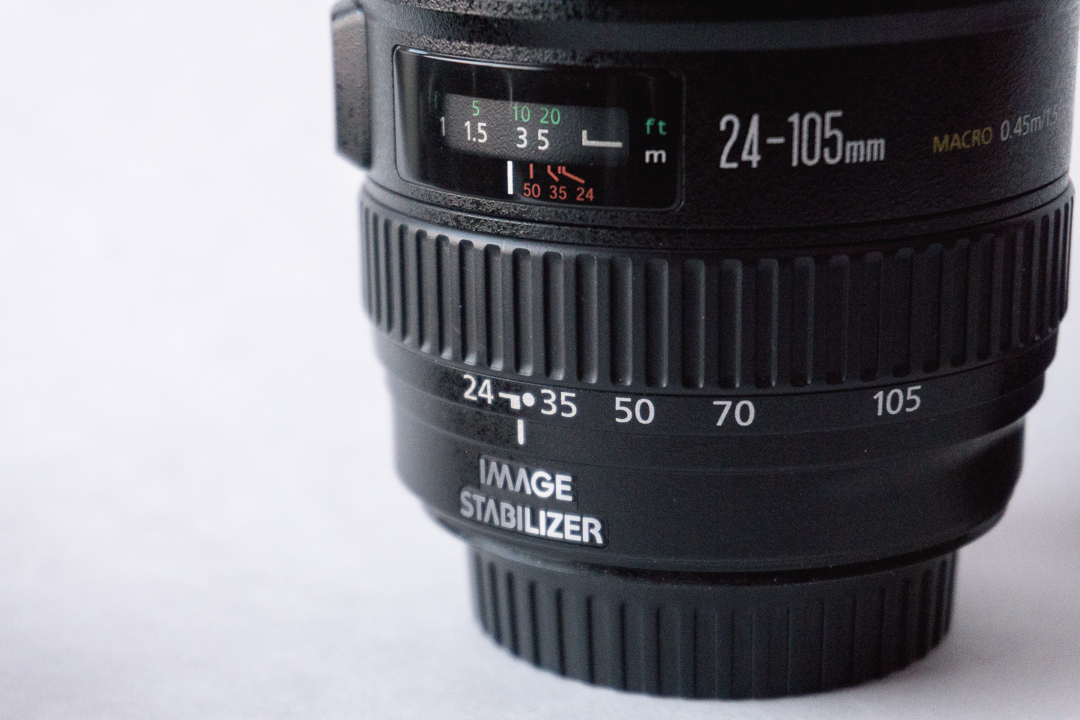
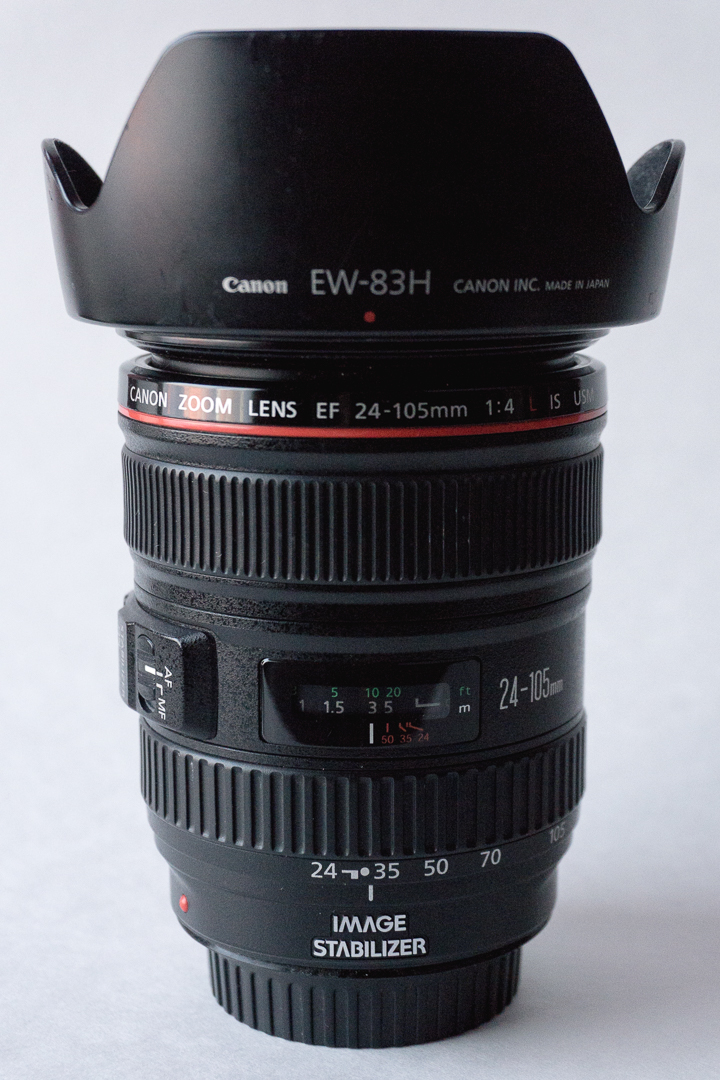
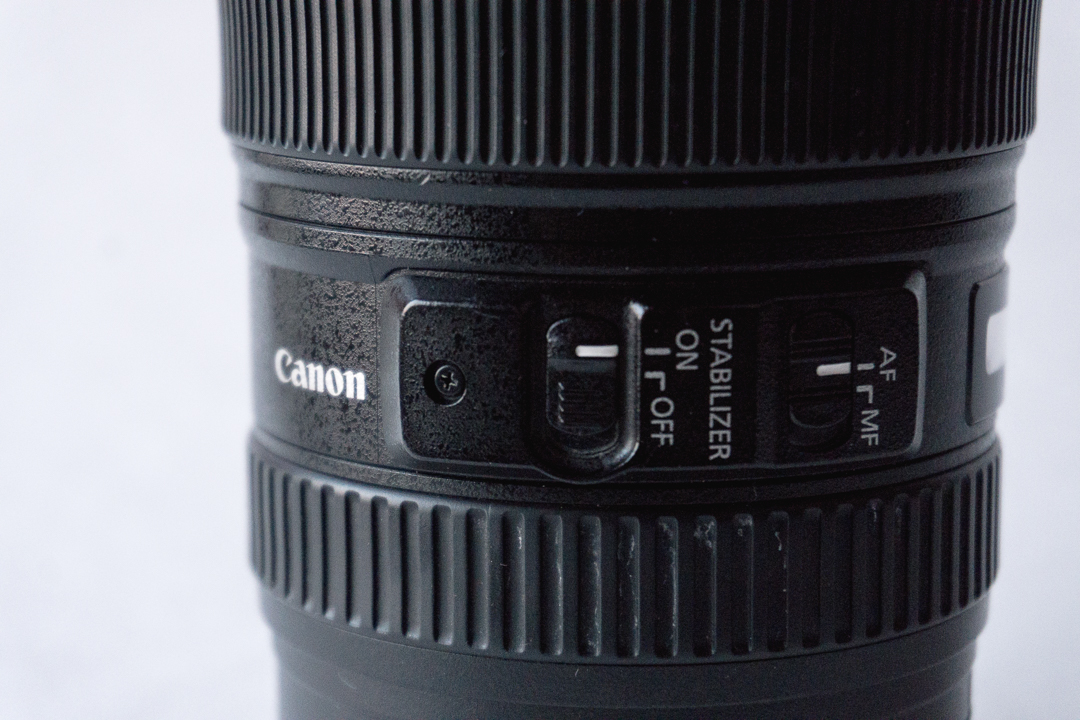
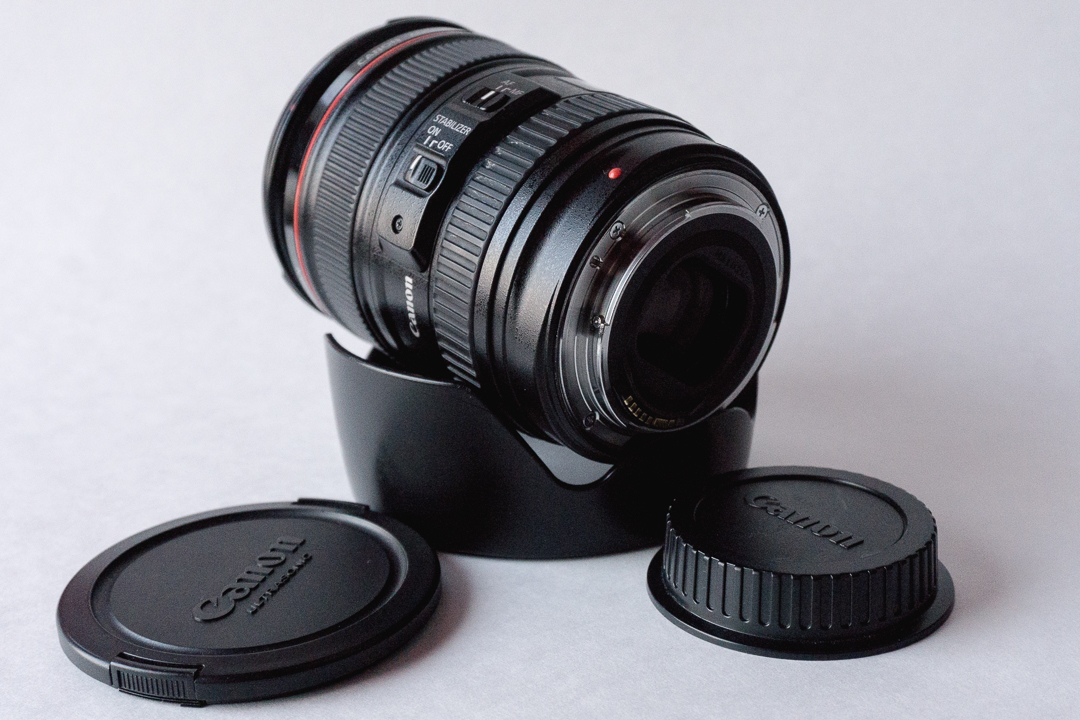
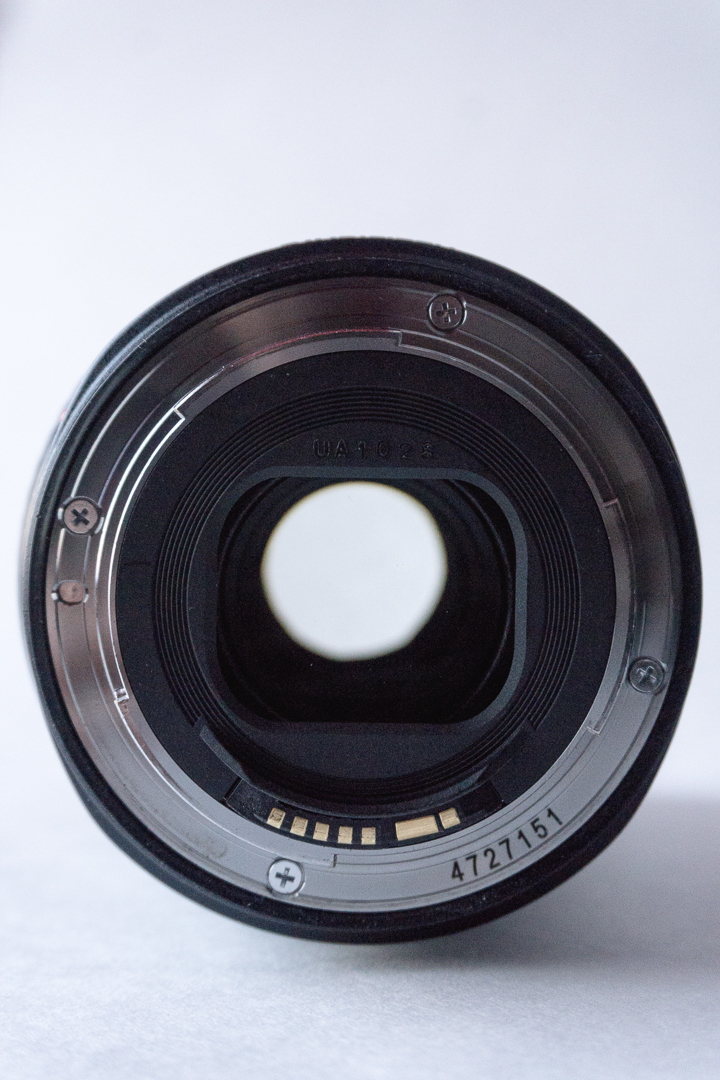
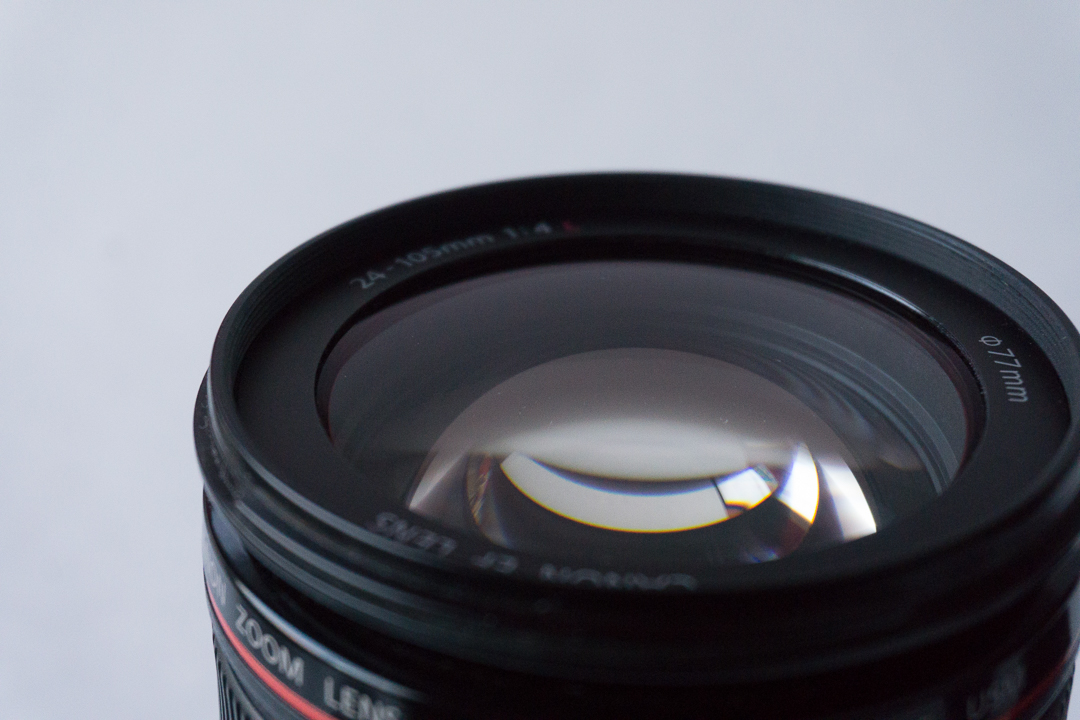
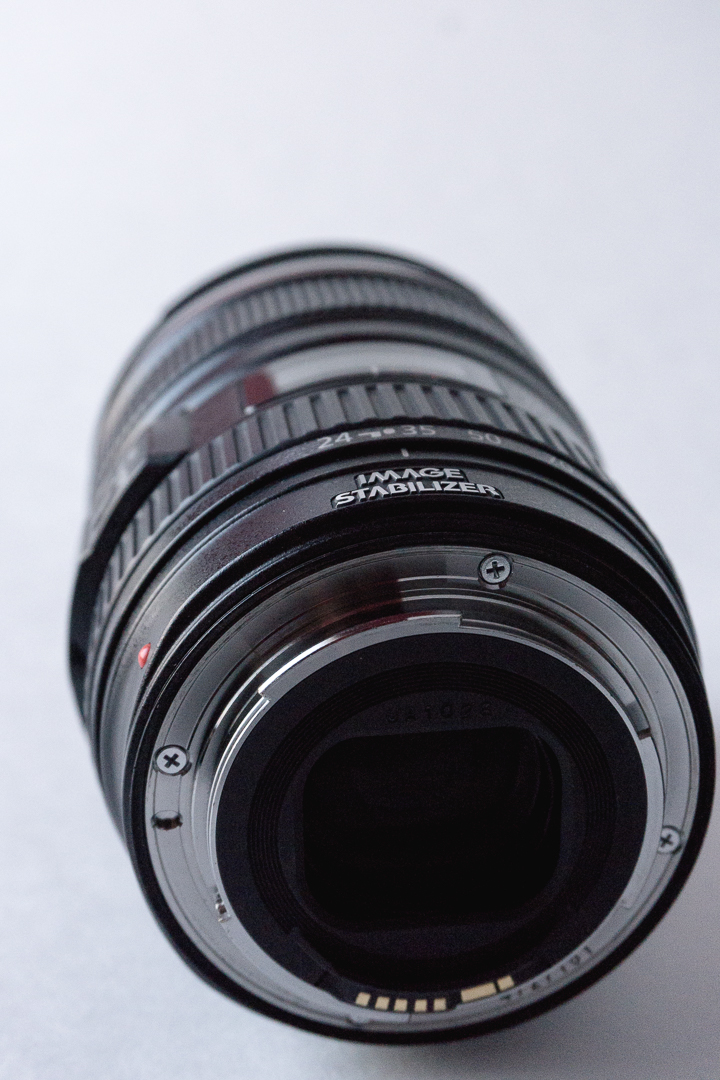
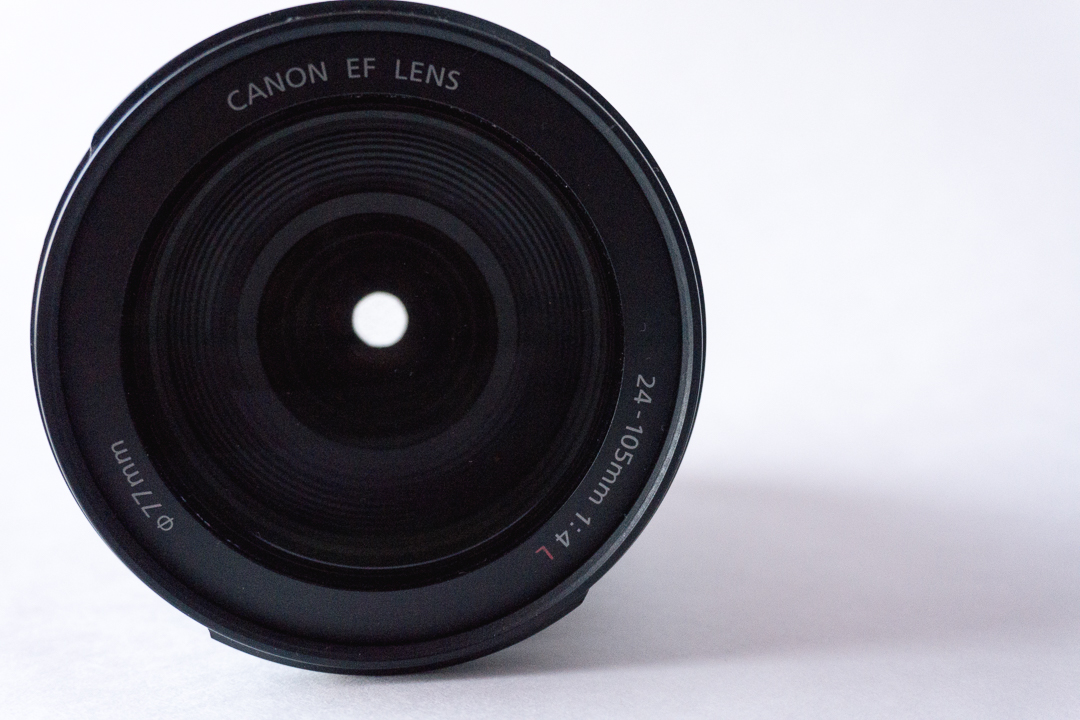
Below are the actual images from my recent listing and pointers for what to include in yours.

- Make your main image/main thumbnail a great single view of the item(s), filling the frame with a clean background (if there are parts, other accessories, include them).

- Show multiple angles in your images, such as left, right, top, and bottom get up close. In the case of a lens, I show the glass element, the cap, the hood, the focus ring and switches.

- DO NOT neglect to show any nicks and dings in your images! If you are selling something that is used, it is probably not going to look perfect, that is totally ok and you should be upfront about any sort of damage both cosmetic and mechanical. Not divulging these things can a make buyer back out of the sale.

- DO show the good condition. If you are selling something and you have taken good care of it you will want to accentuate that. A "like new" lens will sell much faster than "good" one and serious buyers will definitely be taking this into their decision to choose yours. *The buyer of my lens was particularly pleased with the images and condition, mentioning multiple times that this was a big part of choosing mine over others listed at similar and lower price.

2. Filling in your ad.

(Examples below for Craigslist).

1. Select whether you want to use your email (Craigslist will forward messages to you using CL relay) or select to not use email.

2. Select if you would prefer phone calls and or text messages then enter a good number to reach you. This is in addition to or instead of email.

3. The title of your ad is very important, you should have accurate, to the point text. Leaving further details for the body of the post. *Most things on Craigslist are sold as used, if you have a new item be sure to include that condition in your title.

4. Put an appropriate price! Most sites will require you to put price before you can publish your ad but I would not recommend entering "$1" to fill this box. Two reasons not to do this are: If you are listing a lens and your price is $300. Someone searching for that lenses enters their budget of 200-400, this buyer might never see your ad, because $1 listings have been excluded from their search! The other reason is that you may discourage serious buyers who know what they are looking for and what they want to spend. They will not want to haggle with you and compete with other buyers. Unless you are listing on eBay.

5. You should be direct and accurate with the body of your ad. Include any number of the following: where/when you purchased, your good experience(s), your issues if any and your reasons for selling. Be sure to include exactly what is included in the sale such as: any box, paperwork, accessories, specify if there is something missing from your original purchase and just as in the images, scratches, dents and damage should always be in your description.

6. If your item has a certain Manufacturer or Model number, you can enter it for more specific searches.

*Bonus, checking the "Include more ads" will show buyers your other active Craigslist ads.

3. Beware of scams!

So your ad is now online. When you start to receive messages from potential buyers, some of them are bound to be scam artists. Here are some things to look out for.

In the image below you can see an actual text message thread between myself and a scam artist.

1. Scam text messages will usually ask if you still have the item for sale, while also copy/pasting the title of the ad and having sentences in the wrong order in an oddly structured manner.

2. With a response of "Yes I still have this item for sale" from you, they might now ask you for your price even if you have listed your price already. A real buyer might word their question differently, such as "Can you go any lower on the price?" or "Would you accept $280?". 

3. Then if you respond with your price, this is the point where scam artist will tell you that they are willing to pay your price. They may claim to live locally but will ask you to ship to an address outside of your state or country, making an excuse that they are out of town, in the military or otherwise unable for anything local. They will always attempt to convince you to accept a cashier's check/money order or PayPal as payment.

With accepting a cashiers check/money order, they will mail you a fraudulent check that if you try to deposit you will find there will be a hold on your account for days wherein no funds will arrive, the scam being they hope you have shipped the item to them before realizing you have no new funds.

Secondly, PayPal is normally a secure way to transfer money and pay online but with this particular email scam the perpetrator will offer to transfer you money but instead, they only send you a fabricated email that is intended to look as if it is from PayPal and that you should ship the item immediately. Here are some things to look for.

*Below is an example, an actual email from a scam artist that I told (for purposes of this post) I would accept PayPal as payment. Once they had my email address, they sent me this fake message.

1. Notice that the sending email address is suspicious. Using "pay.palverificationagency@ovi.com" to fool you into thinking this is in fact from PayPal. A legitimate email would end in "@paypal.com"

2. This obstructive graphic has been inserted into the header of the email, this is just an image that they have googled and included in this email, PayPal does not include more than their logo in emails notifying account holders of payments.

3. While a legitimate PayPal email may include a logo similar to this, it will not include the phrase "powered by" that is a trademark only used for marking devices or websites that accept PayPal as payment, not for communication to users.

4. PayPal will never address you as your email address, they will instead use your full name or company name as they have in their records. Remember you have not given this scam artist your full name, just your email address.

5. PayPal will not include the use of colored text or all capital letters. Note the odd sentence structure used in trying to convince you to ship immediately to receive payment. Payment funds should be made to you immediately after they are transferred. PayPal does not impose a time limit or payment restriction based upon on shipments or tracking numbers.

6. Attempting to impose a sense of urgency, they demand a tracking number in order for you to receive your funds. (*Again note the incorrect sentence structure).

7. Emails from scam artists will included links to "Click here" to check your account. DO NOT. This may lead to you to any site of their choosing resulting in possible spyware and or viruses being installed on your computer. Instead choose to check your account by opening a new browser and entering in www.paypal.com.

8. PayPal account holders (at least in the US) should receive emails from PayPal ending in the address of their California headquarters and not a foreign address.

9. Bonus! There are so many graphics and images! This is an overzealous attempt to convince you that this email is legitimate.

WHAT IS REAL THEN?

Below I have included what you might expect to receive from PayPal in the event of a successful payment being deposited to your PayPal account. (*Black marks for my client's privacy).

1. Note the sending address ending in "@PayPal.com" with the full name of the buyer included.

2. The date and time of your email/transaction will be listed in this top corner.

3. The seller's PayPal username will be included in multiple places throughout this email.

4. Transaction ID listed will match the records when you log into your account.

5. The amount transferred will be shown here, matching the amount in your account.

6. This area will contain any notes added by the buyer, normally including something such as "For camera lens".

7. There will be a link to check your account however, I personally always prefer to manually enter Paypal.com rather than use a link in any email. This is a good practice for any site/service that might have your financial information in their records.

8. While it is true that it may take minutes for your funds to show, it will always be available regardless of any shipment confirmation. 

9. The buyer's full name and shipping address should be provided here. 

10. PayPal headquarters address will be included here, located in California, US.

11. Unique email ID will be included here, you can verify this in your account as well.

Phew! ...

That is a lot of information, if you have more questions I would suggest checking out PayPal's own page on how to spot a scam...

(https://www.paypal.com/webapps/mpp/security/common-scams)

4. Actually Making the Sale.

So you have avoided scams and found a real buyer. How do you facilitate the actual sale?

After some back and forth with the buyer, you have negotiated a price that is reasonable for both parties. You now have to decide a few things, when to meet, where to meet, drop off, or pick up?

Here are a few pointers for transacting a smooth sale.

a. I will always ask either if they have a specific day and time they want to meet, if they are        not sure, I will provide them with a few days and times that I am available that week and go from there.

b. Personally, I prefer to meet in a public place rather than in private. Coffee shops are usually my go to place but I will sometimes offer to drop off something if they are ok with that and are close by. This has been a good option for people who work different hours and they can just take a quick break to make the transaction.

 c. When you have agreed on a date and time I would suggest being a few minutes early grab a table or stay in the parking lot and give a friendly text message that you are there. Also give a quick description of your car, your outfit etc. to easily pick you out if it gets crowded. 

d. Depending on what you are selling, the buyer may want to inspect, test and even ask a few follow up questions, this is totally normal. Once they are satisfied they should provide you with their payment, make sure to count it and then thank them for their time and be on your way.

*Some buyers will even have you sign a bill of sale once you meet and the sale is just about final. Depending on what is being sold, this protects them in case they were accused of theft. Not every transaction will need this, but it is not uncommon.

BAM!

You're done! You made your sale and now have a good experience to recreate with your future sales.

I hope this has been helpful and thank you for reading!


Thank you for your time, if you liked this content, please share an be sure to find me on

INSTAGRAM       |       TWITTER       |       FACEBOOK |          FLICKR


If you are in need of photography work you can contact me at

LOGAN@LMSORENSON.NET