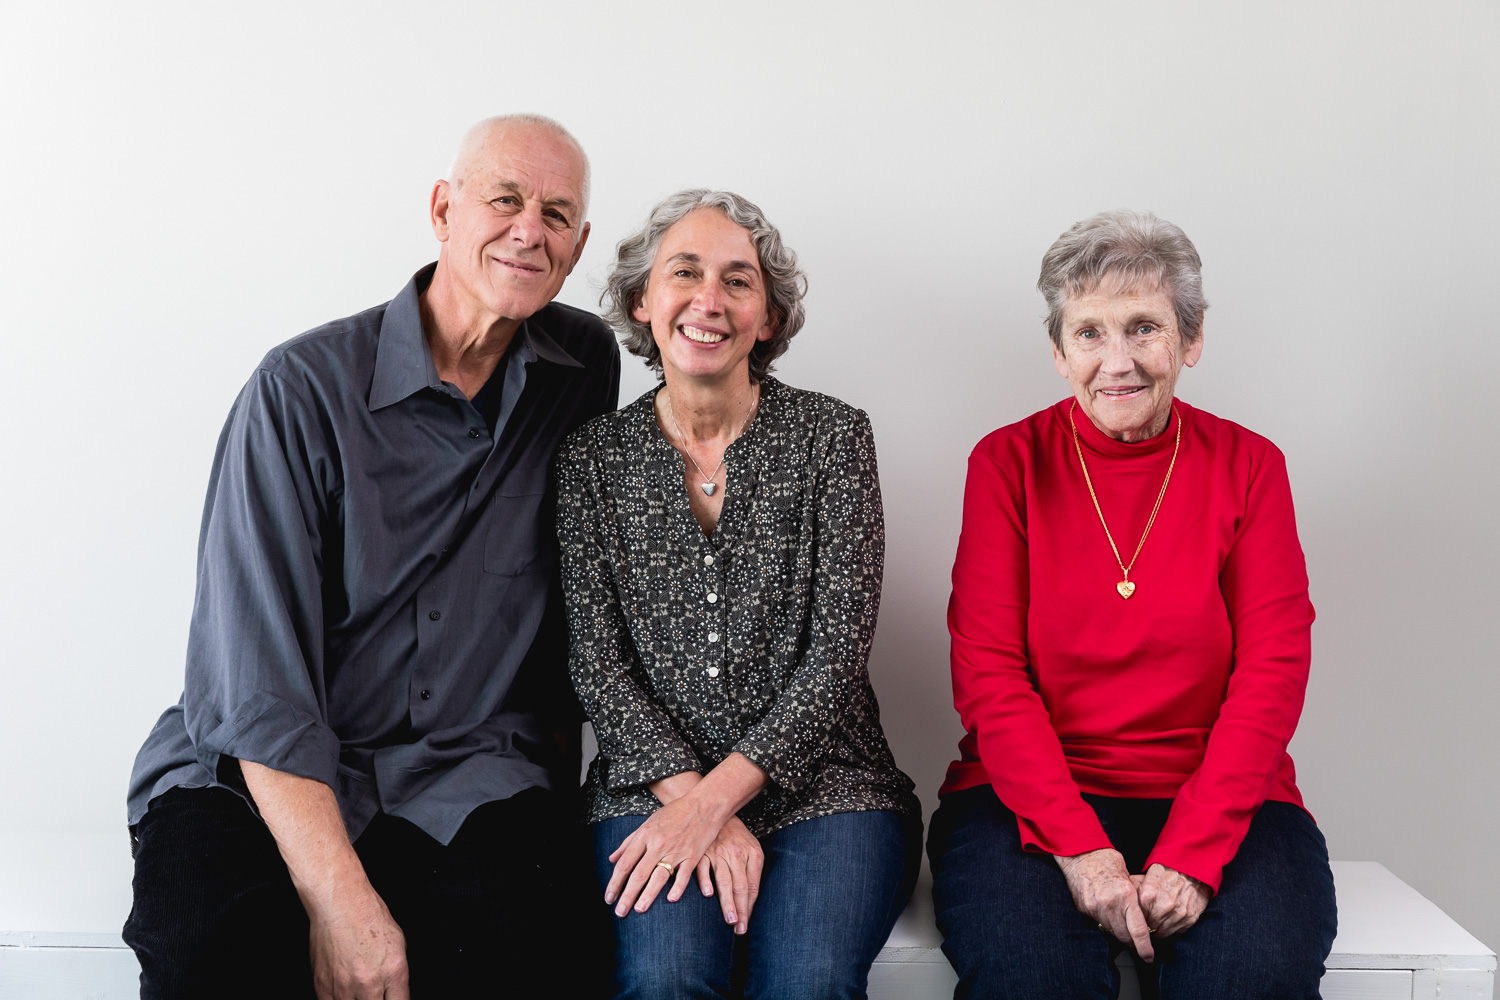
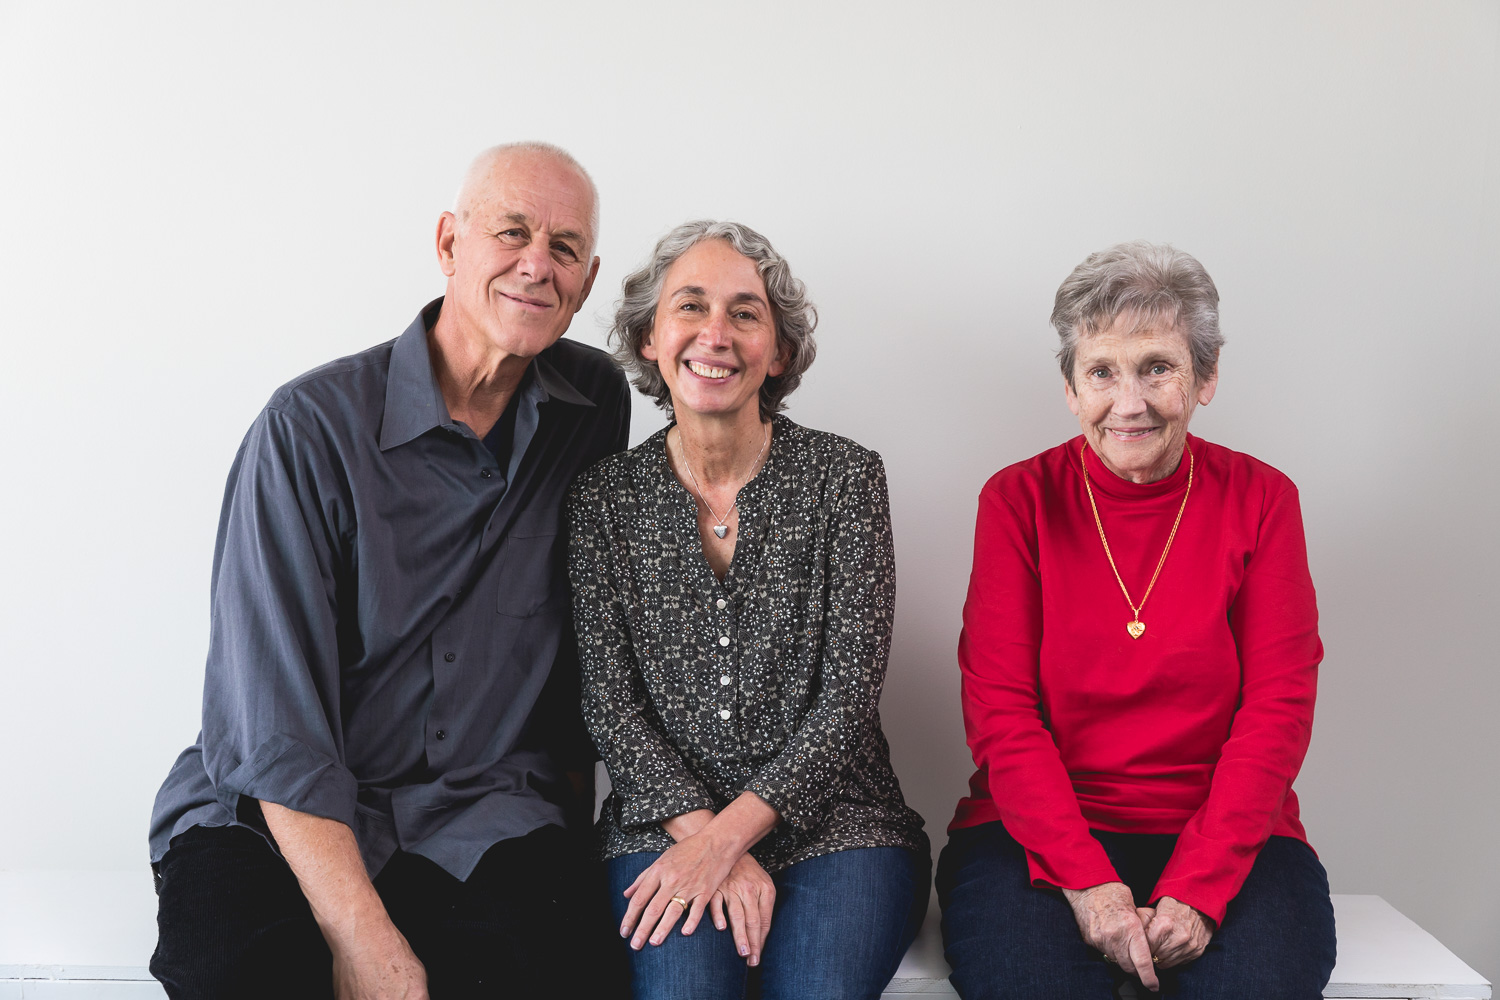
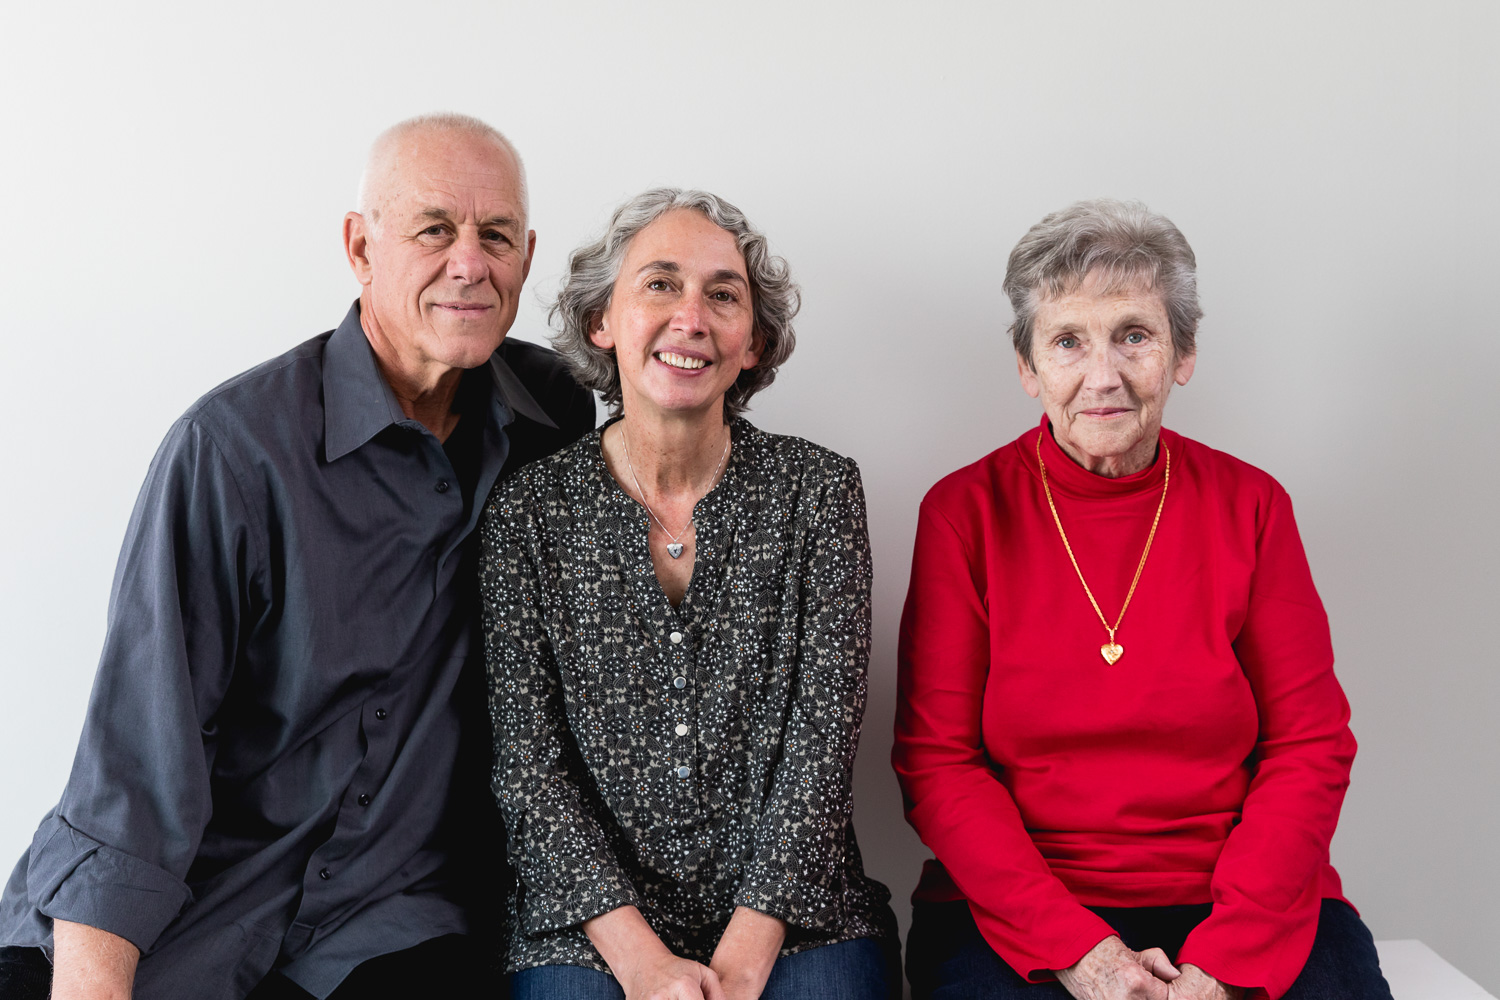
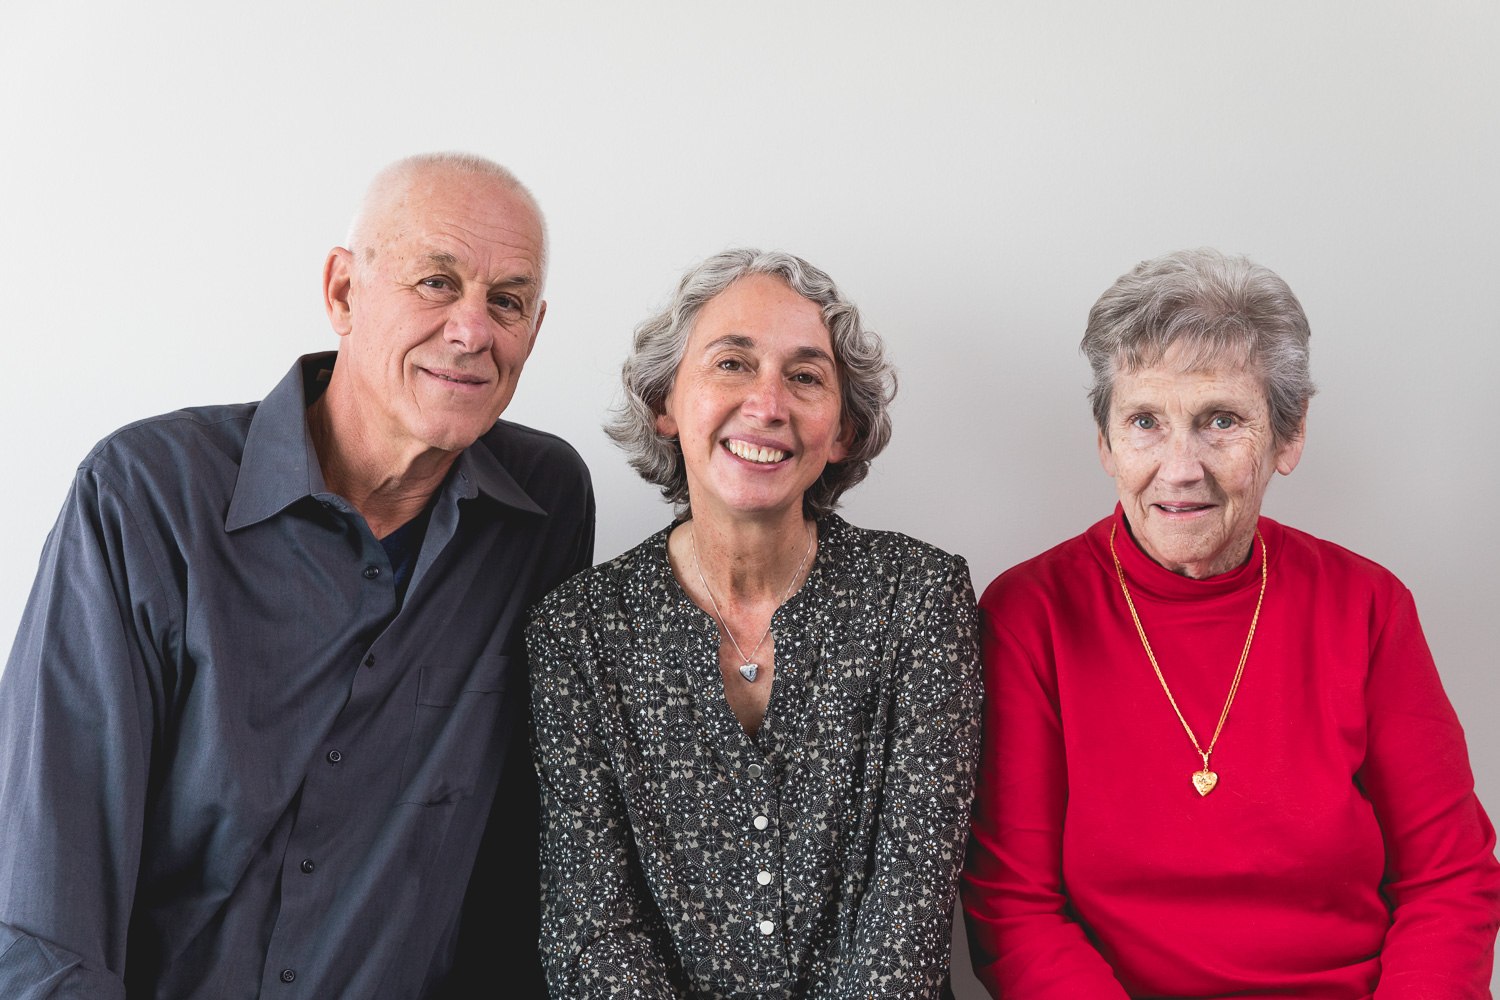
Recent clients including a married couple and a mother-in-law stop into the studio for some portraits... Group, couple and individual shots.
Here's how I went about capturing them.
--------------------------------------

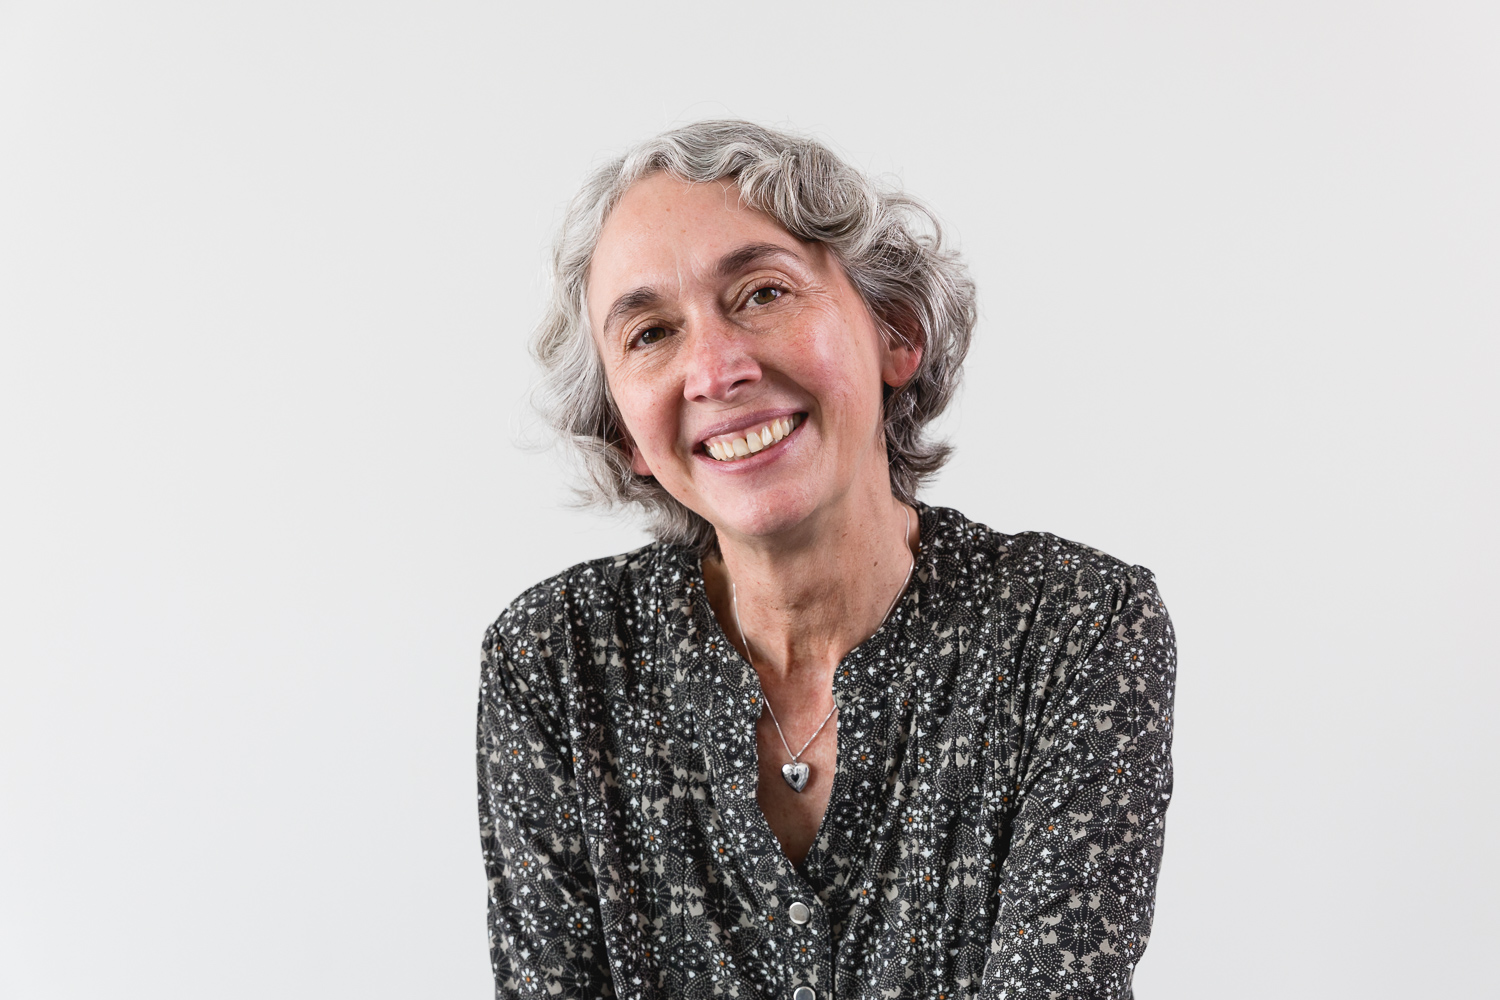
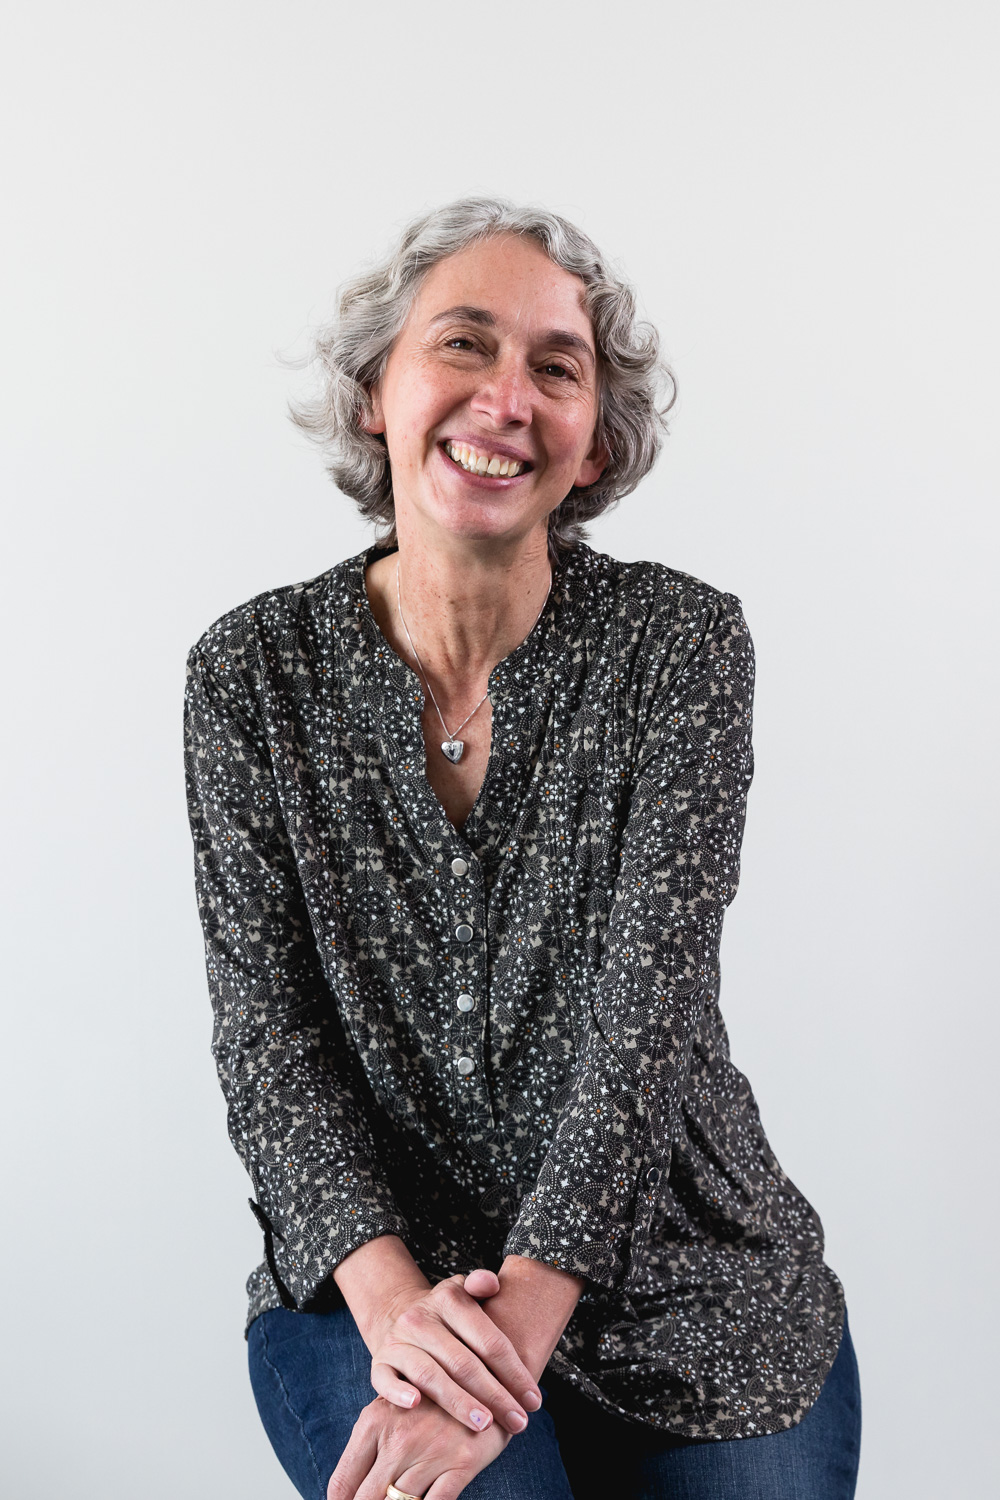
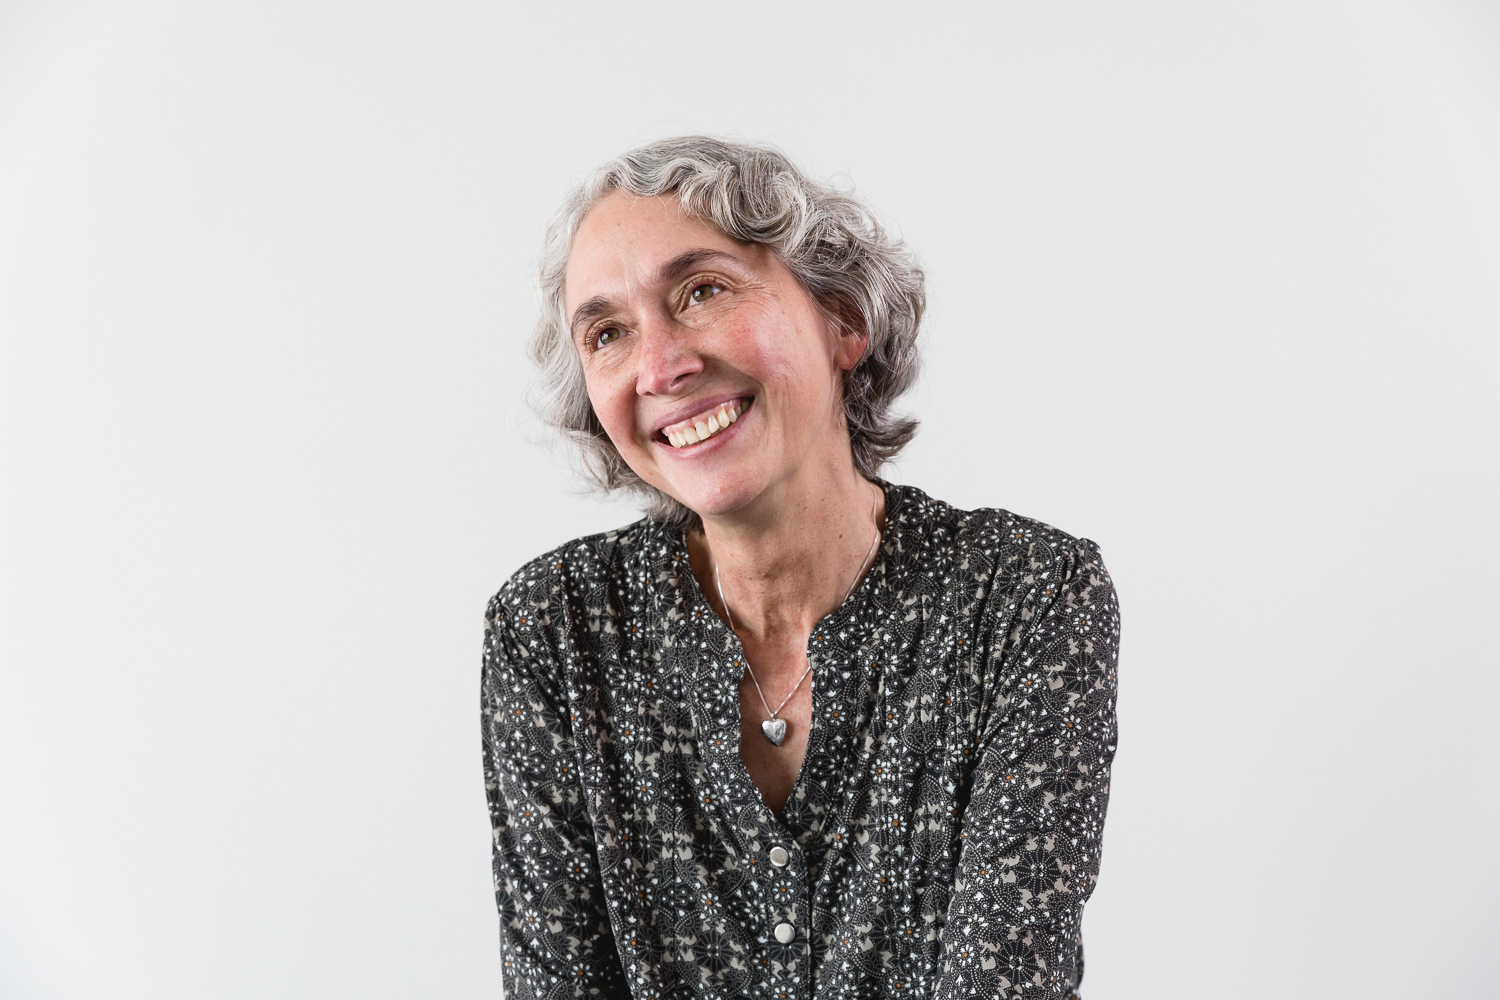
One of the "final" pics.
1. Before the shoot...
Now my studio space being of a modest size, but surrounded in white walls and a large window I decide to put my subjects on a bench at first for some comfortable sit down portraits. The bench is located about 8-10 inches away from the white wall acting as the background.

The next step, position my lighting.
Now, you definitely can do natural lighting (there are some final shots with just that) but I wanted some really nice and evenly lit portraits at least at first. I want them to have that clean white background. I take my large 60" Photek Umbrella with diffusion and place it opposite of the window and facing slightly away from the subjects as to feather the light and allow bounce around the room for that even look.
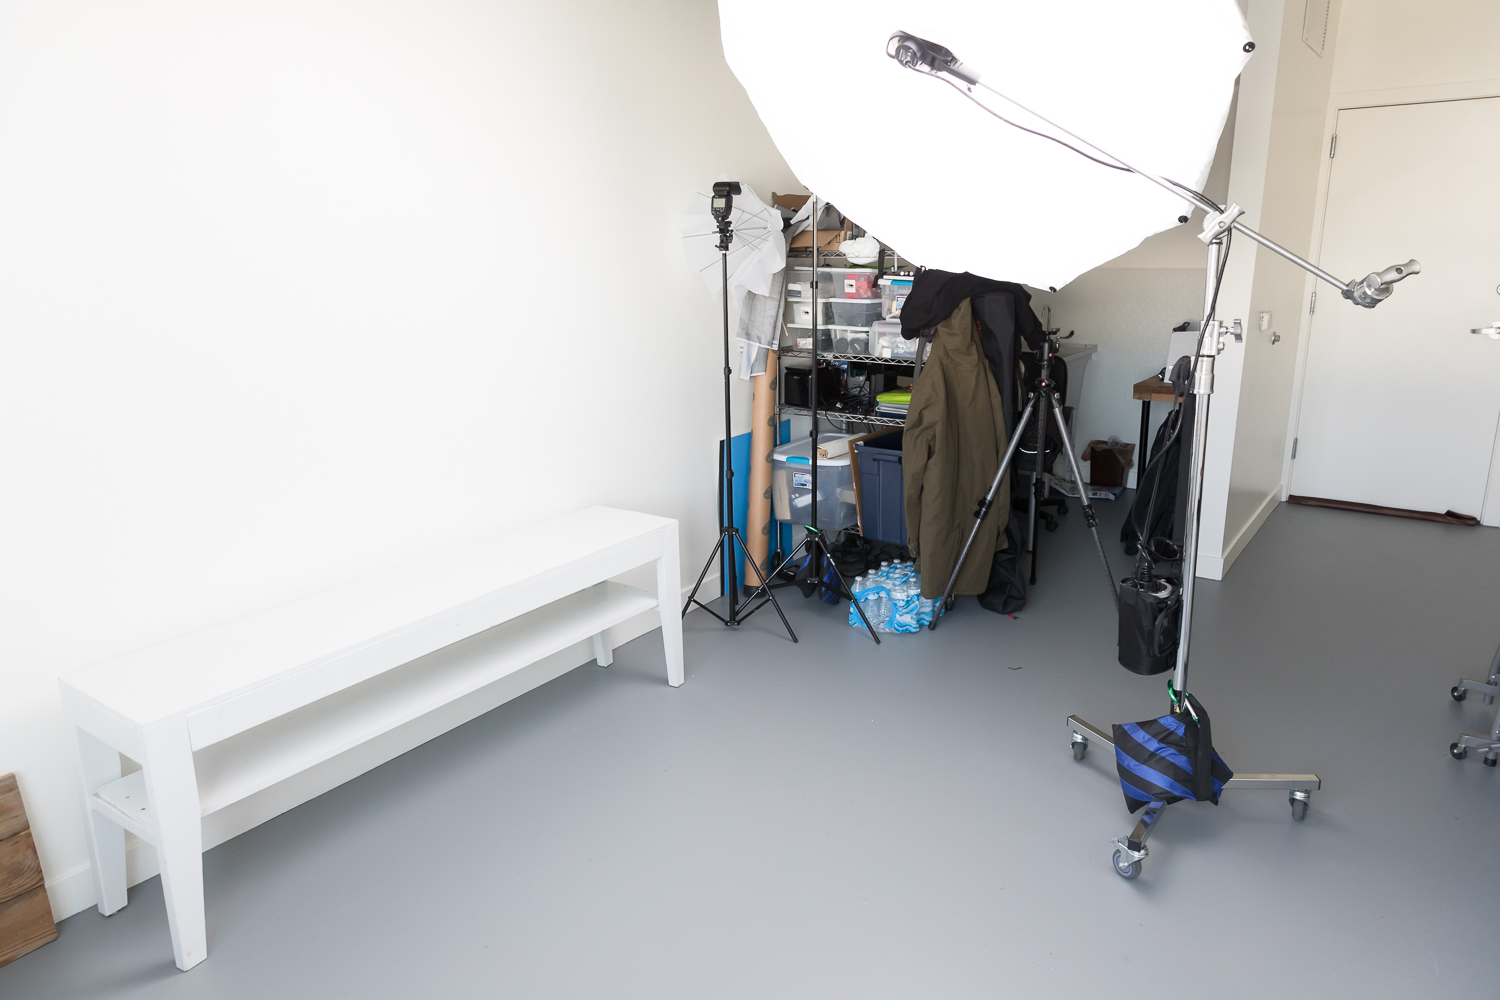
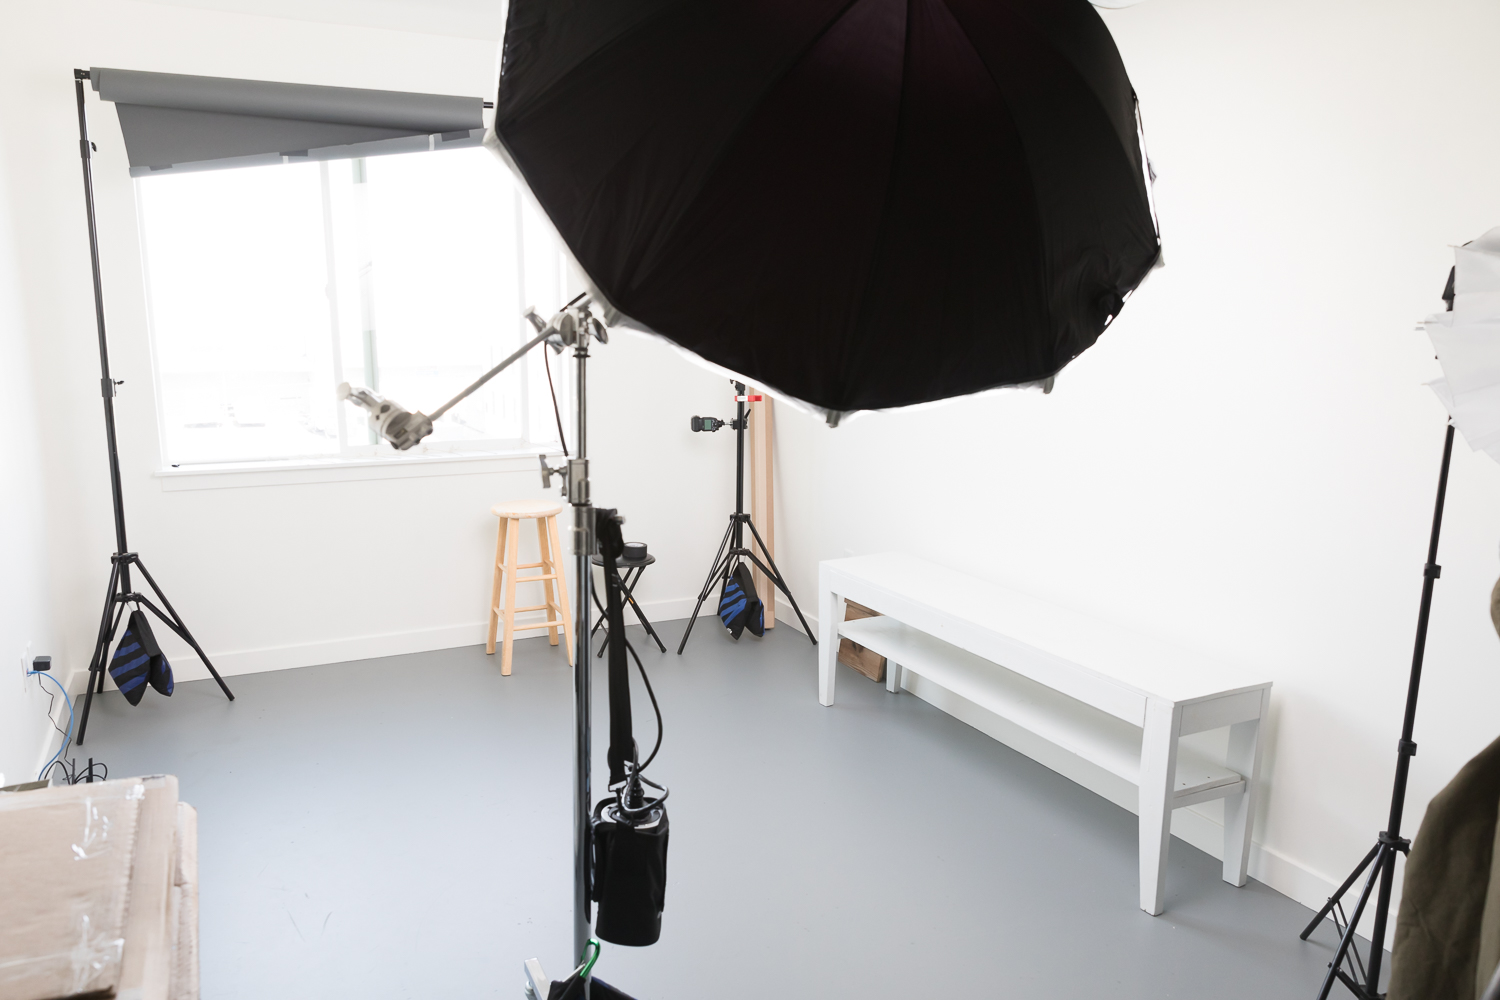

Now with that placed I look to fill in the slight shadows left. I use the small section of wall in between the window and the background wall to bounce a small speedlight source, making it much larger and softer than a plain head on shot from the speedlight.
In this first shot, I have the speedlight positioned and take a test shot... I notice that the size of the bounce is not as big as it could be, I reposition the head and aim it up slightly for much more coverage.
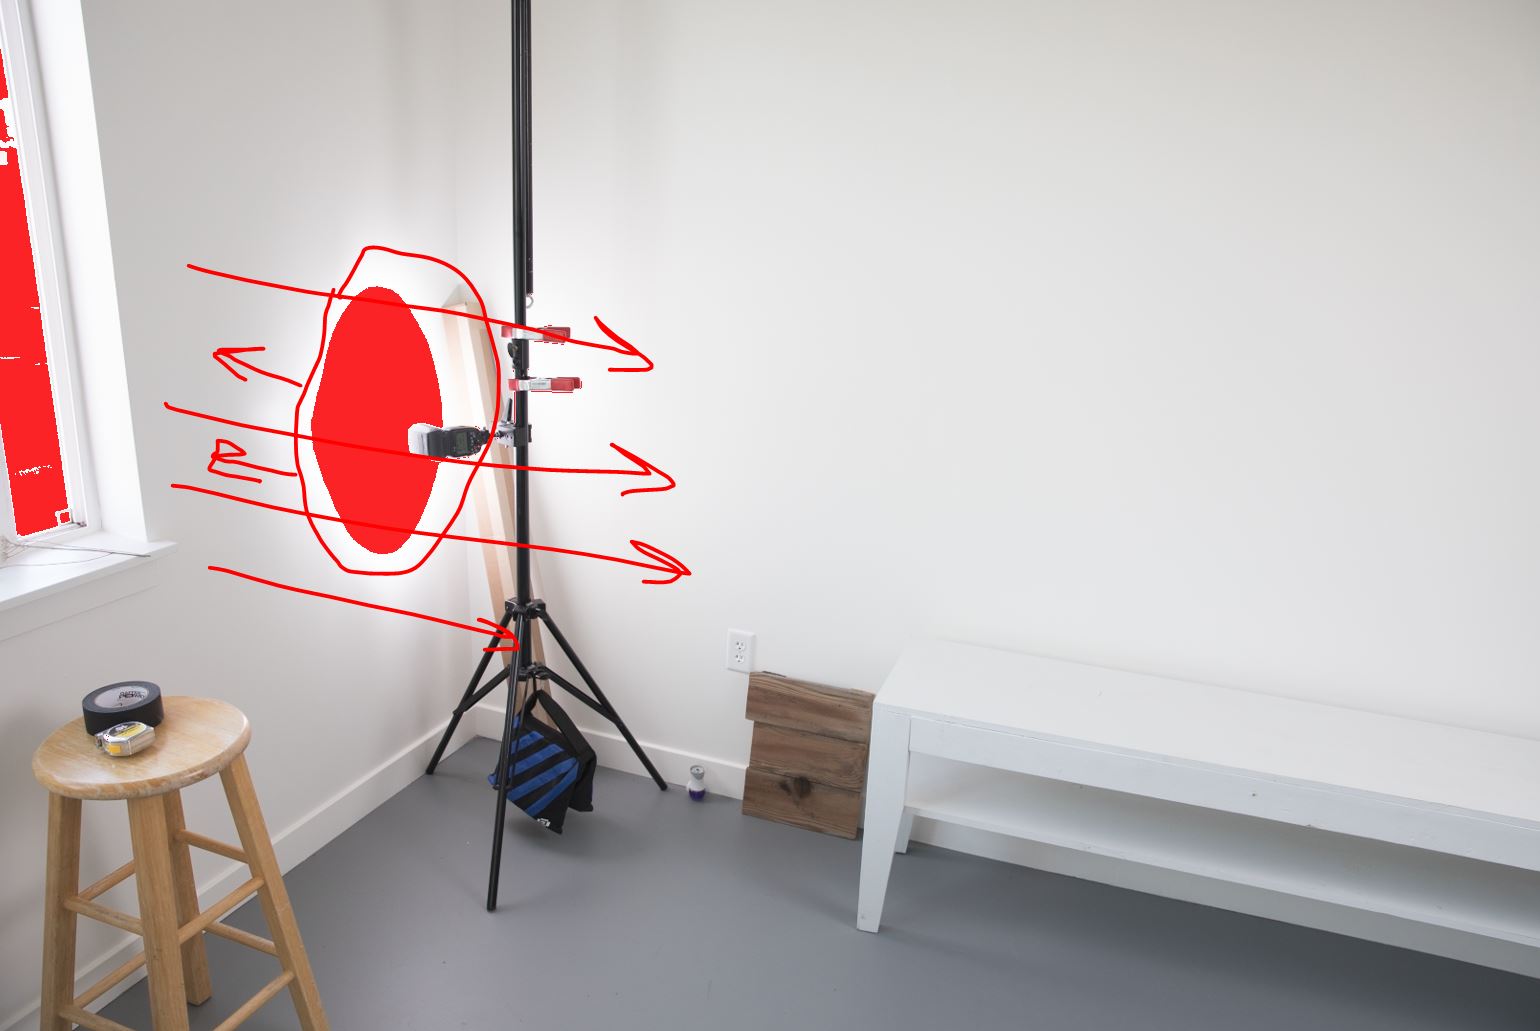

Screenshot from Adobe Lightroom to help illustrate the spread of light using the highlights alert function. Notice how the red spotlight is much bigger with just a slight aim difference.
The Shoot...
After greeting my subjects, offering them a water, ask if the heat is ok (Shot in December)... I approach this group shot as I would a larger event like a wedding party. Start with everyone, then branch off into groups as no one likes to be the first victim and you can also group people back together after they are more warmed up so to speak.
I have this giant white bench normally used as my waiting, bag, purse holder. I use this as a easy first shot telling them just act like they are on a park bench of sorts, relaxed, no pressure, and I show them the results of the first few shots.
Next up...
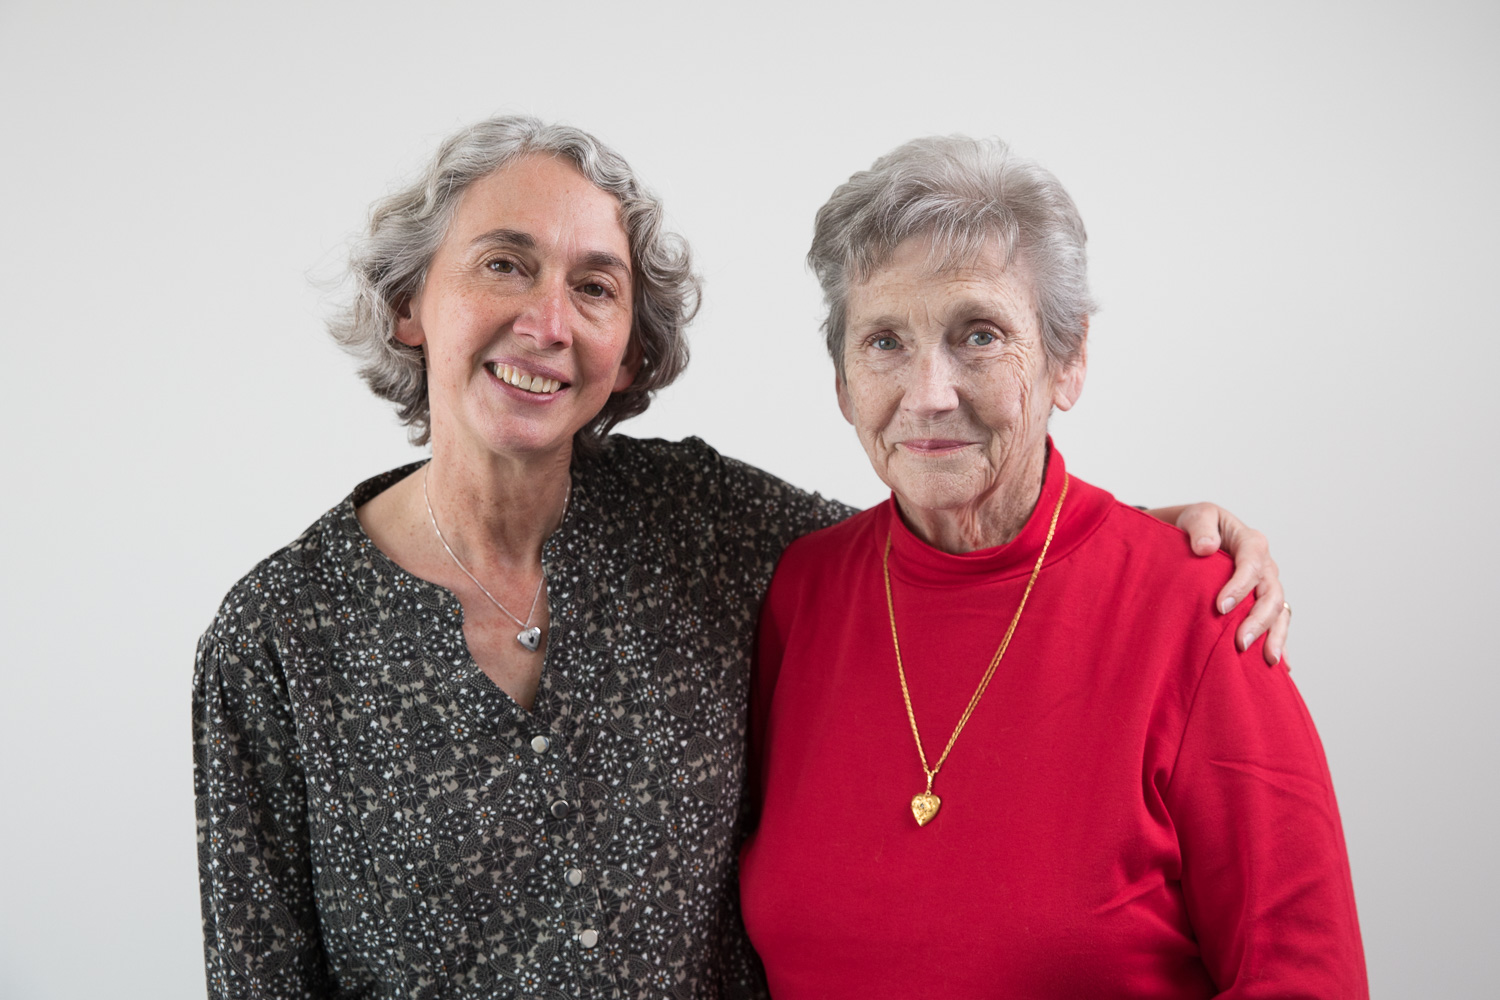
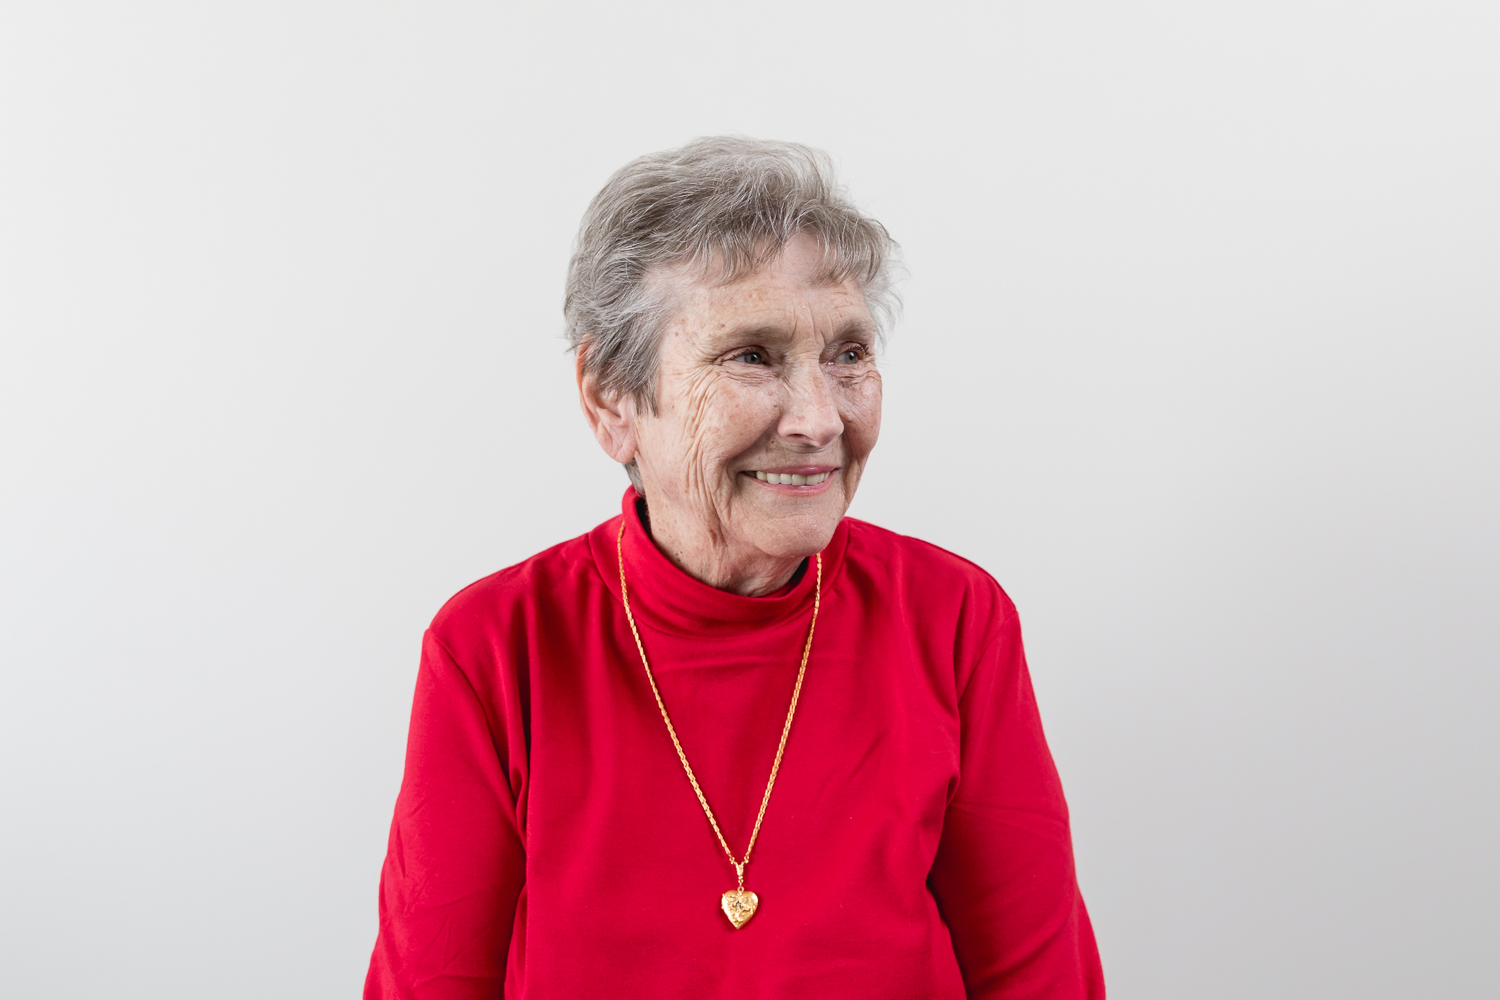
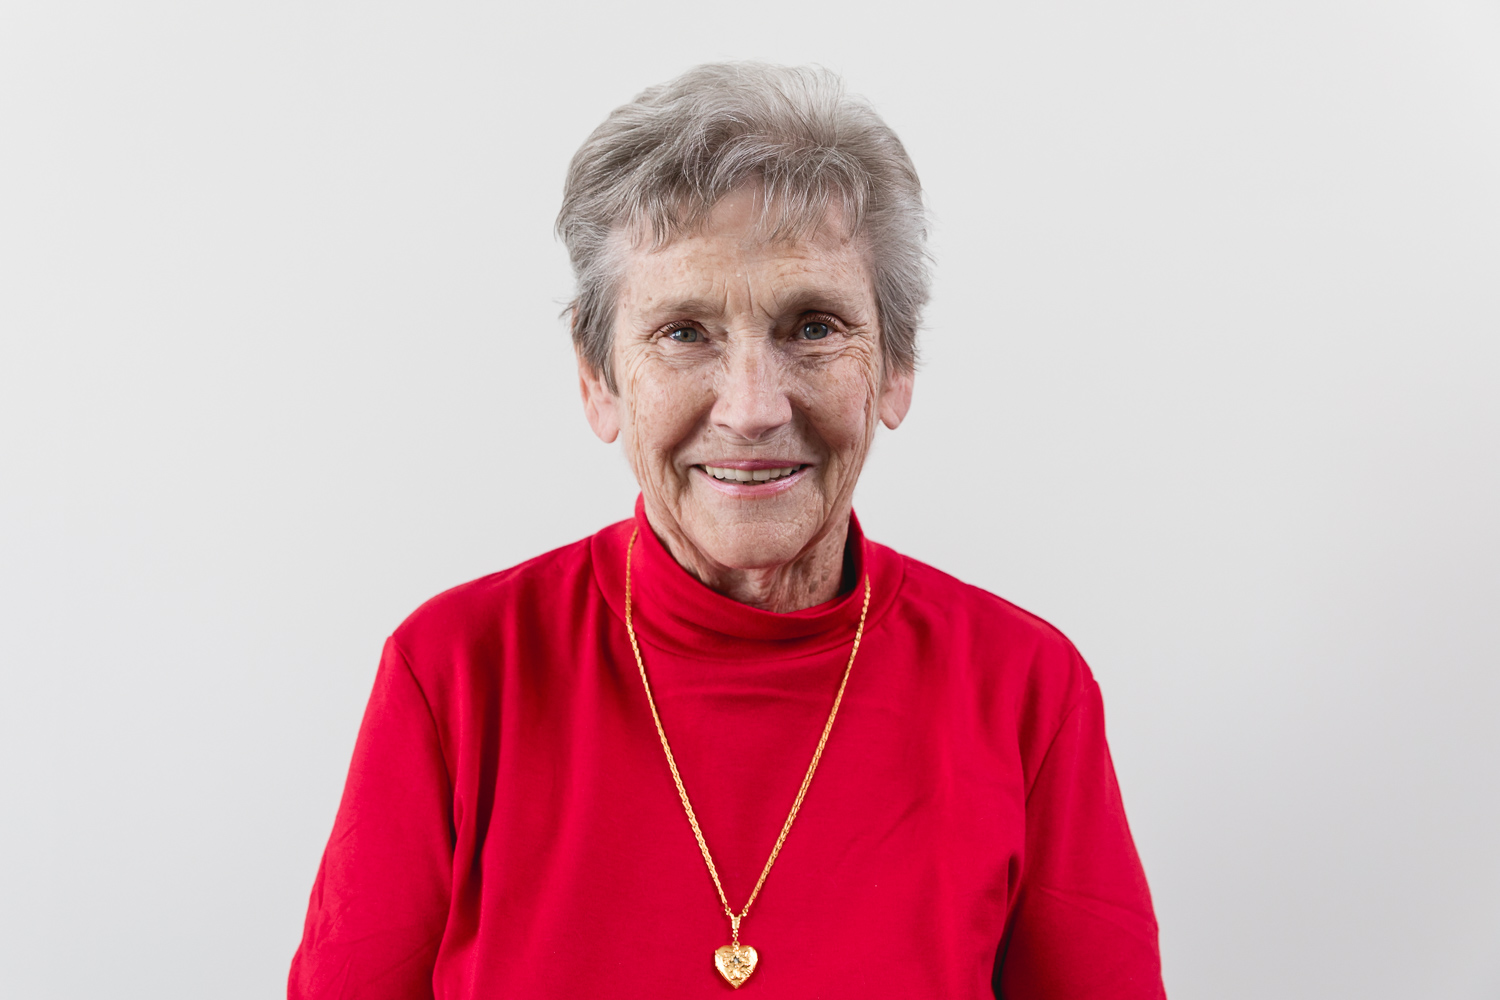
I take the husband away and grab some shots of the mother/daughter. (Always be conscientious of your clients comfort level, I had this group next to give the mother a rest as she was elderly.)
Same lighting, I just move slightly closer and zoom in from around 45-50mm to about 60-65mm.

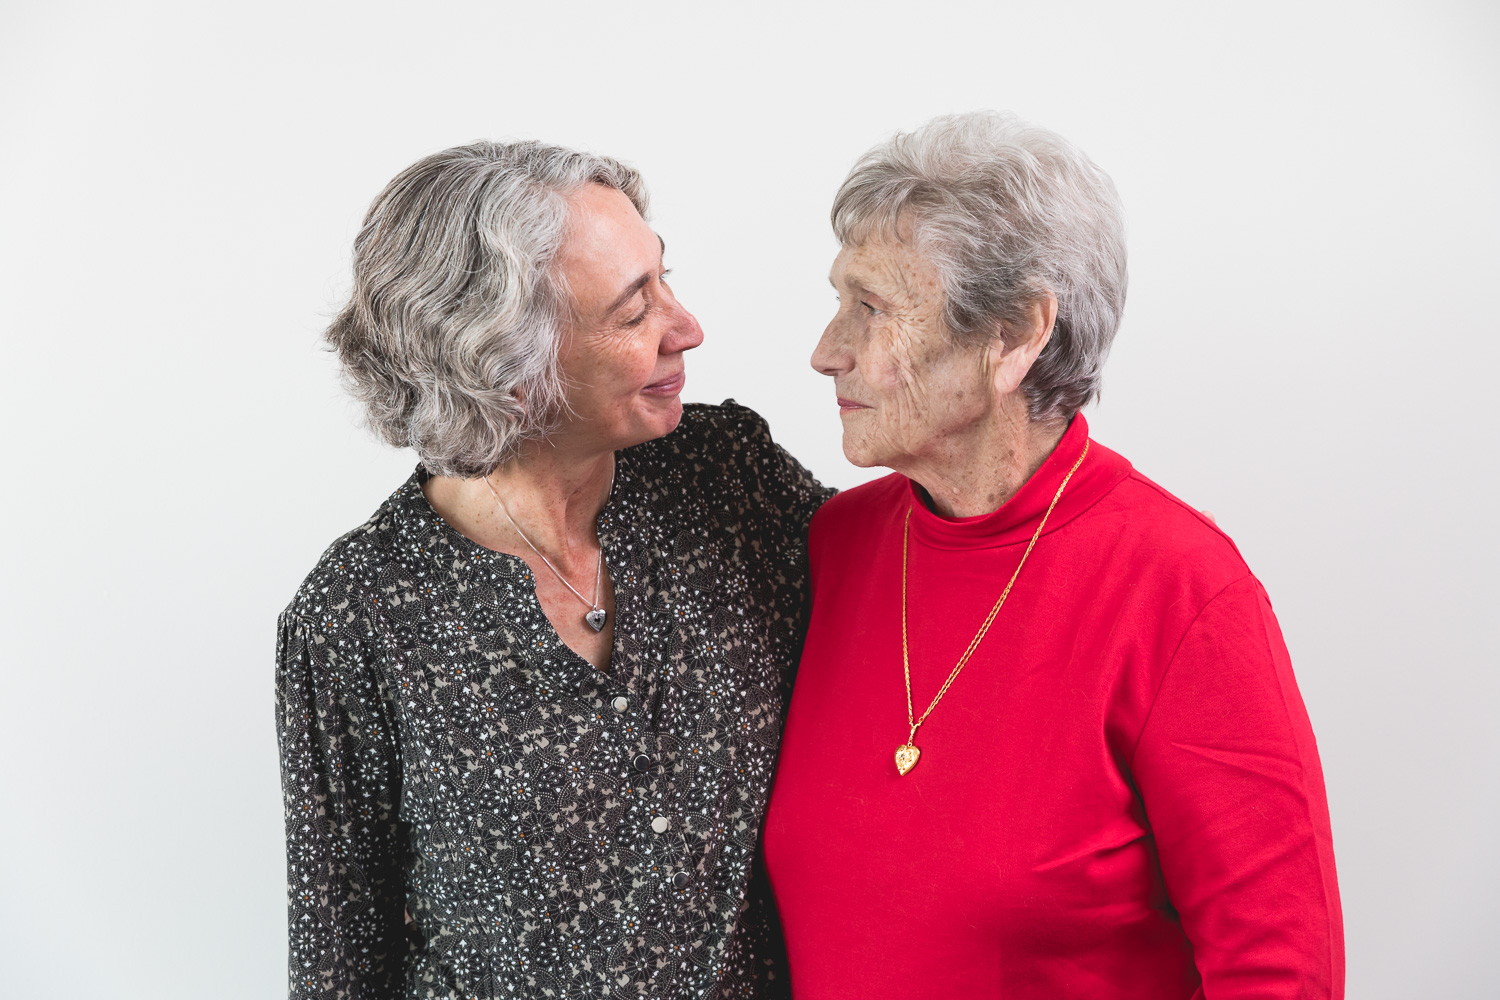

Working with families, non professionals etc etc, you will have things occur like breaking eye contact with the camera, fading attention and people will look at each other. Let em! It's all good and you will get some sweet moments in between. I will say that a quick "ok, eyes on me" will work once or twice but don't badger your subject, and also do not be silent Just let the mood flow, redirect as needed and give feedback. When you see something you like, a pose, a moment, say "oh that", "yes I like that" something small and positive.
Next Up...
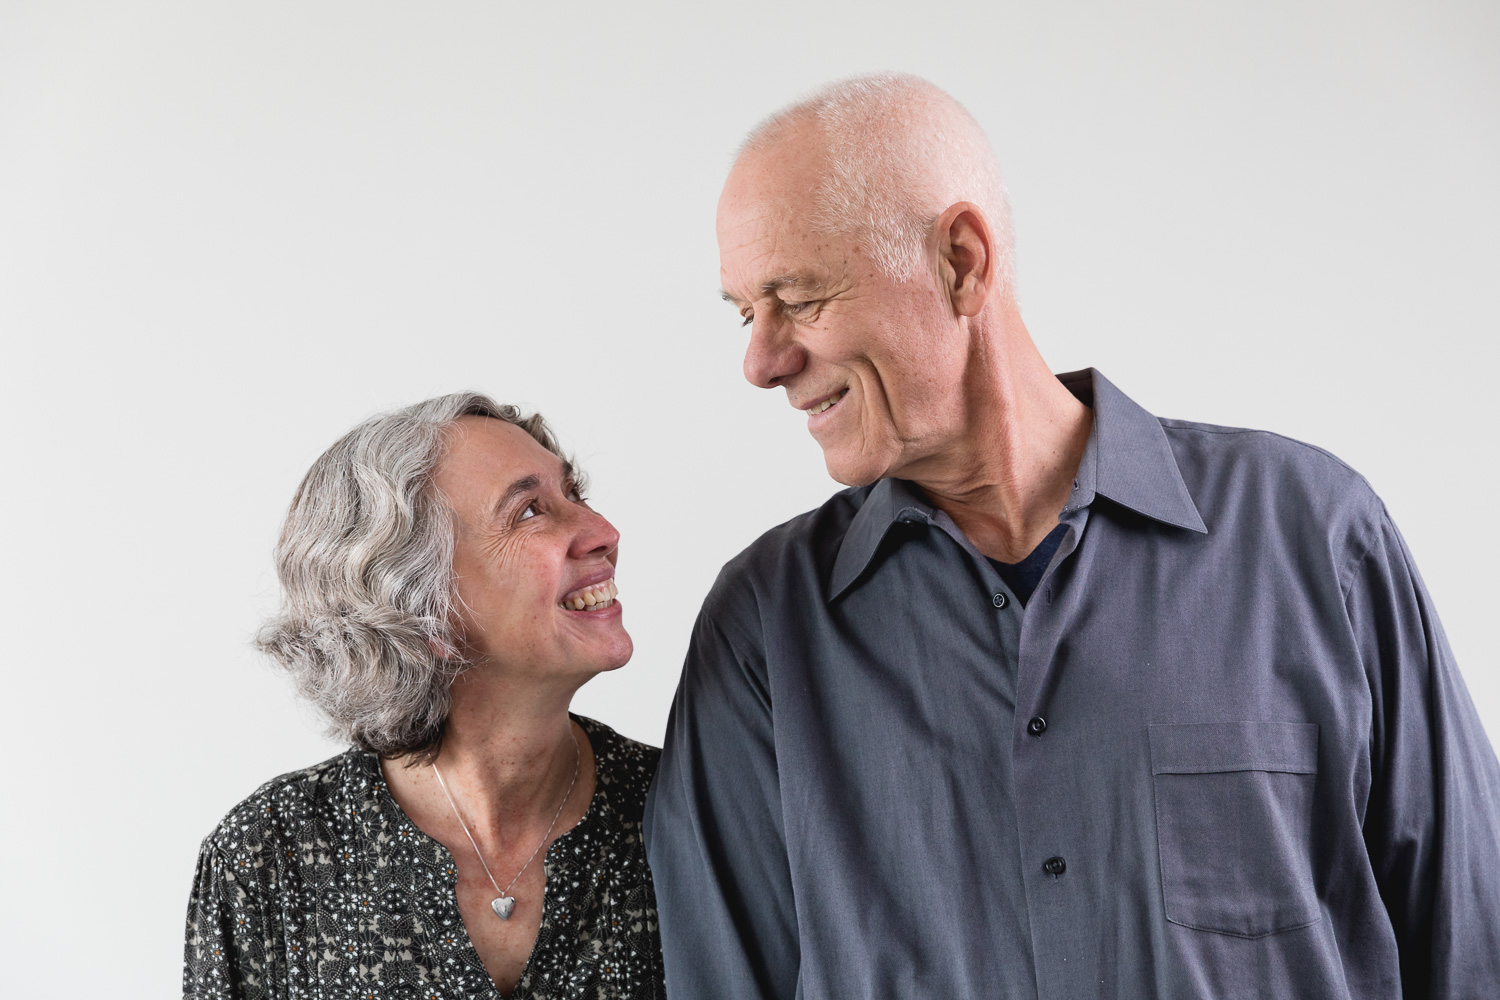
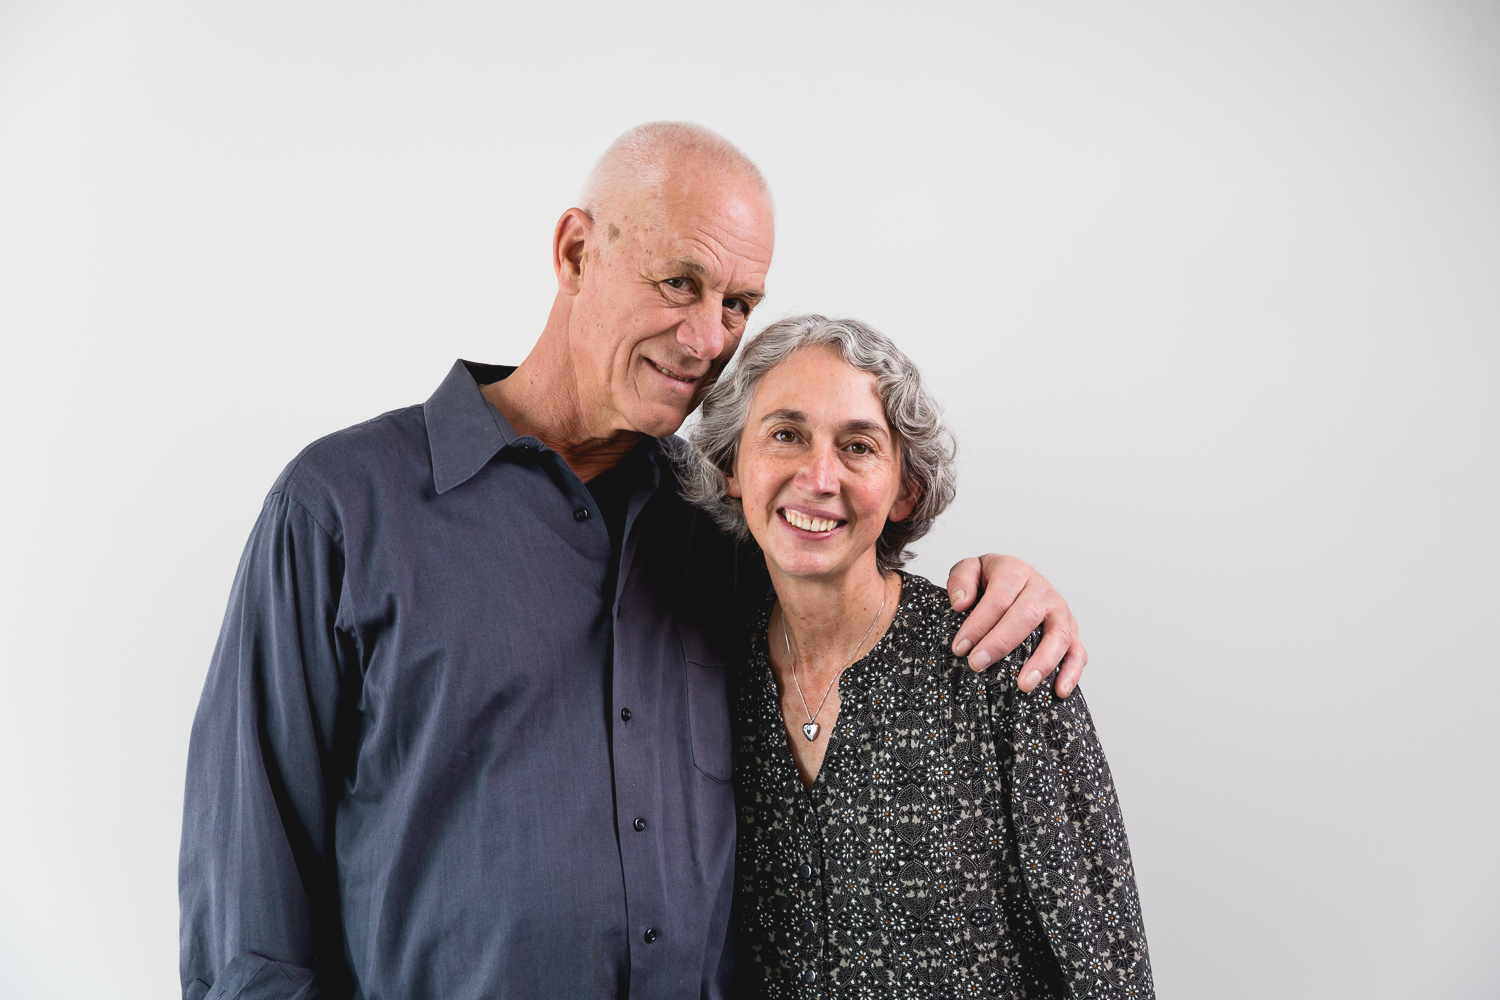
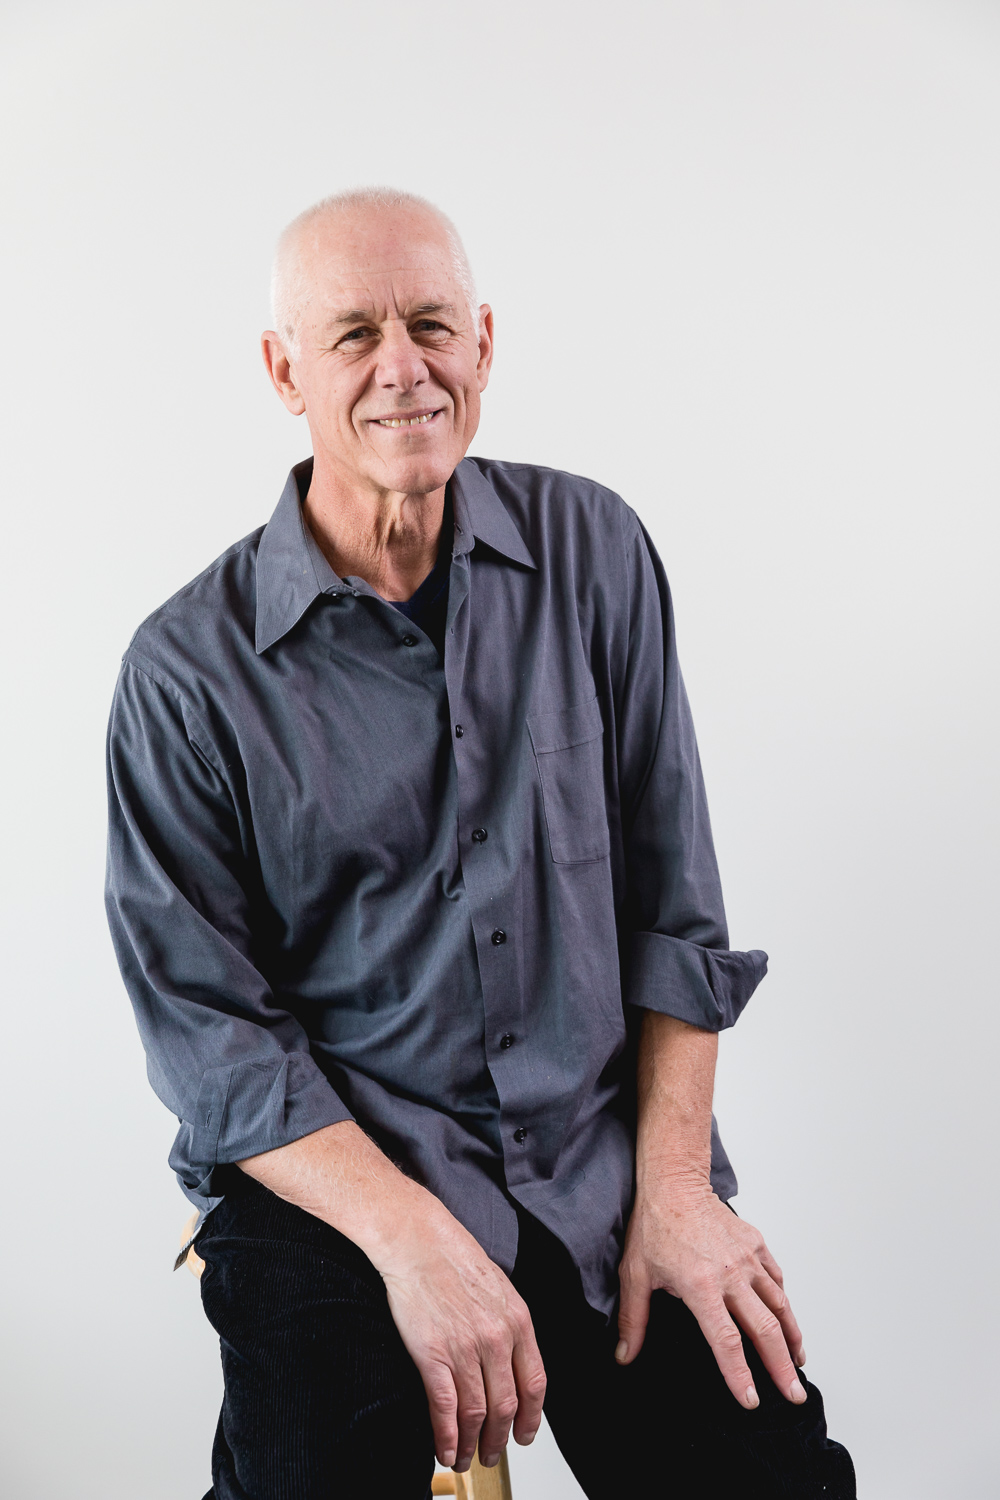
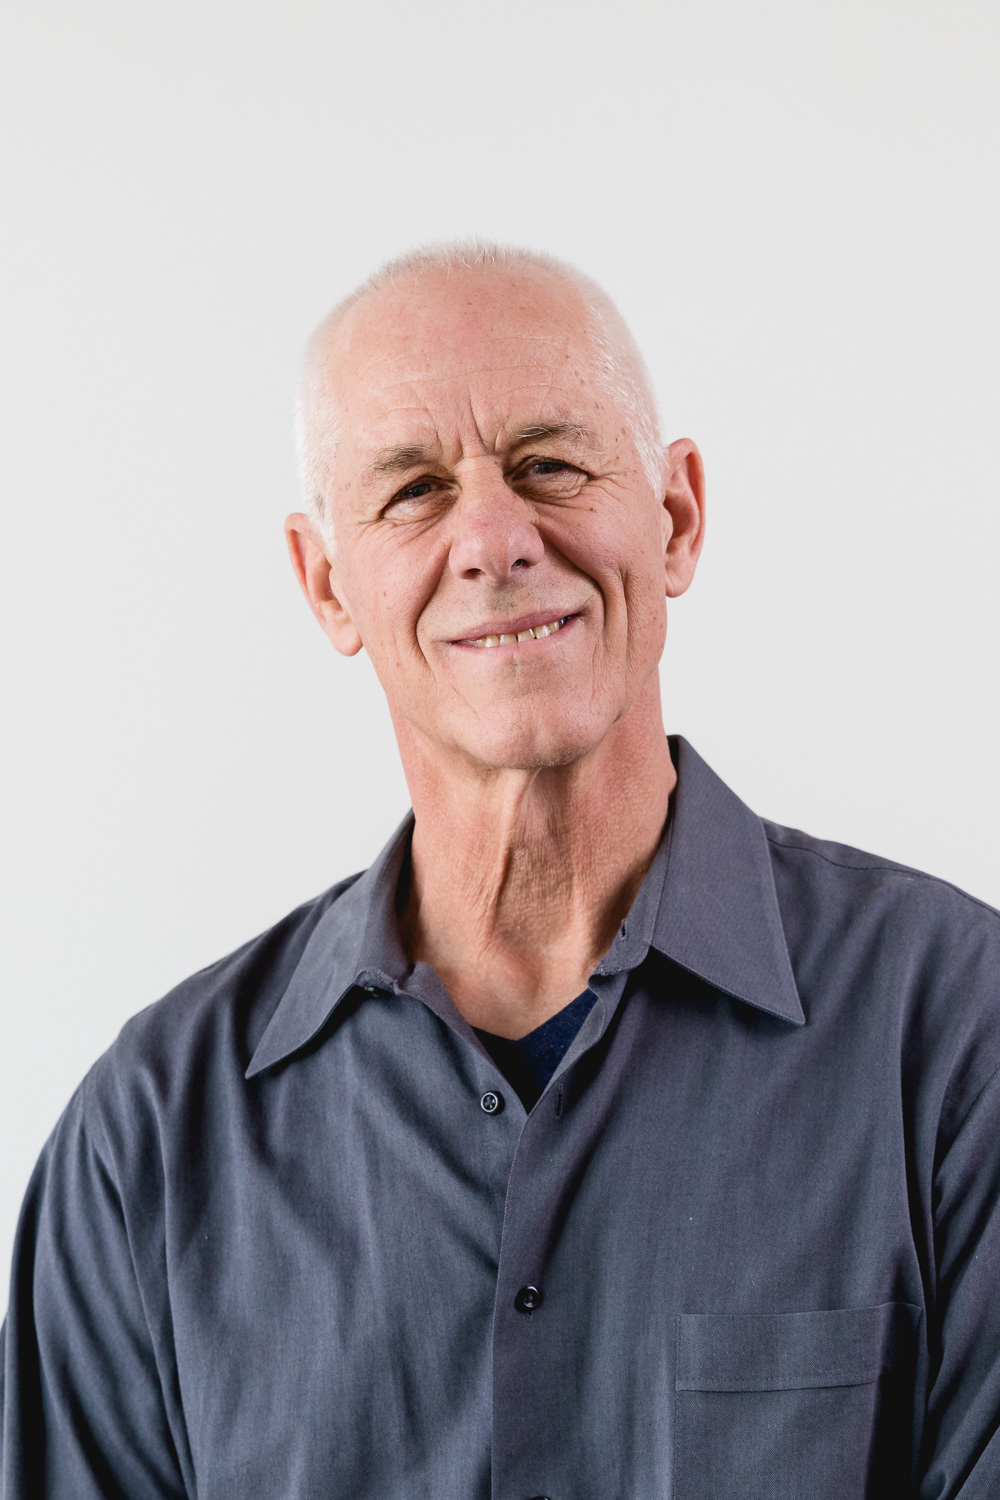
I grab my other model and swap him in. I give my cushion office chair to the mother and have her sit on camera right.
Same settings, same focal lengths basically. Now my subjects have been together for years and they are totally comfortable with each other, I guide them a tad with some standing position choices and let them have at it, only mentioning when to repeat a certain something.
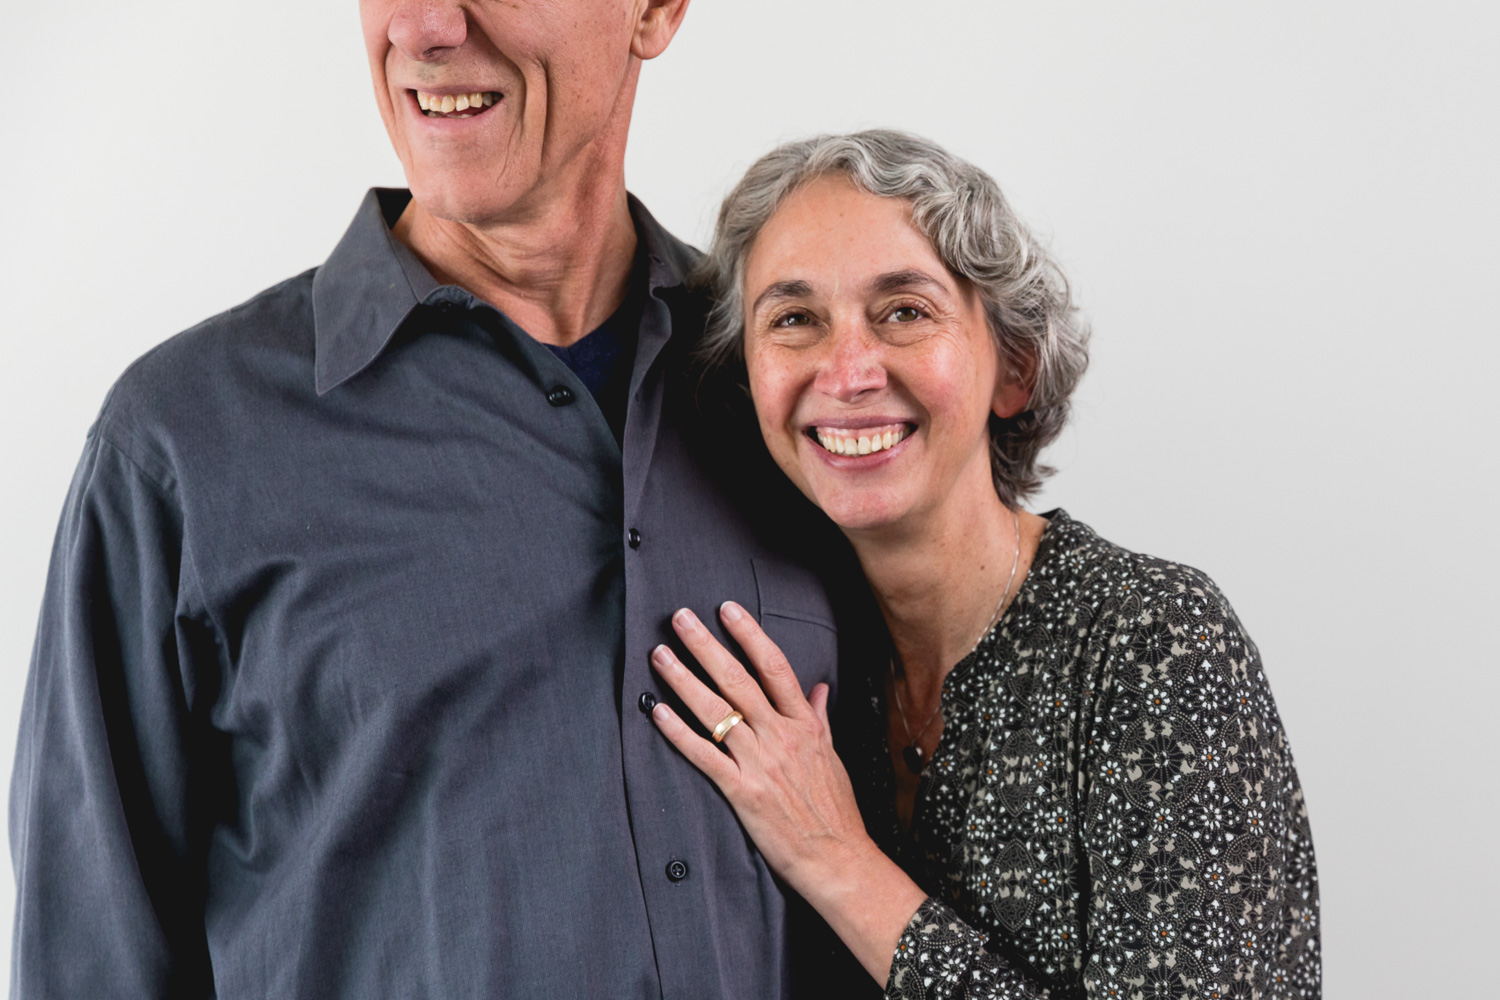

*Note: These images, two of them are "cut off". Absolutely and my fault, i was chimping (not recommended all the time) and looking a images on the screen, then has this cute moment and I raised and shot and just cropped out the full shot. I keep them though because it still works, there is a great mood there.
Next and last for this post I take some single images. This type of shoot is tricky because I am not a great poser (hehe... Poser)... But I do love it when my subjects are calm and comfortable. I grab some stools then, one tall and one short, I have them pick and position themselves. This serving the purpose of getting them in a position where in their head naturally comes forward giving emphasis on the face and two it gives a natural placement for the hands.
Same Light, same settings, I zoom in and out for the best composition ranging from 40-55mm.


Take Aways...
Editing was very light, only some highlight correction, lens correction, slight cropping and a bit of sharpening.
Gear Used
Canon 5D Mark IV
Canon 24-70 f/2.8 II
Flashpoint R2 Pro Remote Trigger
Xplor 600 Monolight
Photek 60" Umbrella
Yongnuo YN600EX-RT Speedlight
Impact C-Stand with Arm
Sand Bags!
And if you are interested in purchasing any of these, please follow the links here, it will help me out Thanks!
__________________________
Now, have any questions? Feedback? Hit me up!
Either in the comments, email me at Logan@.Lmsorenson.net or find me social media! @Lmsorenson
Until then...