In This post I wanted to give some behind the scenes views on how I captured the portrait of artist Heather Mahler (@heathermahler88).
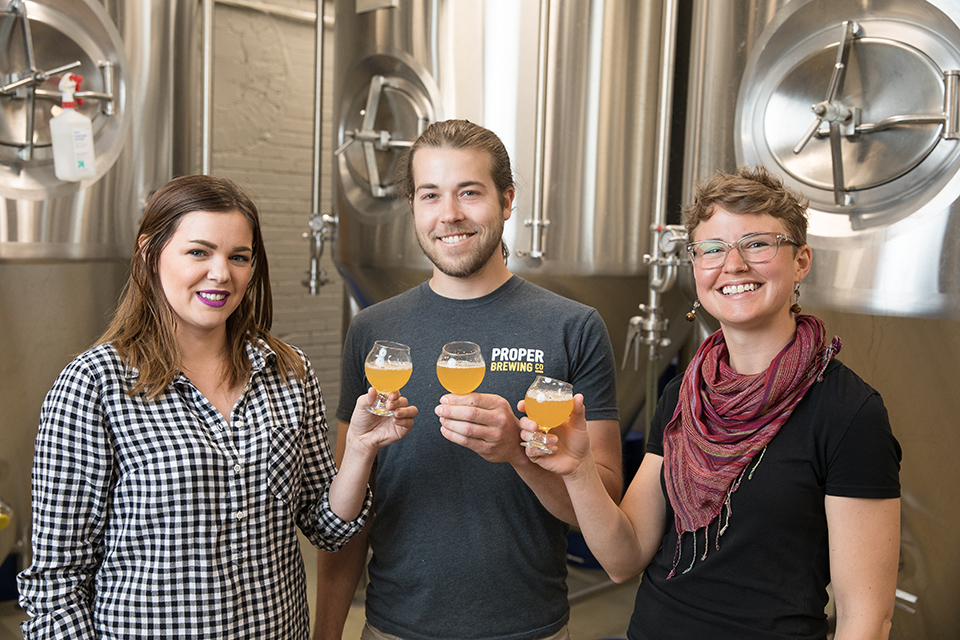
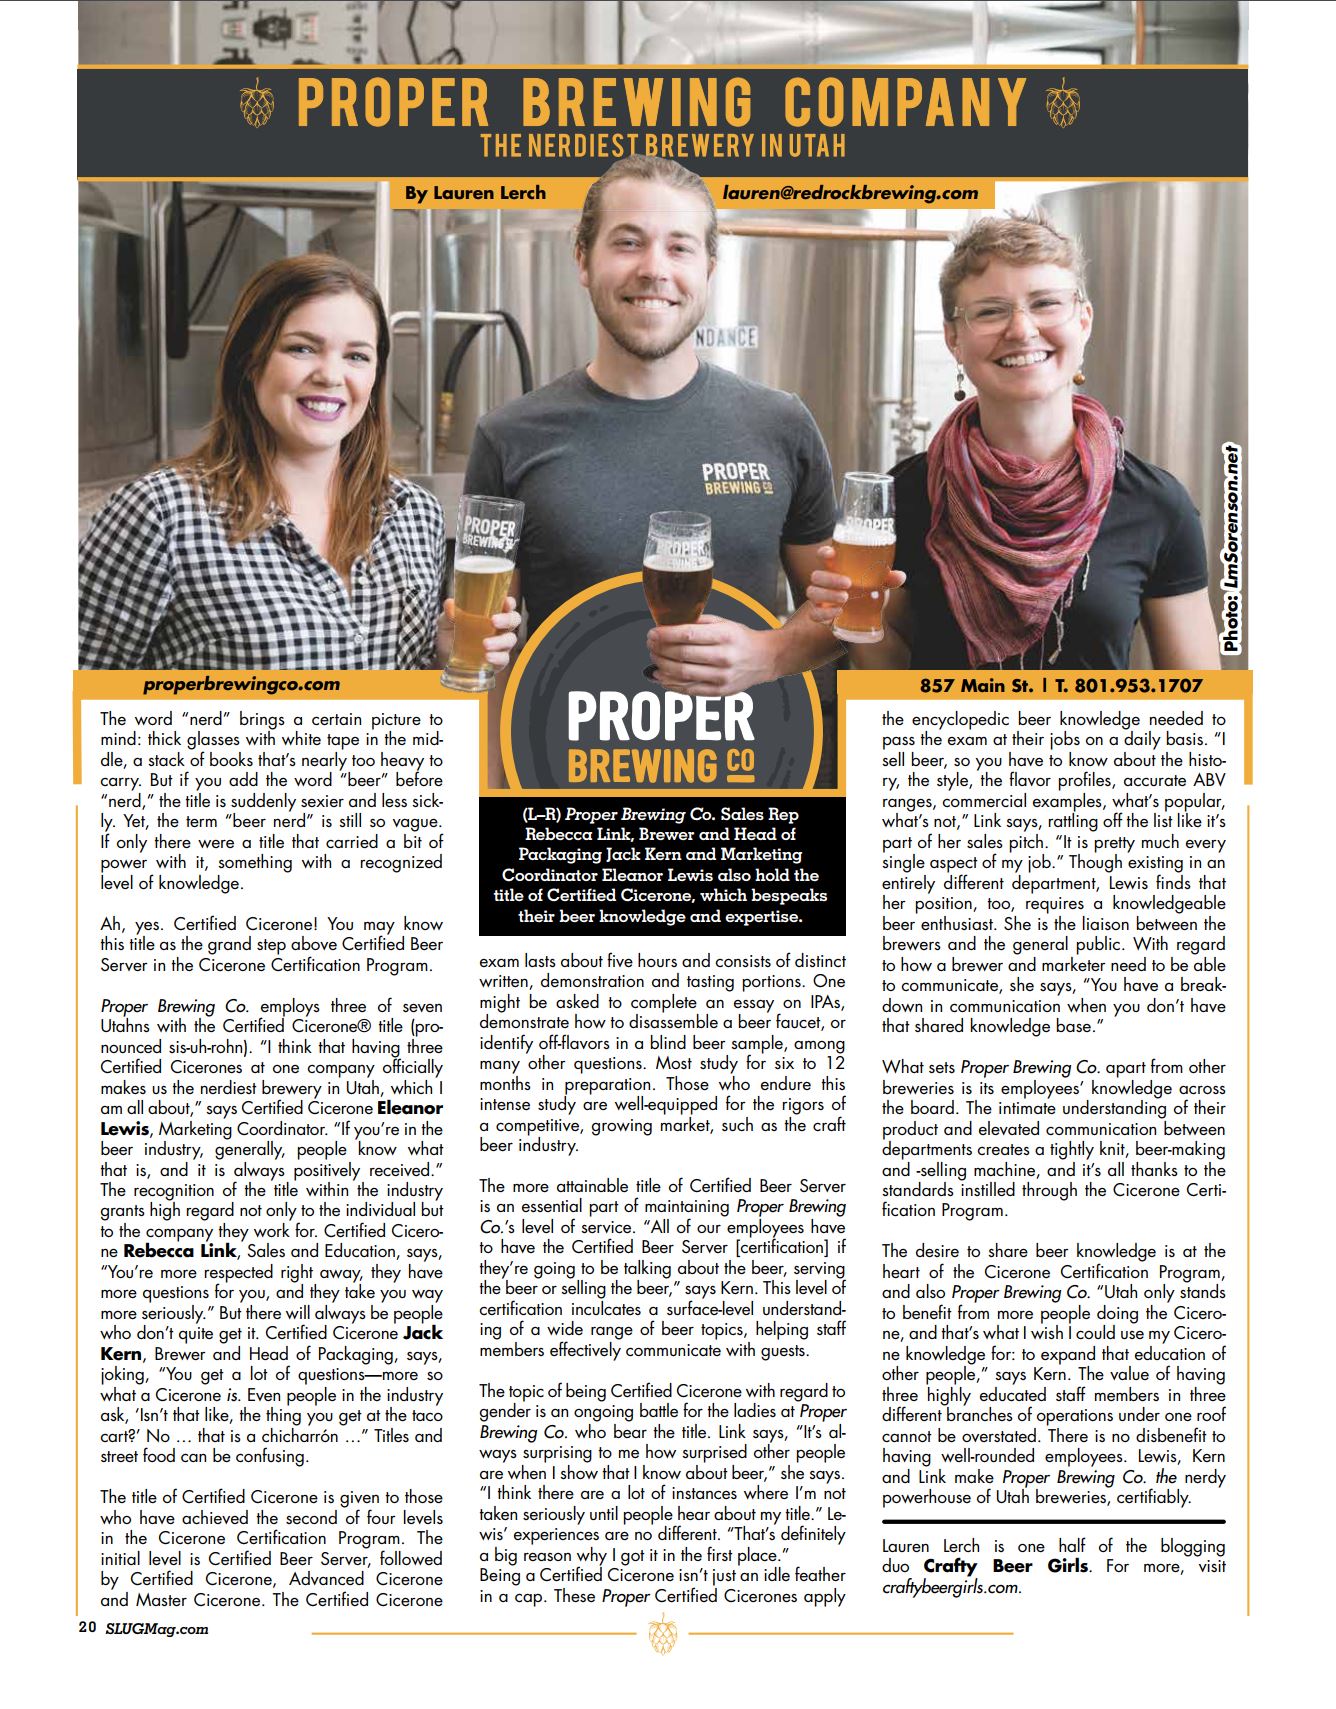
With her work being on the cover and featured in the August Issue of SLUG Magazine, I was approached to capture a portrait for this artist to be included in the final piece.
BEFORE THE SHOOT...
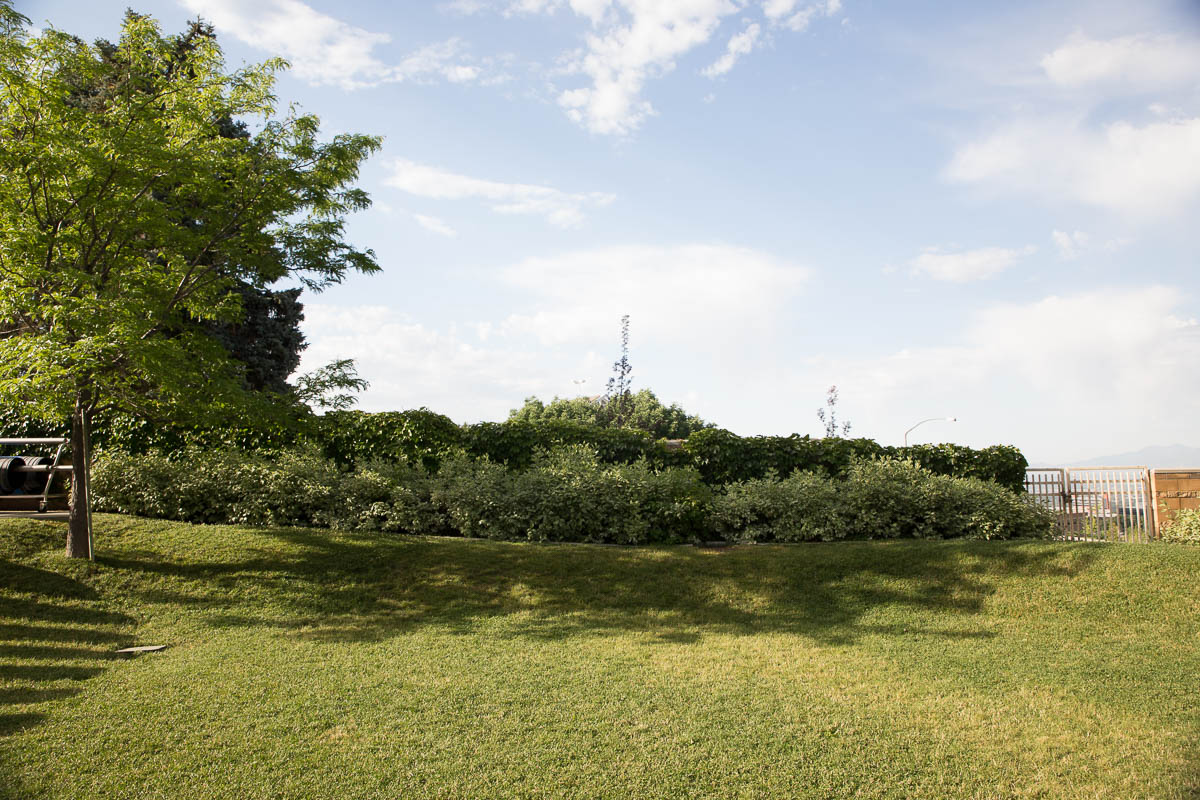
I was given the details of the shoot: date, time, location. The selected is the SLUG Magazine Downtown Office during the day. I was informed I may only have 10-20 minutes to capture the 4-5 vertical and horizontal shots required and I like to do 1-2 or more locations for varity when available. My thought process for this was to bring a portable light and take some portraits on the backdoor/walkway area just in the rear of the magazine's office. And then if time permitted, a shot or two in the front of the office near the front door with some really nice window lighting courtesy of the awesome frosted glass panels.
(Gear Listed At The Bottom)
THE SHOOT...
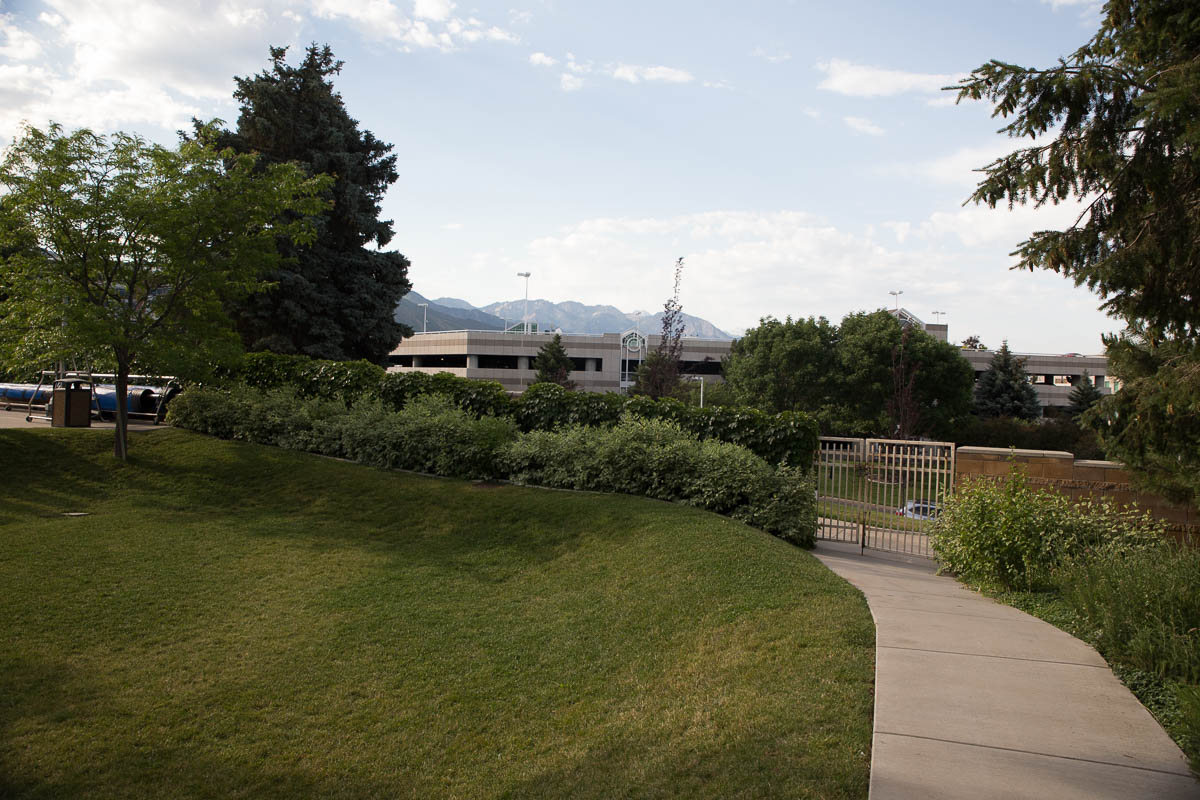
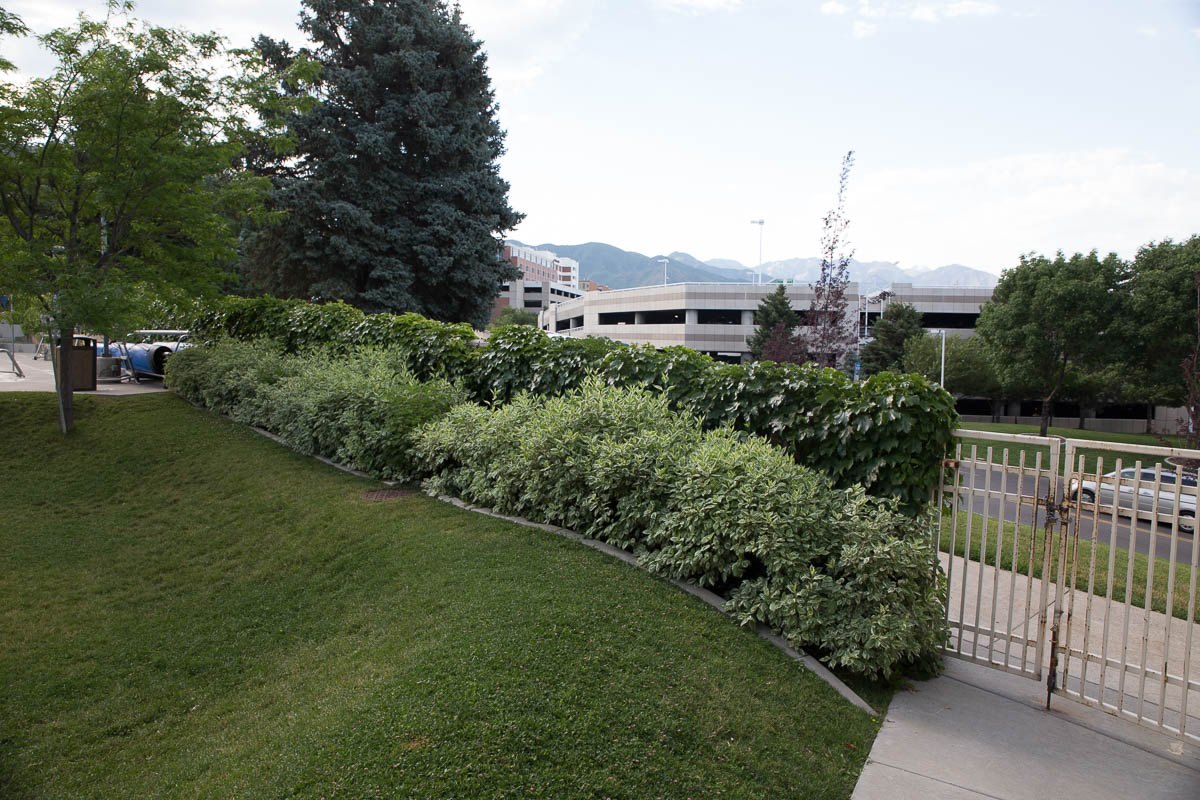
I arrive 15 minutes early as I was well aware that the parking around this street would take a second to find a spot. I park and grab my gear, heading into the office I say hello to the staff and they tell me that I can use whatever space I need. I head to the back and start scoping out the available area.
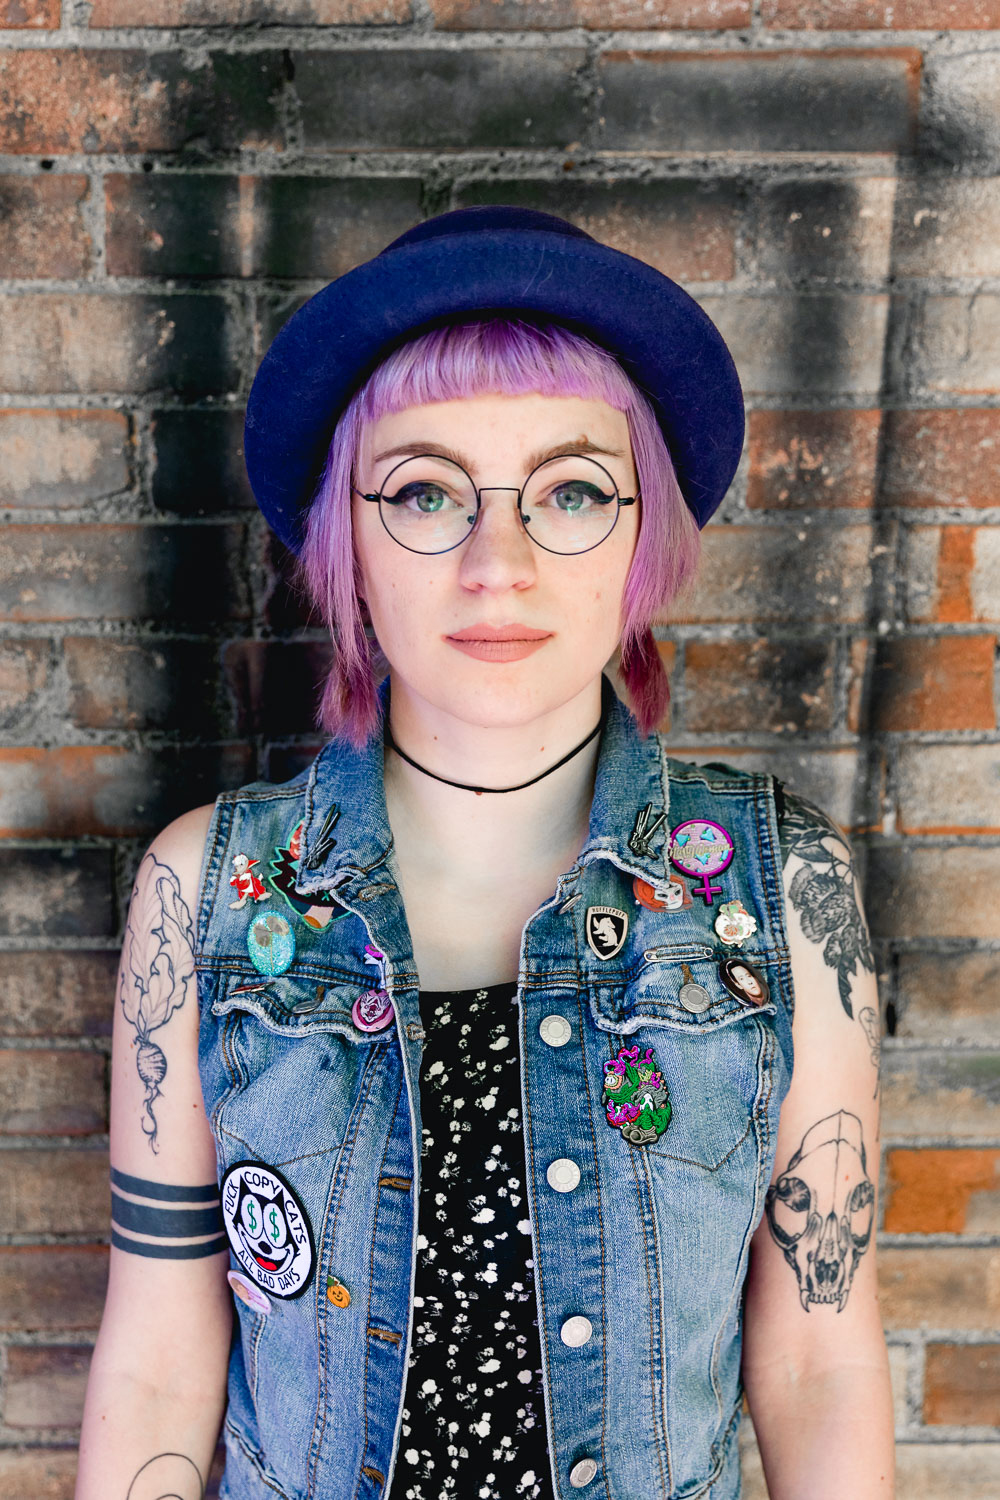
There was this awesome exposed brick wall with a few spray paint marks that looked exactly like frames, I thought this would be a great spot. I took my light and set it on the stand and tossed the umbrella on. I take a shot to test the TTL connection. Looks good.
Heather had arrived and I made my way back inside to introduce myself. I explained that I had arrived a tad early and planned out the two locations. She follows me outside and I tell her what I am thinking and show her the spot on the wall I would have her stand in front of.
We take a few shots.


I take a few shots of the same pose, I take a step back and zoom in or out. I wanted to keep the close up shots around 35-50mm and the wider ones between 24-35mm.
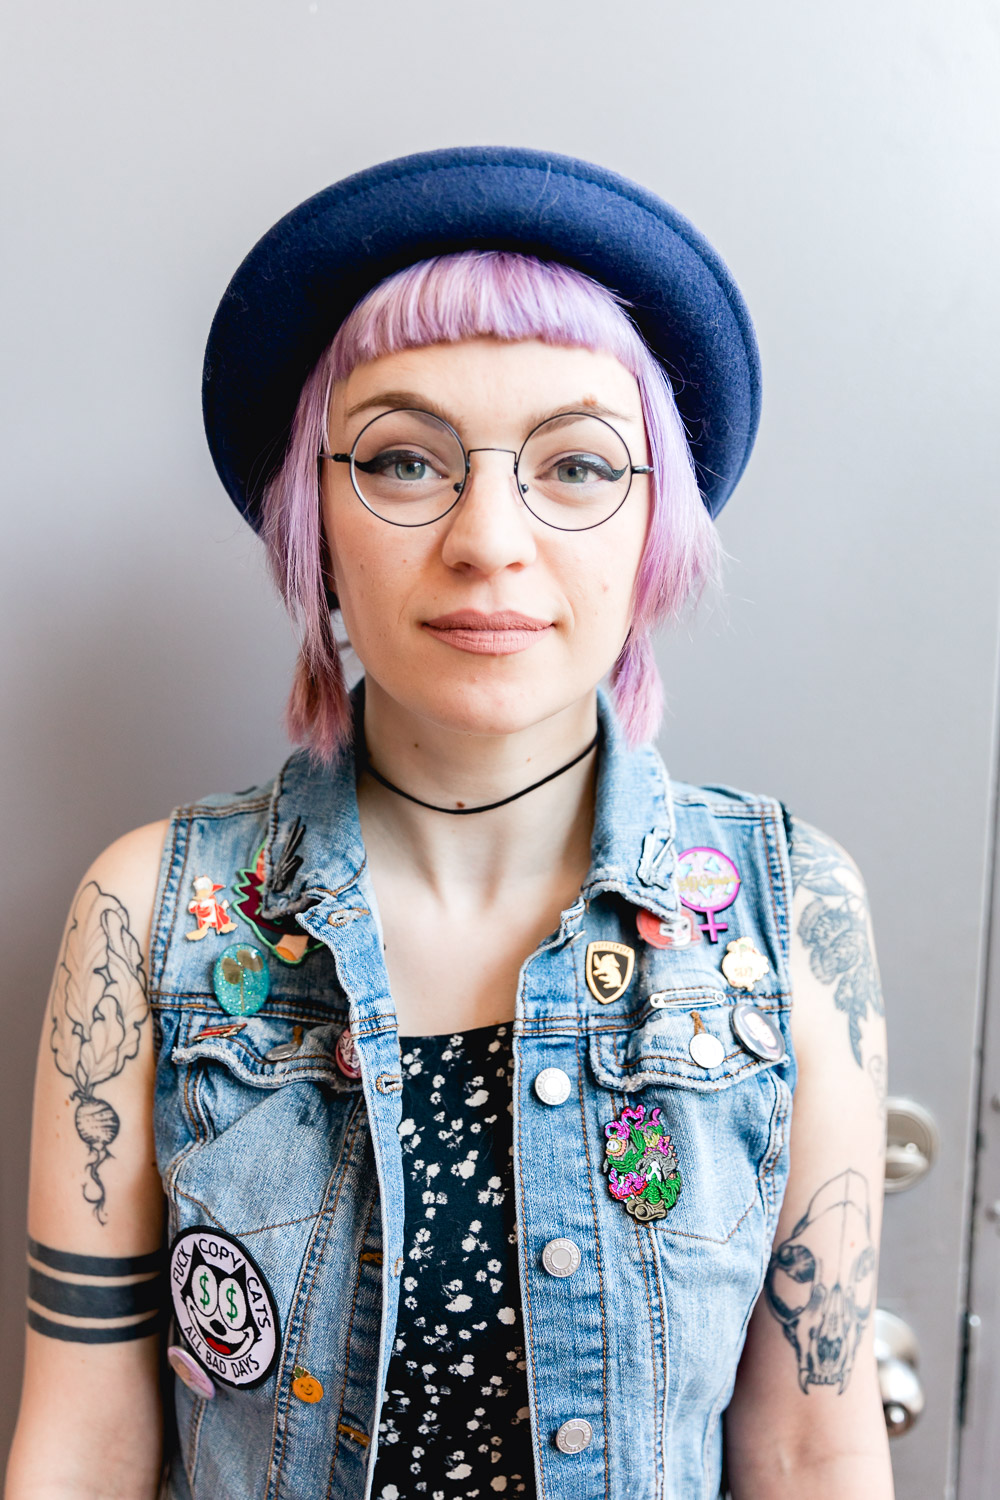
*Hint the shot displayed with Heather's hands over her head, adjusting her hat was actually one of the first shots taken. I had told her I was taking a test shot and to ignore me for a few seconds as she just took a second to herself. Even though I had already tested the light, I got that shot, and it is one of my favorites.
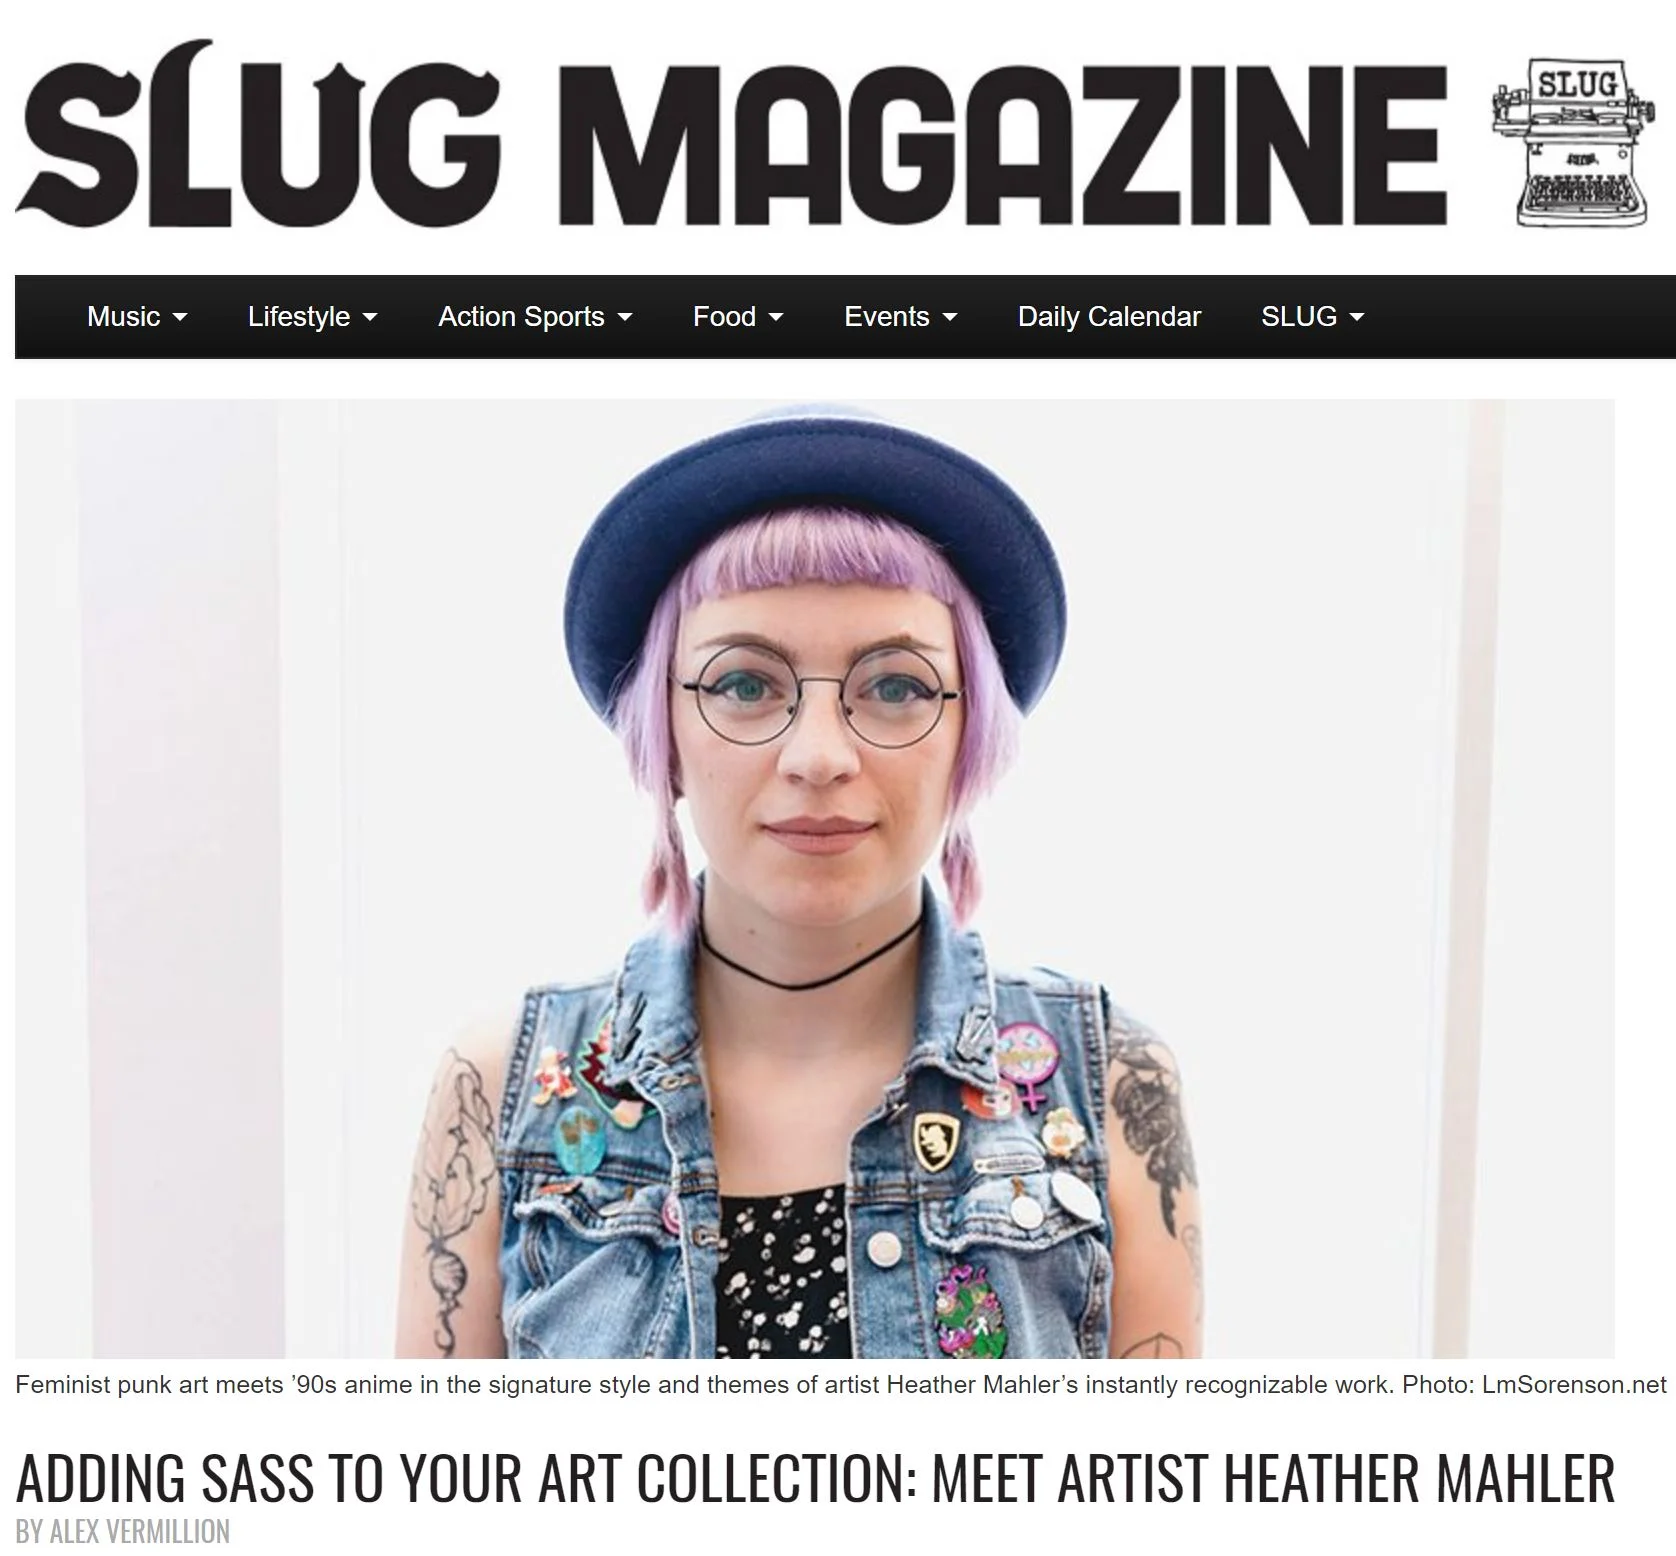
We move back inside and head to the front where I had seen the window, the front door and the lighting from the frosted glass panes, I opted to leave the flash out of these shots as the window was lighting everything pretty evenly as is...
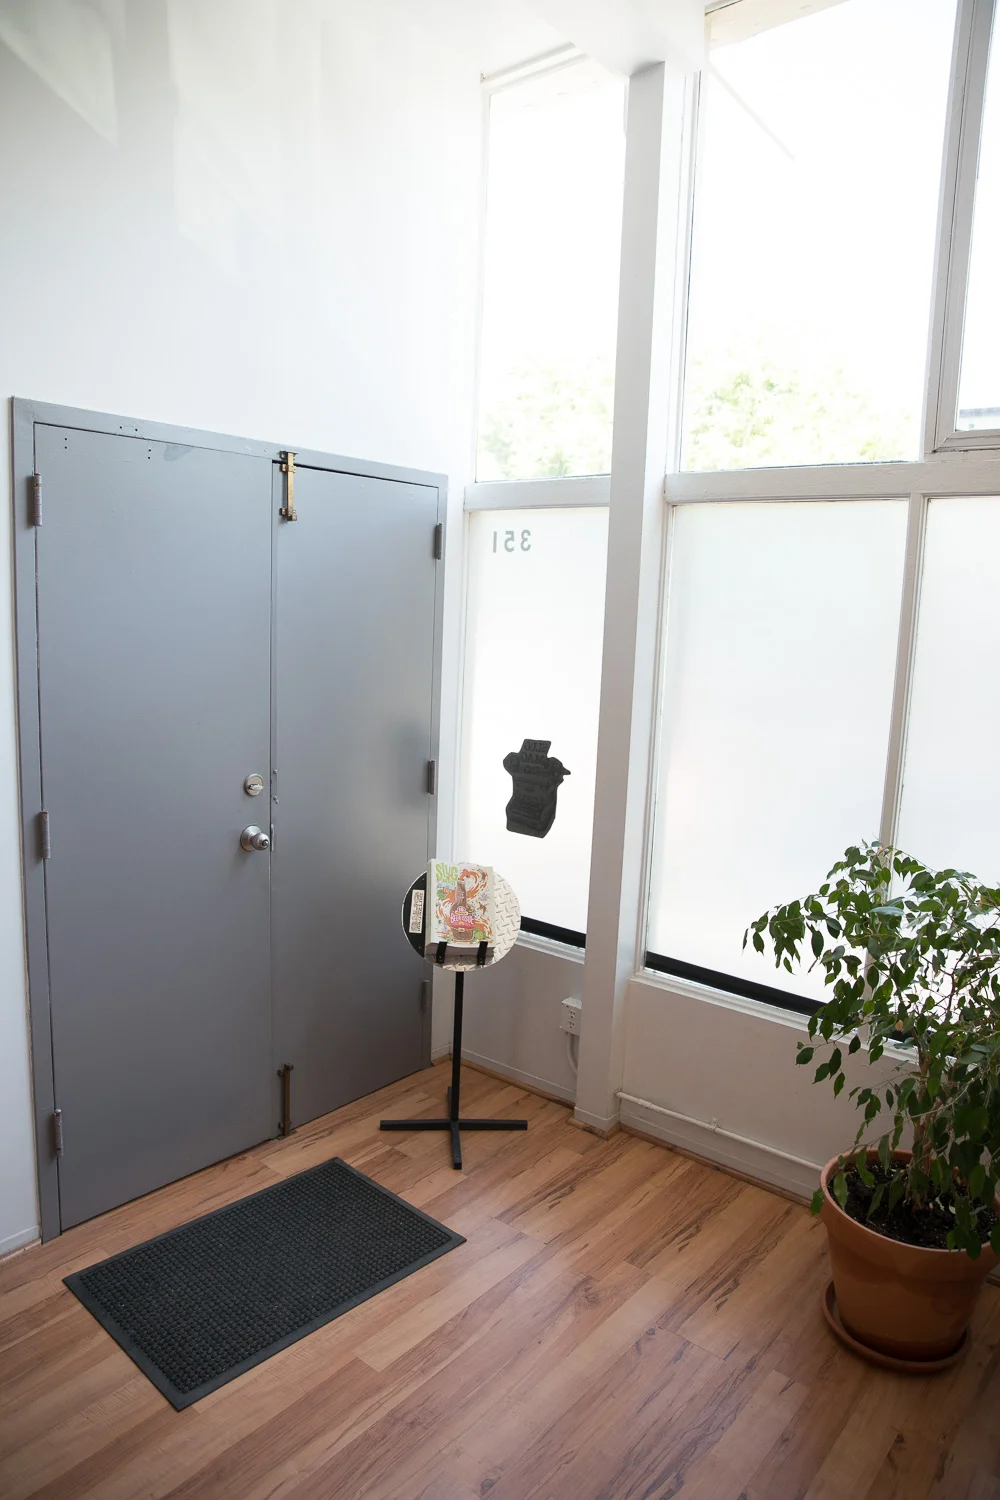
I tell her that my idea was to play with the backlighting from the window itself and have her stand right in front of the pane, just a foot away as to separate her from it. With her positioned so the frame of the shot avoids the white wooden window frame, I take a few shots.

I tell her that my idea was to play with the backlighting from the window itself and have her stand right in front of the pane, just a foot away as to separate her from it. With her positioned so the frame of the shot avoids the white wooden window frame, I take a few shots.


Now to give an idea of what I shoot like, I might just at first tell my subject something like "just relax, I am going to take a quick test shot", take a few shots... Then perhaps guide my subject a little with simple suggestions such as "ok, eyes on me" (this makes the model usually leave their body, neck and face in the same direction it was, and then turning their gaze at me). And I try not to just shoot in an awkward silence, so I will describe what I am doing such as "just keep that, I will take a shot and then back up to get another angle", "chin up, and forward a tad", etc.
Keeping these simple directions and keeping that line of communication open, I love to keep a light, stress free shoot and get some natural expressions.
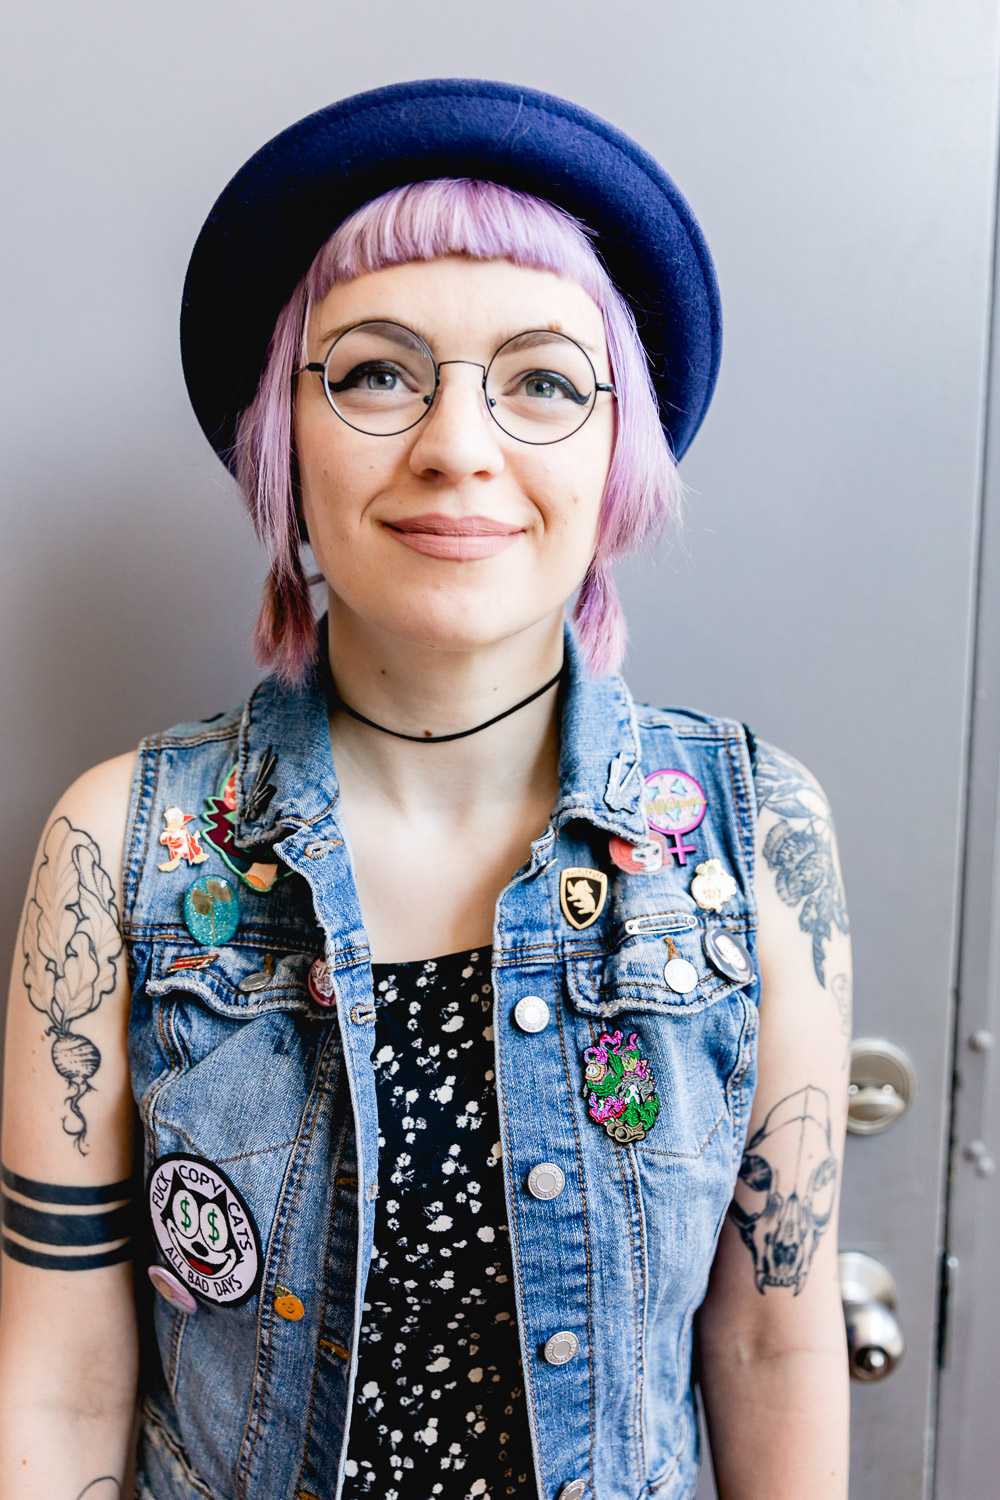
Next shot... I wanted to use the solid background of the plain gray metal door. More real feeling, not the backlit, almost invisible feel of the frosted window. At the same time, changing the direction of light falling on the subject by lighting the subject's left side from the window and ambient light from the interior office for the right side.

I place her a foot away from the door, this gives her separation from the background, yet you can still see there is a solid surface behind her and her hat is tilting up and not touching the door (all subjects want to just line up pushed against a wall like you are a firing squad).
With the same natural light, I change some settings as the subject is not backlit anymore, and take a few shots.

*Note: Absolutely I have, for all of these portraits, gone for a more "headshot" look, keeping the environment out of the shots, isolating the subject shot chest to head etc. The reasoning being that I am not wanting to get the SLUG Magazine offices in the shot, why would I? It is not the artists studio, it isn't her home and I feel it would detract from the portrait and take away the focus of attention from the subject. And two... I do not know this artist, I do not know her tastes, I do not know her sense of humor. I have met her after I was sent an email and shook hands. Having to interact during the shoot itself I feel that if I am being friendly and getting my subject to be natural, we are able to see their personality through the images themselves and not as stated before, the environment and or her supplies, props, etc...
AFTER THE SHOOT...
We are done! I have what I need for the issue, period I am just about over the time agreed upon, so I thank my subject for that a time and tell them that I had a blast, which I did.
I pack up my gear and head out for the next adventure.
Now July, a few weeks later, I get to see the result of my work. The issue is release and one of my portraits have been selected to be included in the feature.

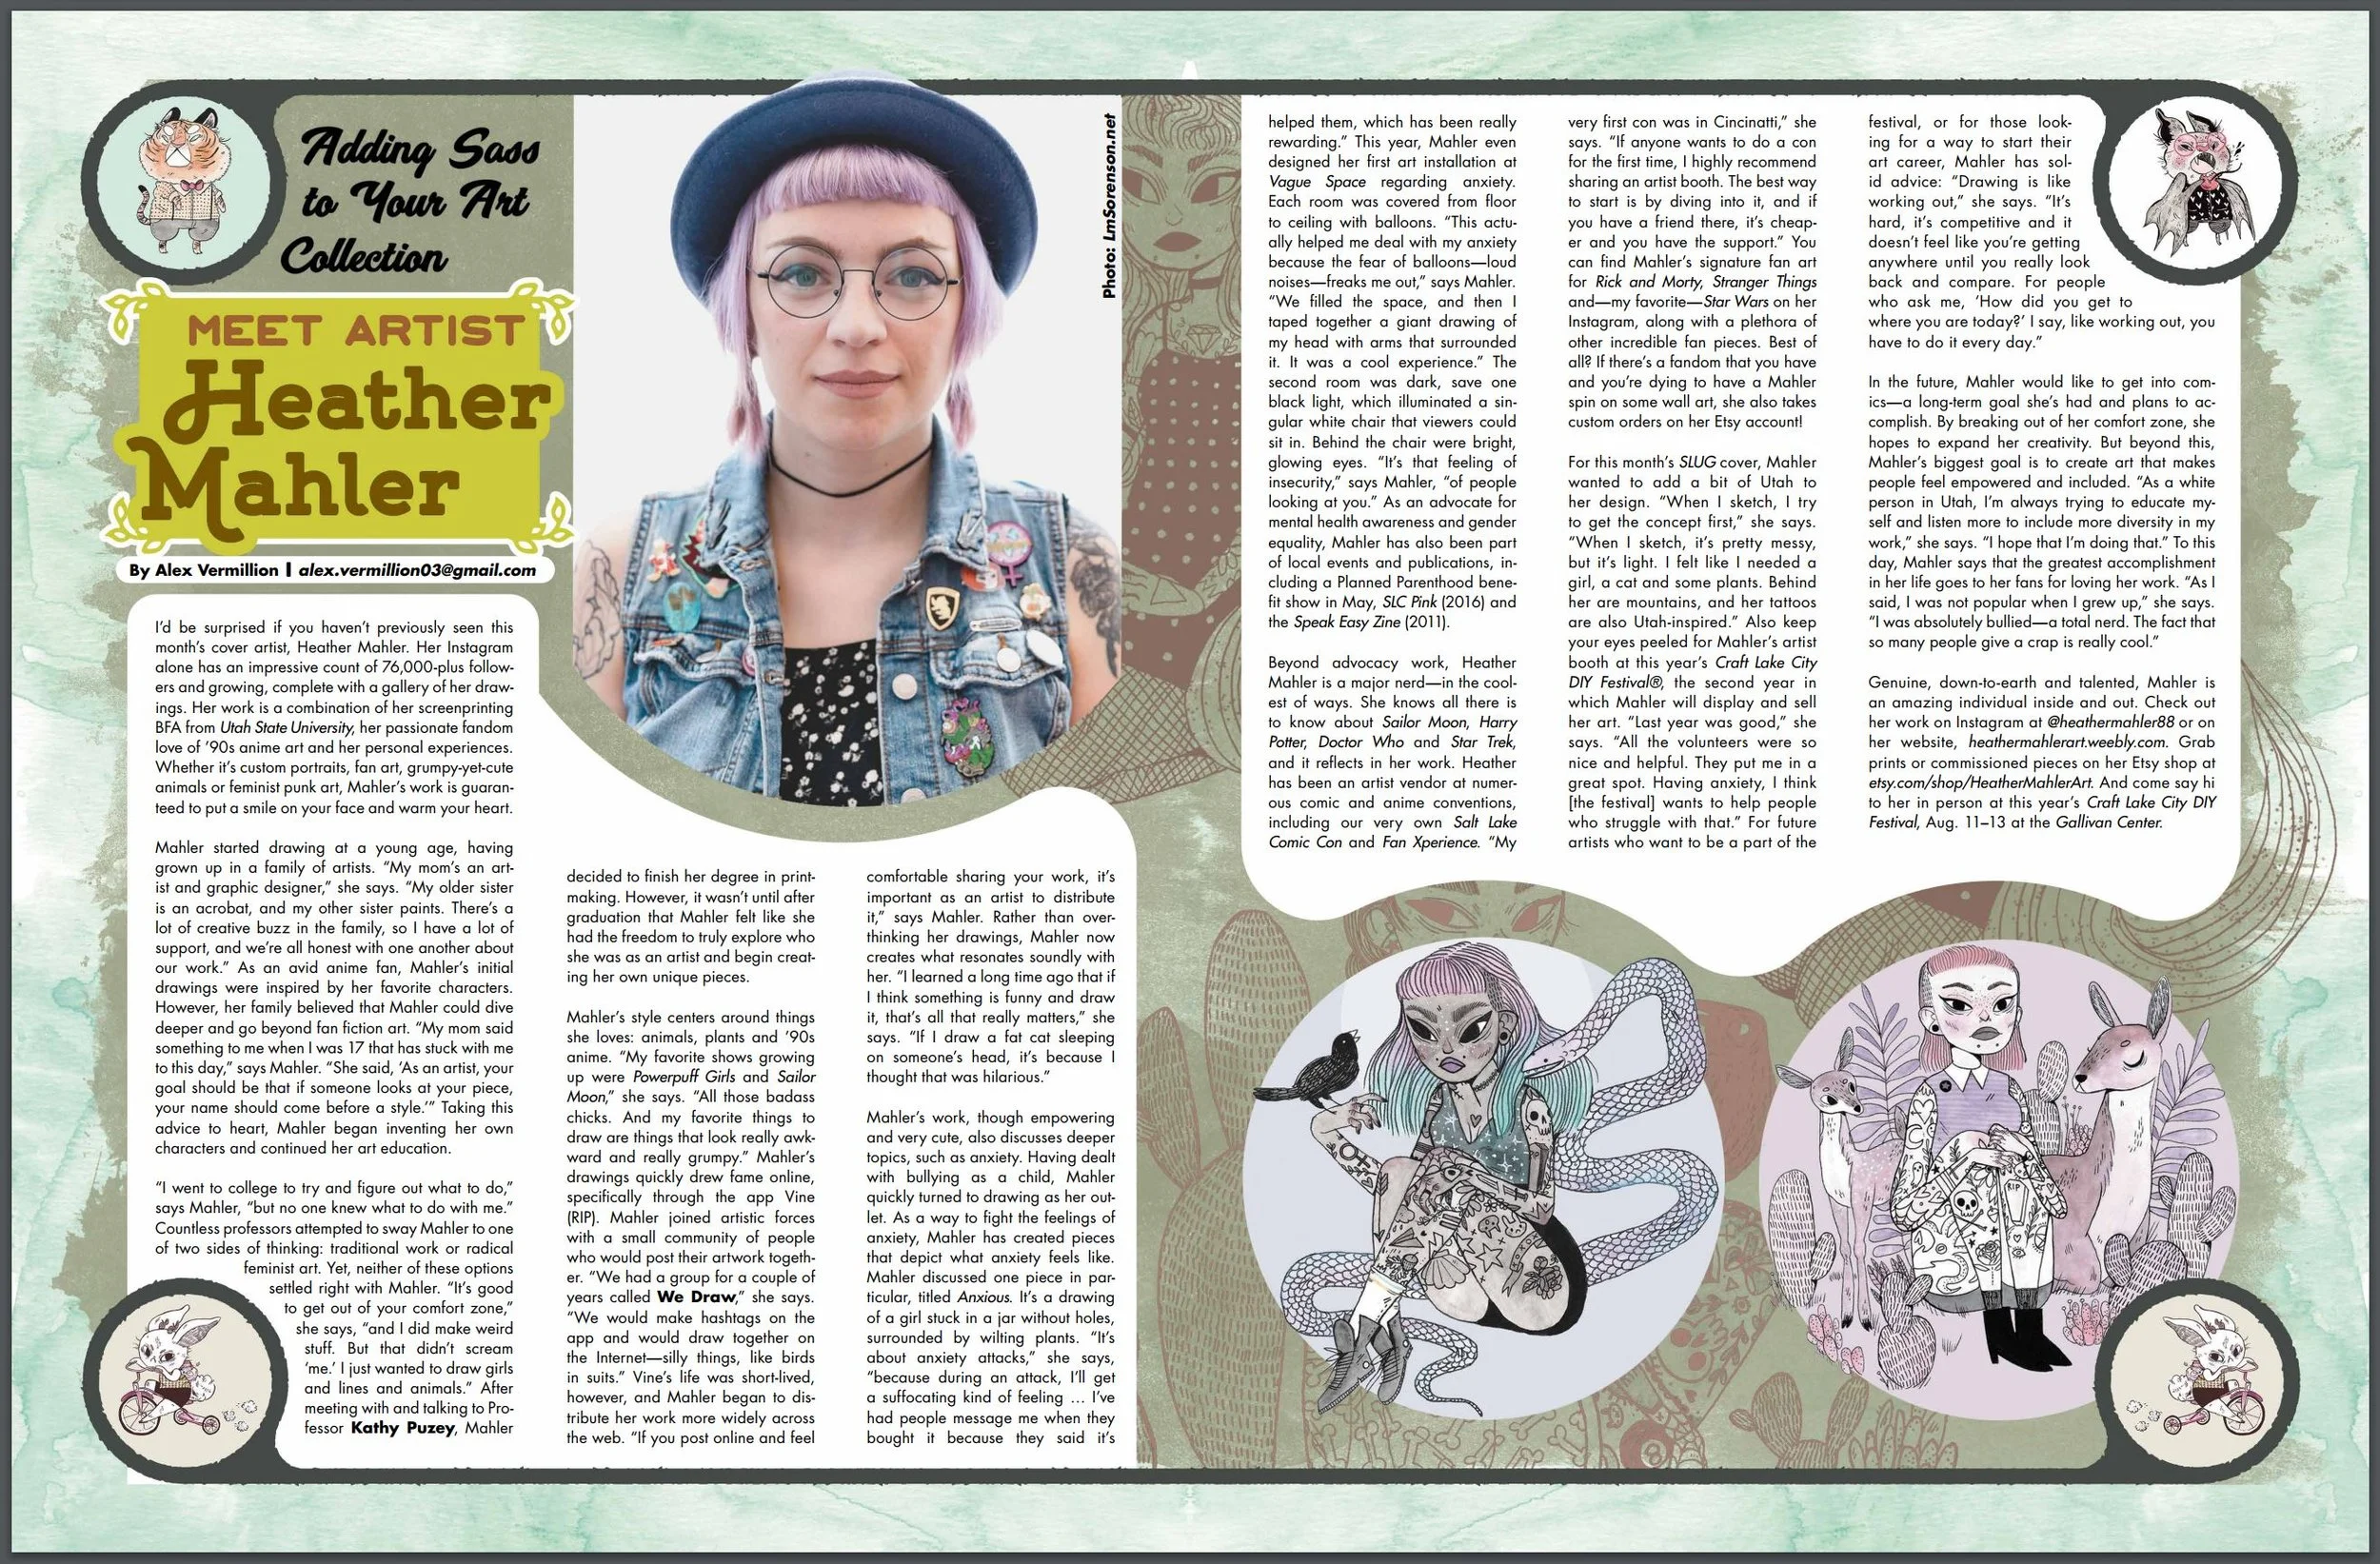
Some other Final Images.


Gear Used:
Please use these links to view the product's details and remember that purchases through these links will help me out. Thanks!
Camera: Canon 5D Mark IV
Lens: Canon 24-70 f/2.8 USM II
Light Source: Canon 600EX-RT (Flash/Speedlight)
Trigger: Yongnuo YN-E3-RT for Speedlights
Light Stand: Impact C-Stand with head and arm
Light Modifier: 43" Umbrella Softbox ...
Manfrotto Swivel Mount & Cold Shoe Mount
Did I miss anything? Do you have any questions? What other content would you like to see?
Take a second and comment here or reach out to me on social media! Questions very much welcome!
Thank You For Looking!
If you are in need of a Photographer
Contact me at LOGAN@LMSORENSON.NET
or (801) 455-9957
QUESTIONS WELCOME!!!
Give a follow on
Instagram, Twitter, Facebook, Flickr, Tumblr