A Portrait of a Butcher - Beltex Meats

In this post I will share some information on how I went about getting some portraits of a local butcher for SLUG Magazine and their upcoming Food Issue.

GEAR USED AT THE END OF THIS POST!! 

BEFORE THE SHOOT...

An opportunity to photograph a local shop owner for a feature about their new shop? I am in!

The information I was given is that there was a new butcher shop and meat vendor in the downtown Salt Lake area, the owner is my subject, a time and an address. I am told I have about 15 minutes to take some shots before the shop opens.

I arrived 10 minutes early, I park in front of the shop, take out my C-Stand and attach it to the wheel base, grab my bag and I walk up to the shop's entrance. Since it was closed that means I have the pick of any location in inside to make my images, no customers will be shopping, just me and my subject.

THE SHOOT...

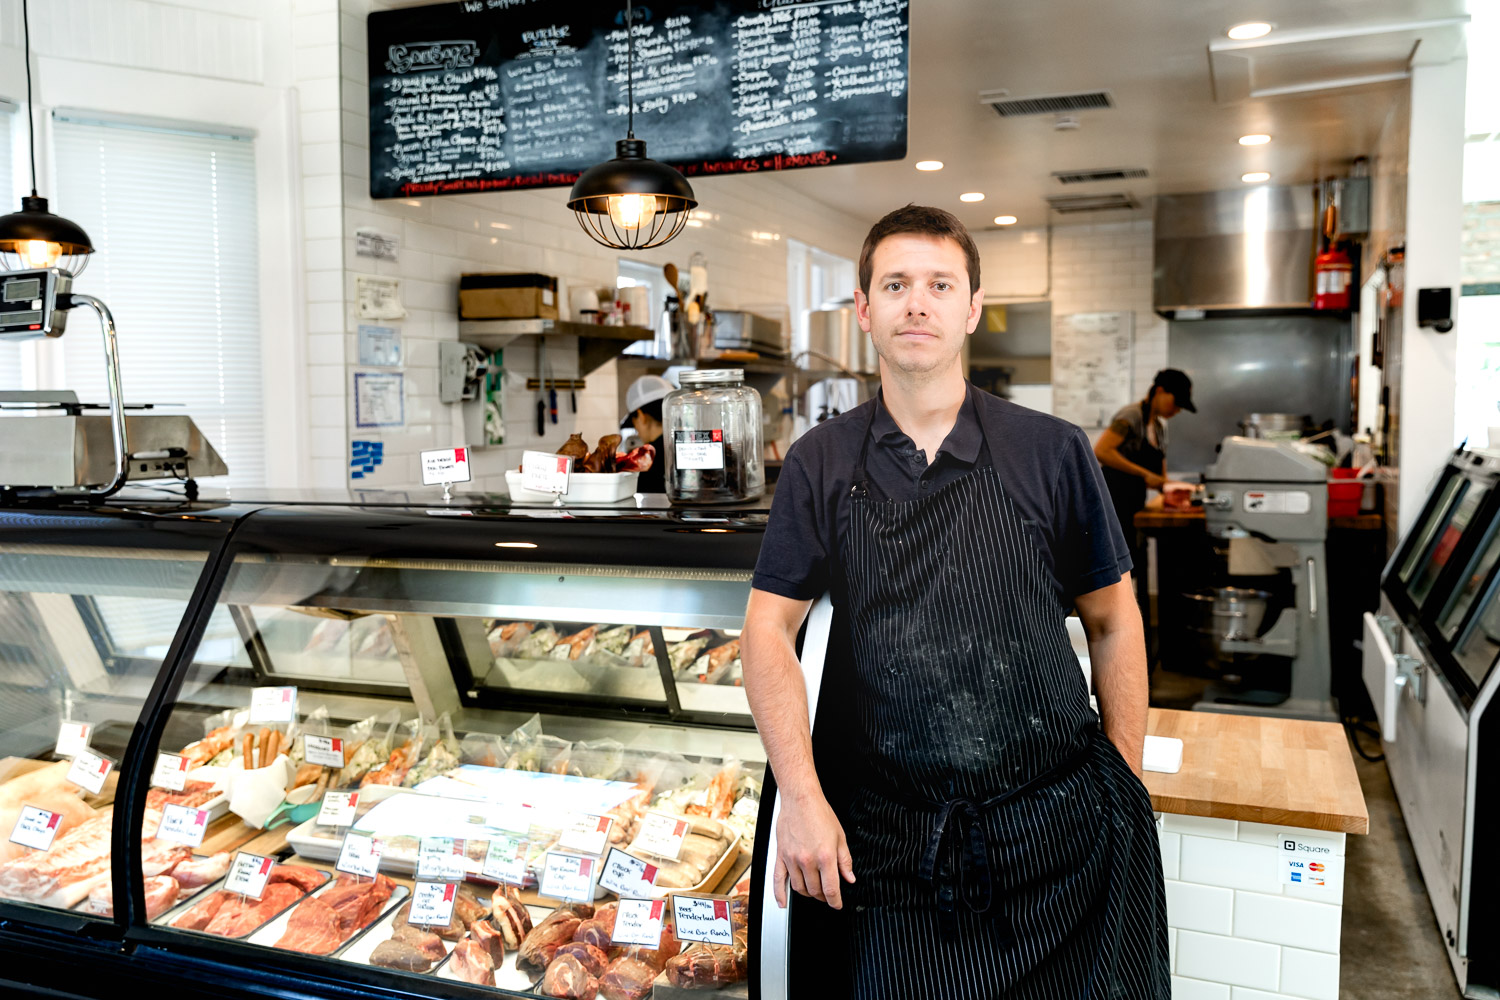
I meet my subject, owner/operator Butcher Philip Grubisa, shake his hand and ask him if I can take a look around the shop to find a good place for the portraits.

The interior of the shop is open, not too large and has about 12' white ceilings. (See Video)

I decide the use two display cases, one shorter case more towards the entrance and the other just on the other side of the pillar that is taller.

As with all indoor shoots, the light available might not be the best for a portrait and or might not be bright enough for a photo at all. The below image shows before the addition of flash at usable settings.


I have Phillip place himself on the side of the shorter display case a sort of seated lean, super casual. I do not use a direct light source for this shot, seeing the large glass case and the narrow walkway, getting the position of the light stand just right would be impossible. I opt to use a 7' reflector to direct the light from the strobe away from the subject and toward the ceiling, they are low enough and will reflect the light downward, spreading it evenly.

I grab these two shots...

I move onto the other side of the main beam in the room to work against the taller display case in the shop.

Turning my C-Stand and light so that it fired on the correct side of the ceiling beam like so...

Using a diferent angle by holding the 5D IV over head. I used the touch screen I was able to get these shots...

At last I bring the angle back down to a shoulder to eye level shot. I ask Philip if he has any meats we can grab and put on the counter next to him.

I leave the light as is, and we capture a few more shots.

AFTER THE SHOOT... 

My final shots being submitted and 

Gear Used

I take with me the following gear, please follow these links to see the product details and if you purchase from them through these links, it helps me out a bit. Thanks!

Canon 5D Mark IV

Canon 24-70 f/2.8 USM II

Xplor 600 Monolight with 7" Reflector

Impact C-Stand with arm

Kupo C-Stand Base with locking wheels

Neewer 43" Umbrella Softbox

Lowepro AW 200 Messenger Bag


Thank You For Looking!

If you are in need of a Photographer

Contact me at LOGAN@LMSORENSON.NET

or (801) 455-9957

QUESTIONS WELCOME!!!

Give a follow on

Instagram, Twitter, Facebook, Flickr, Tumblr

Proper Portraits - Proper Brewing Co.

On location at Proper Brewing Co.

A newly opened brewery in downtown Salt Lake City. I have been asked by SLUG Magazine to get some portraits of the beer experts for the their Beer Issue.

BEFORE THE SHOOT...

I was given a date, time and address to show up and I was just unaware of the exact shooting conditions. I knew I had to capture portraits of three people, I brought...

- My giant Photek Softliter Umbrella 60"

Xplor 600 Monolight

Impact C-Stand with Arm

Kupo C-Stand Wheel Base for easier movement.

- My trusty Canon 5DIV

Canon 6D a (as a back-up)

- Canon 24-70 f2.8 II

I also always have a back-up lighting source with my Canon 600ex RT speedlight, always tucked away in the bag just in case the location is not large enough for the giant 60" light modifier. Additionally I had...

Manfrotto Carbon Fiber Tripod

- Manfrotto 498RC2 ball-head if need be for a slower shutter speed and if not used for that, I could get some bts video with a simple Smartphone Tripod Mount. I keep and lug around all my camera gear inside a Lowepro AW 200 Messenger style bag (Awesome freaking bag). 

I was now prepared for 1. any lighting conditions with my large and smaller back up light source. 2. Zoomed in or wide shot to accommodate those same space variables with the 24-70 lens. And 3. With the 5D iv, and the dual pixel AF I could use the rear screen if needed to frame and focus any shot that placed me in a way that I was unable to use the viewfinder. 

ARRIVING ON LOCATION...

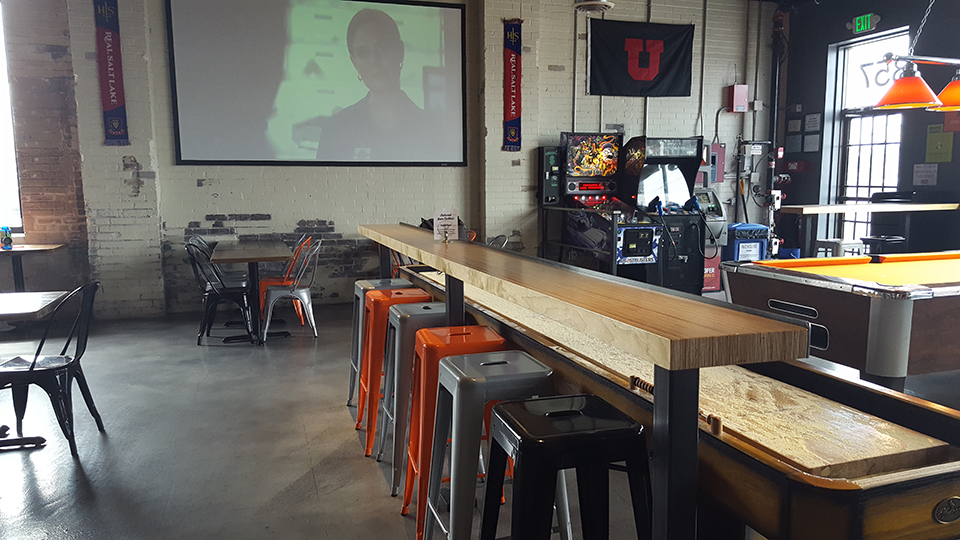
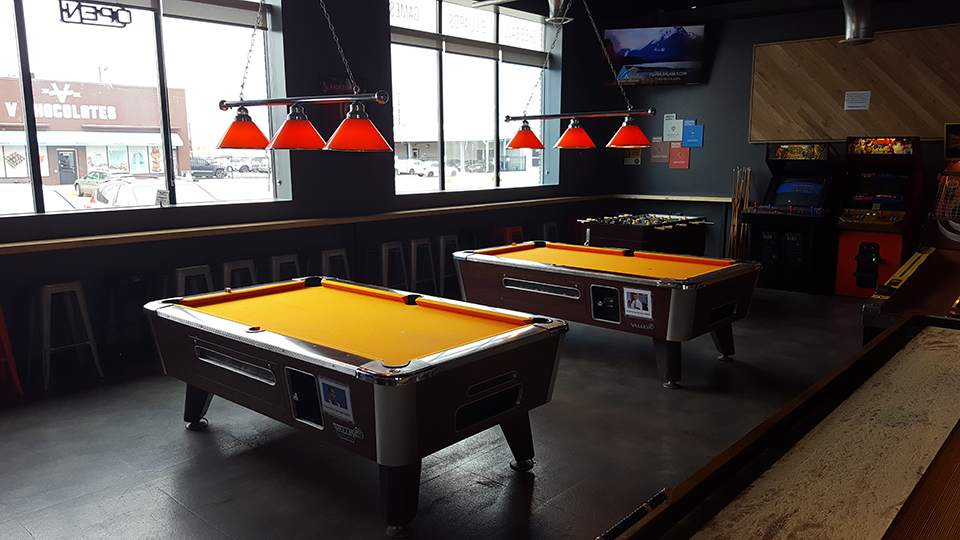
Upon arrival I grabbed my gear and entered the building. The front of the building was an open bar/eatery set up and I gave a few seconds to access my options for a few shots....

Thinking to myself (ok... there is a pool table... arcade... open area... high, long table...)
**Note: After a few minutes I realized I had just been brainstorming in vain. This was not the pre-decided location for the shoot, but rather the rear of the building, with the brewing vats and other contextually accurate pieces for the shoot. Never the less, do not ever stop planning shoots in your head, looking at lighting, ideas! Always getting ideas!

I was greeted by my group of subjects and I was invited to see the location of the actual shoot down the hallway. I grabbed my C-stand and wheeled my gear down and into the back-room.

John Kern, one of my subjects makes sure there is no water on the floor and the room was ok to shoot in.

John Kern, one of my subjects makes sure there is no water on the floor and the room was ok to shoot in.

Chosen background with the direction of light from the windows across the room.

Chosen background with the direction of light from the windows across the room.

I really liked the angle at which they pushed away from where I would place the subjects, the light from the window in the other room giving a nice, cooler quality to the ambient light. I am ready to get some shots.

SHOOTING...

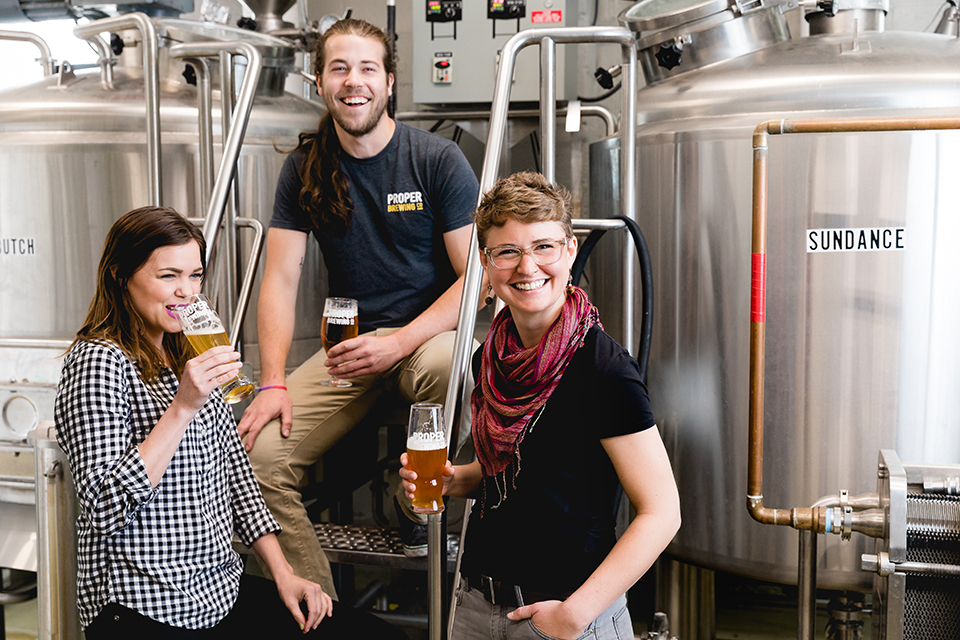
I tell my subject what I am thinking, that I would love a casual portrait of them sipping a little sample of beer with a slight 'cheers' gesture perhaps? They make a joke about posing like Captain Morgan with a leg up on a barrell and I take a few test shots. 

Captain Morga pose

Captain Morga pose

Test shot to get the lighting just right.

Test shot to get the lighting just right.

After a few shots, I have the light just where I want it. I gesture to my subjects to face towards me, continuing in what pose they have naturally come upon. (Final Images At The End Of The Post).

Shooting #2...

I push my light (on wheels, so nice!) into the adjacent room and place it next to a vat (on the right of what is pictured), this gives the light some direction, looking natural as it is coming from a similar space as the window light.

I tell my subject to place themselves as they wish, suggesting perhaps to utalize the stair case, railings etc.

I take a few test shots and get things where I want them. Taking a few more shots, I tell my subjects to repeat casually talking, looking at each other, and every few seconds instructing them to have "eyes one the camera". This gives a relaxed, comfortable feel as no one is simply staring into the lens, awkwardly for a few minutes.

3E5A2637.jpg

Always with a "while we're all here, lights are already set-up" mentality, I figure I can get a few more shots even though I know I have my "Keepers" already. I have the subjects all stand and re-assemble into a sort of semicircle for a more head-shot look.

Shoot End... 

I had gotten what I need and my subjects were amazing, I thank them for their time and let them know I am done, and that I will be packing up my toys and heading out. We discuss beer for a minute and I tell them what my favorite qualities of my favorite brews are. I am graciously gifted a few recommended selections that Proper Brewing had recently been producing.

Again, thanking my subjects I gather my things and head to my car.

Final Images...

These following images were my final edits, final picks for submission to SLUG Magazine. I now just had to send them and await the issue to print. 

3E5A2621.jpg

And here are the used images in the issue and online a few weeks later.

www.slugmag.com

www.slugmag.com

.pdf copy of final issue. 

.pdf copy of final issue. 


What are some of your experiences while shooting, do you plan? Overplan? Overpack, Overshoot? Be sure to reach out and let me know or leave a comment. 

Thank You For Looking!

If you are in need of a Photographer 

Contact me at LOGAN@LMSORENSON.NET 

or (801) 455-9957

QUESTIONS WELCOME!!!

Give a follow on

 InstagramTwitterFacebookFlickr, Tumblr